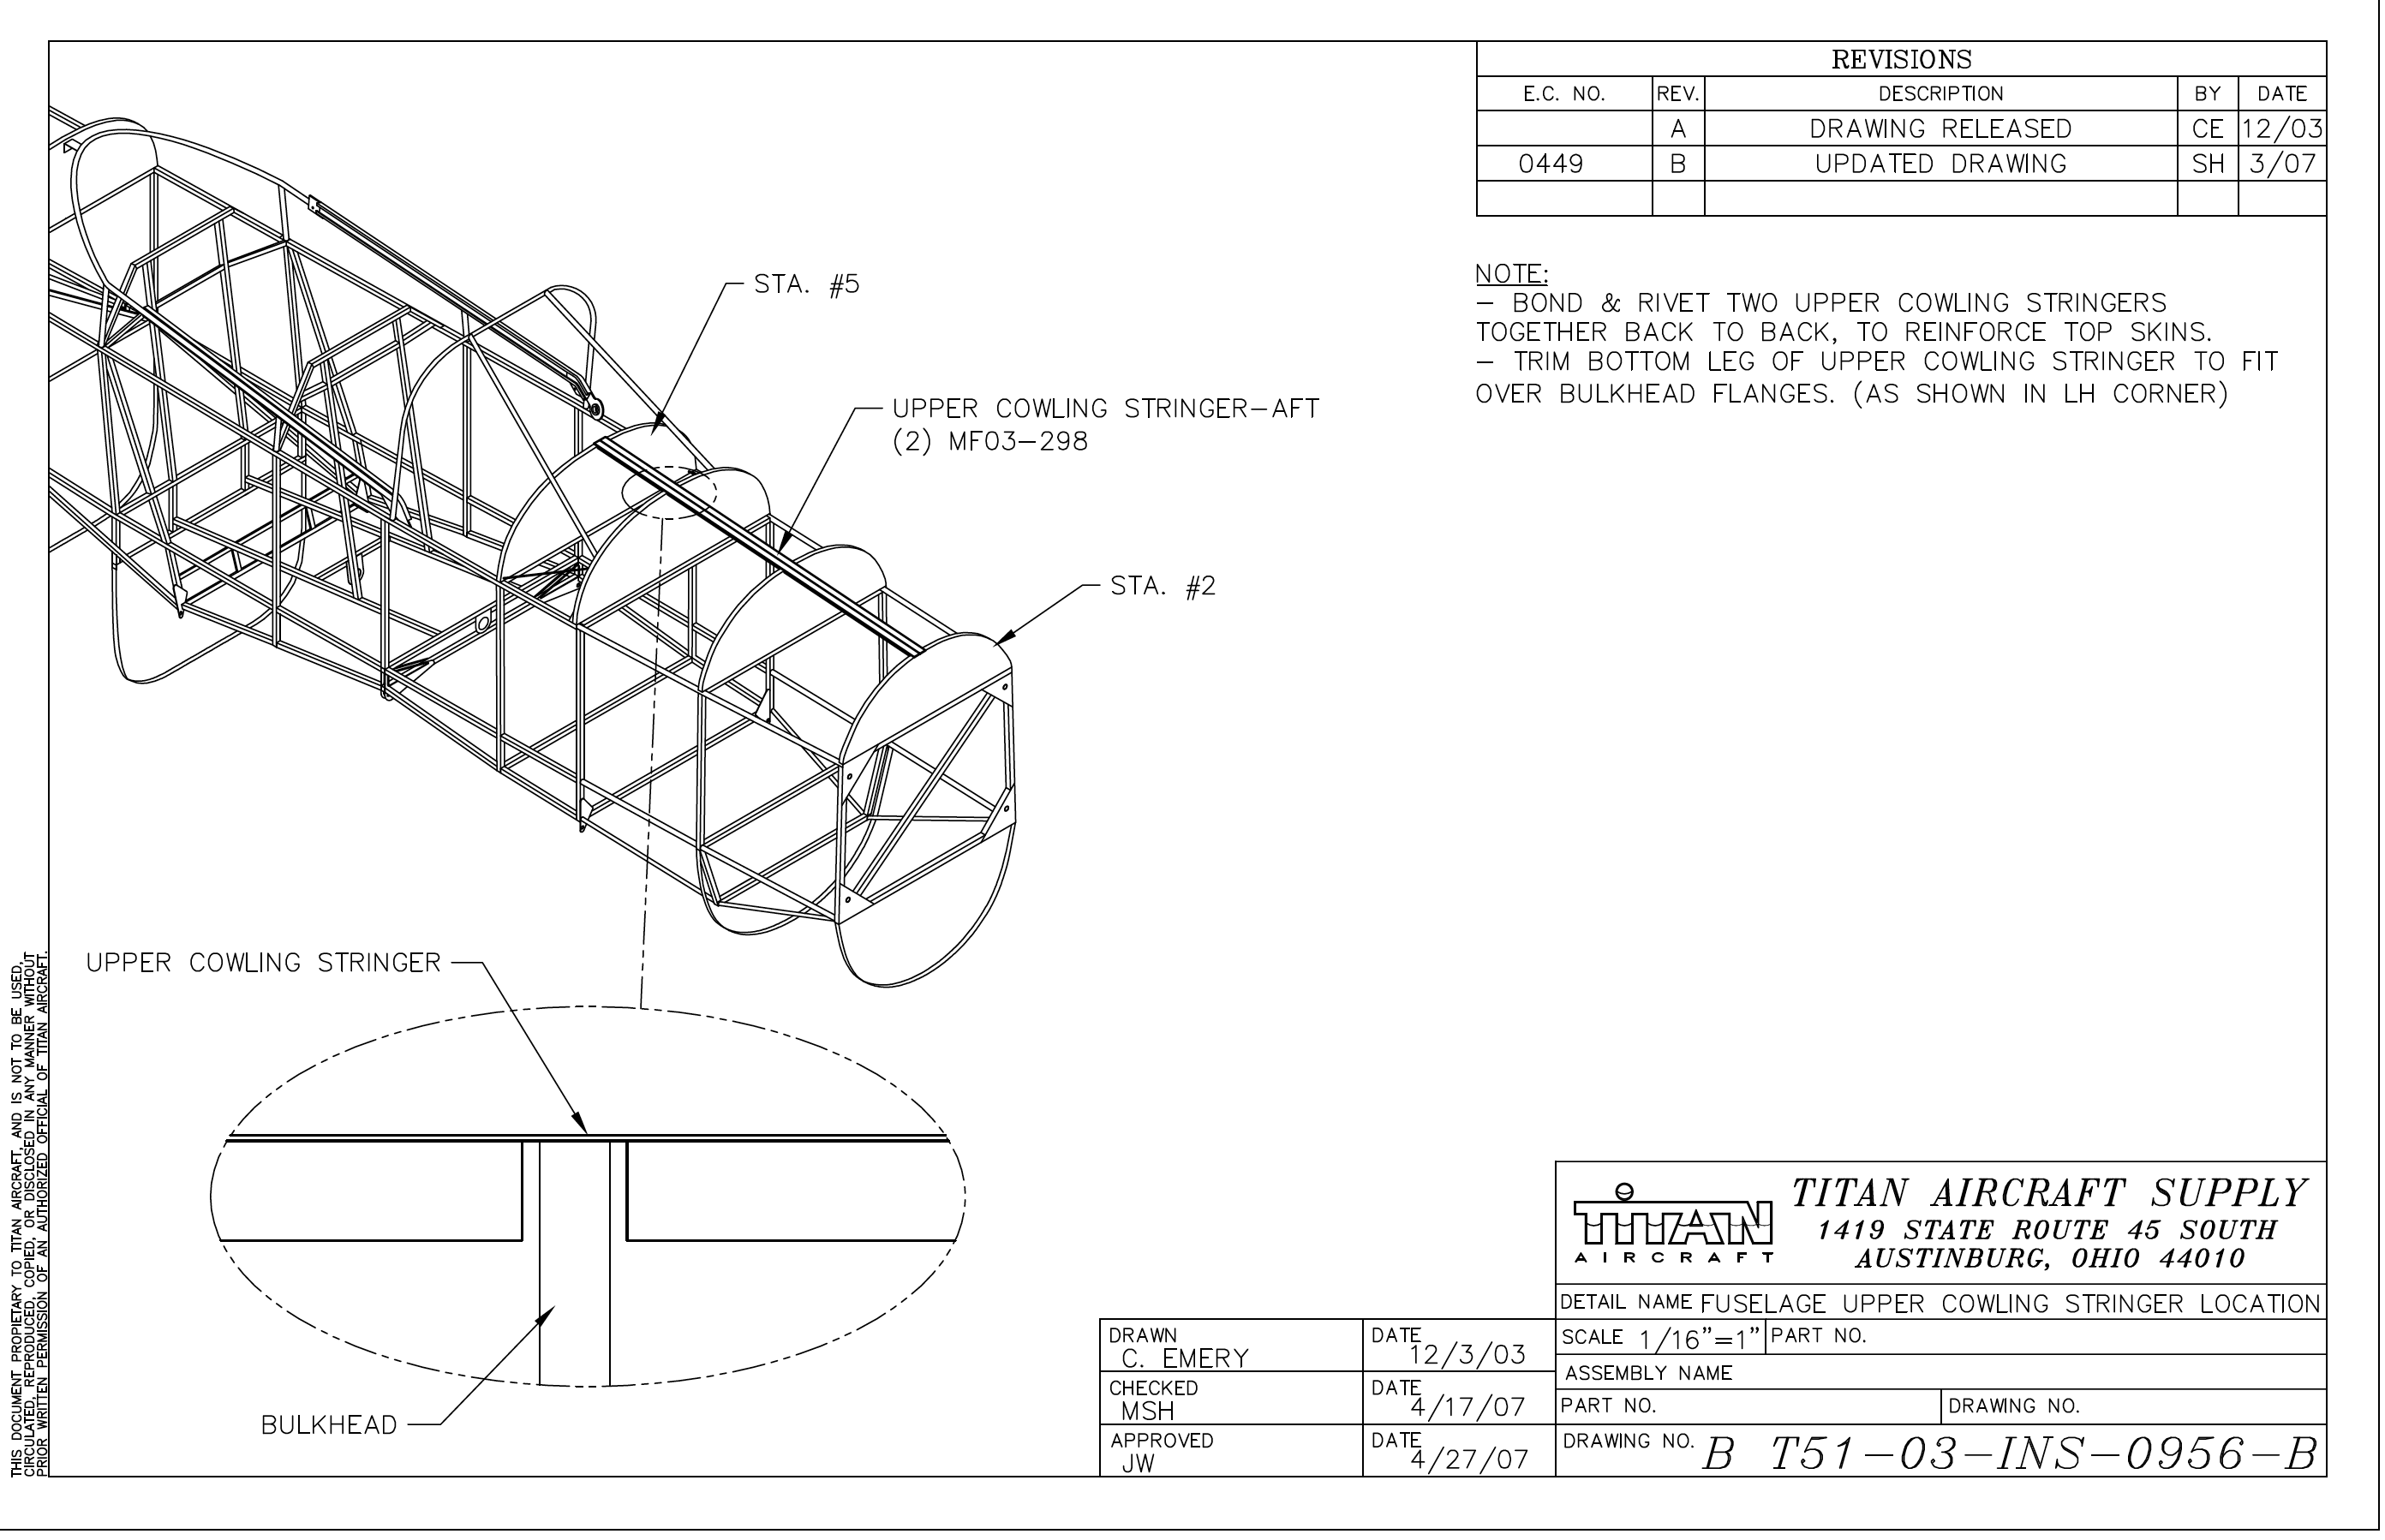
FUSELAGE - TOP SKINS
In this section we will be:
- Install stringer from U2-U5
- Fit top skin D - With instrument panel face (MF03-135) in place, we will fit “D” top skin (MF03-186) in place, remove material including access panel. cleco skin in place.
- Trim top skin D to glare shield – It’s recommend trimming so that the instrument panel will fit up to the glare shield. Trimming along the attachment line of the side windscreens up to the instrument panel former. (Cut out access holes as desired).
- Install top skin D
- Fit glare shield (MF03-134).
- Fit windscreen trim (MF03-193 & 194).
- Fit “B” & “C” top skins (MF03-158 &159) with the “B” aft edge overlapping “C” forward edge, remove excess material as needed.
Date Started: 12/10/1016 Total Hours: 2 hrs
Status: In Progress
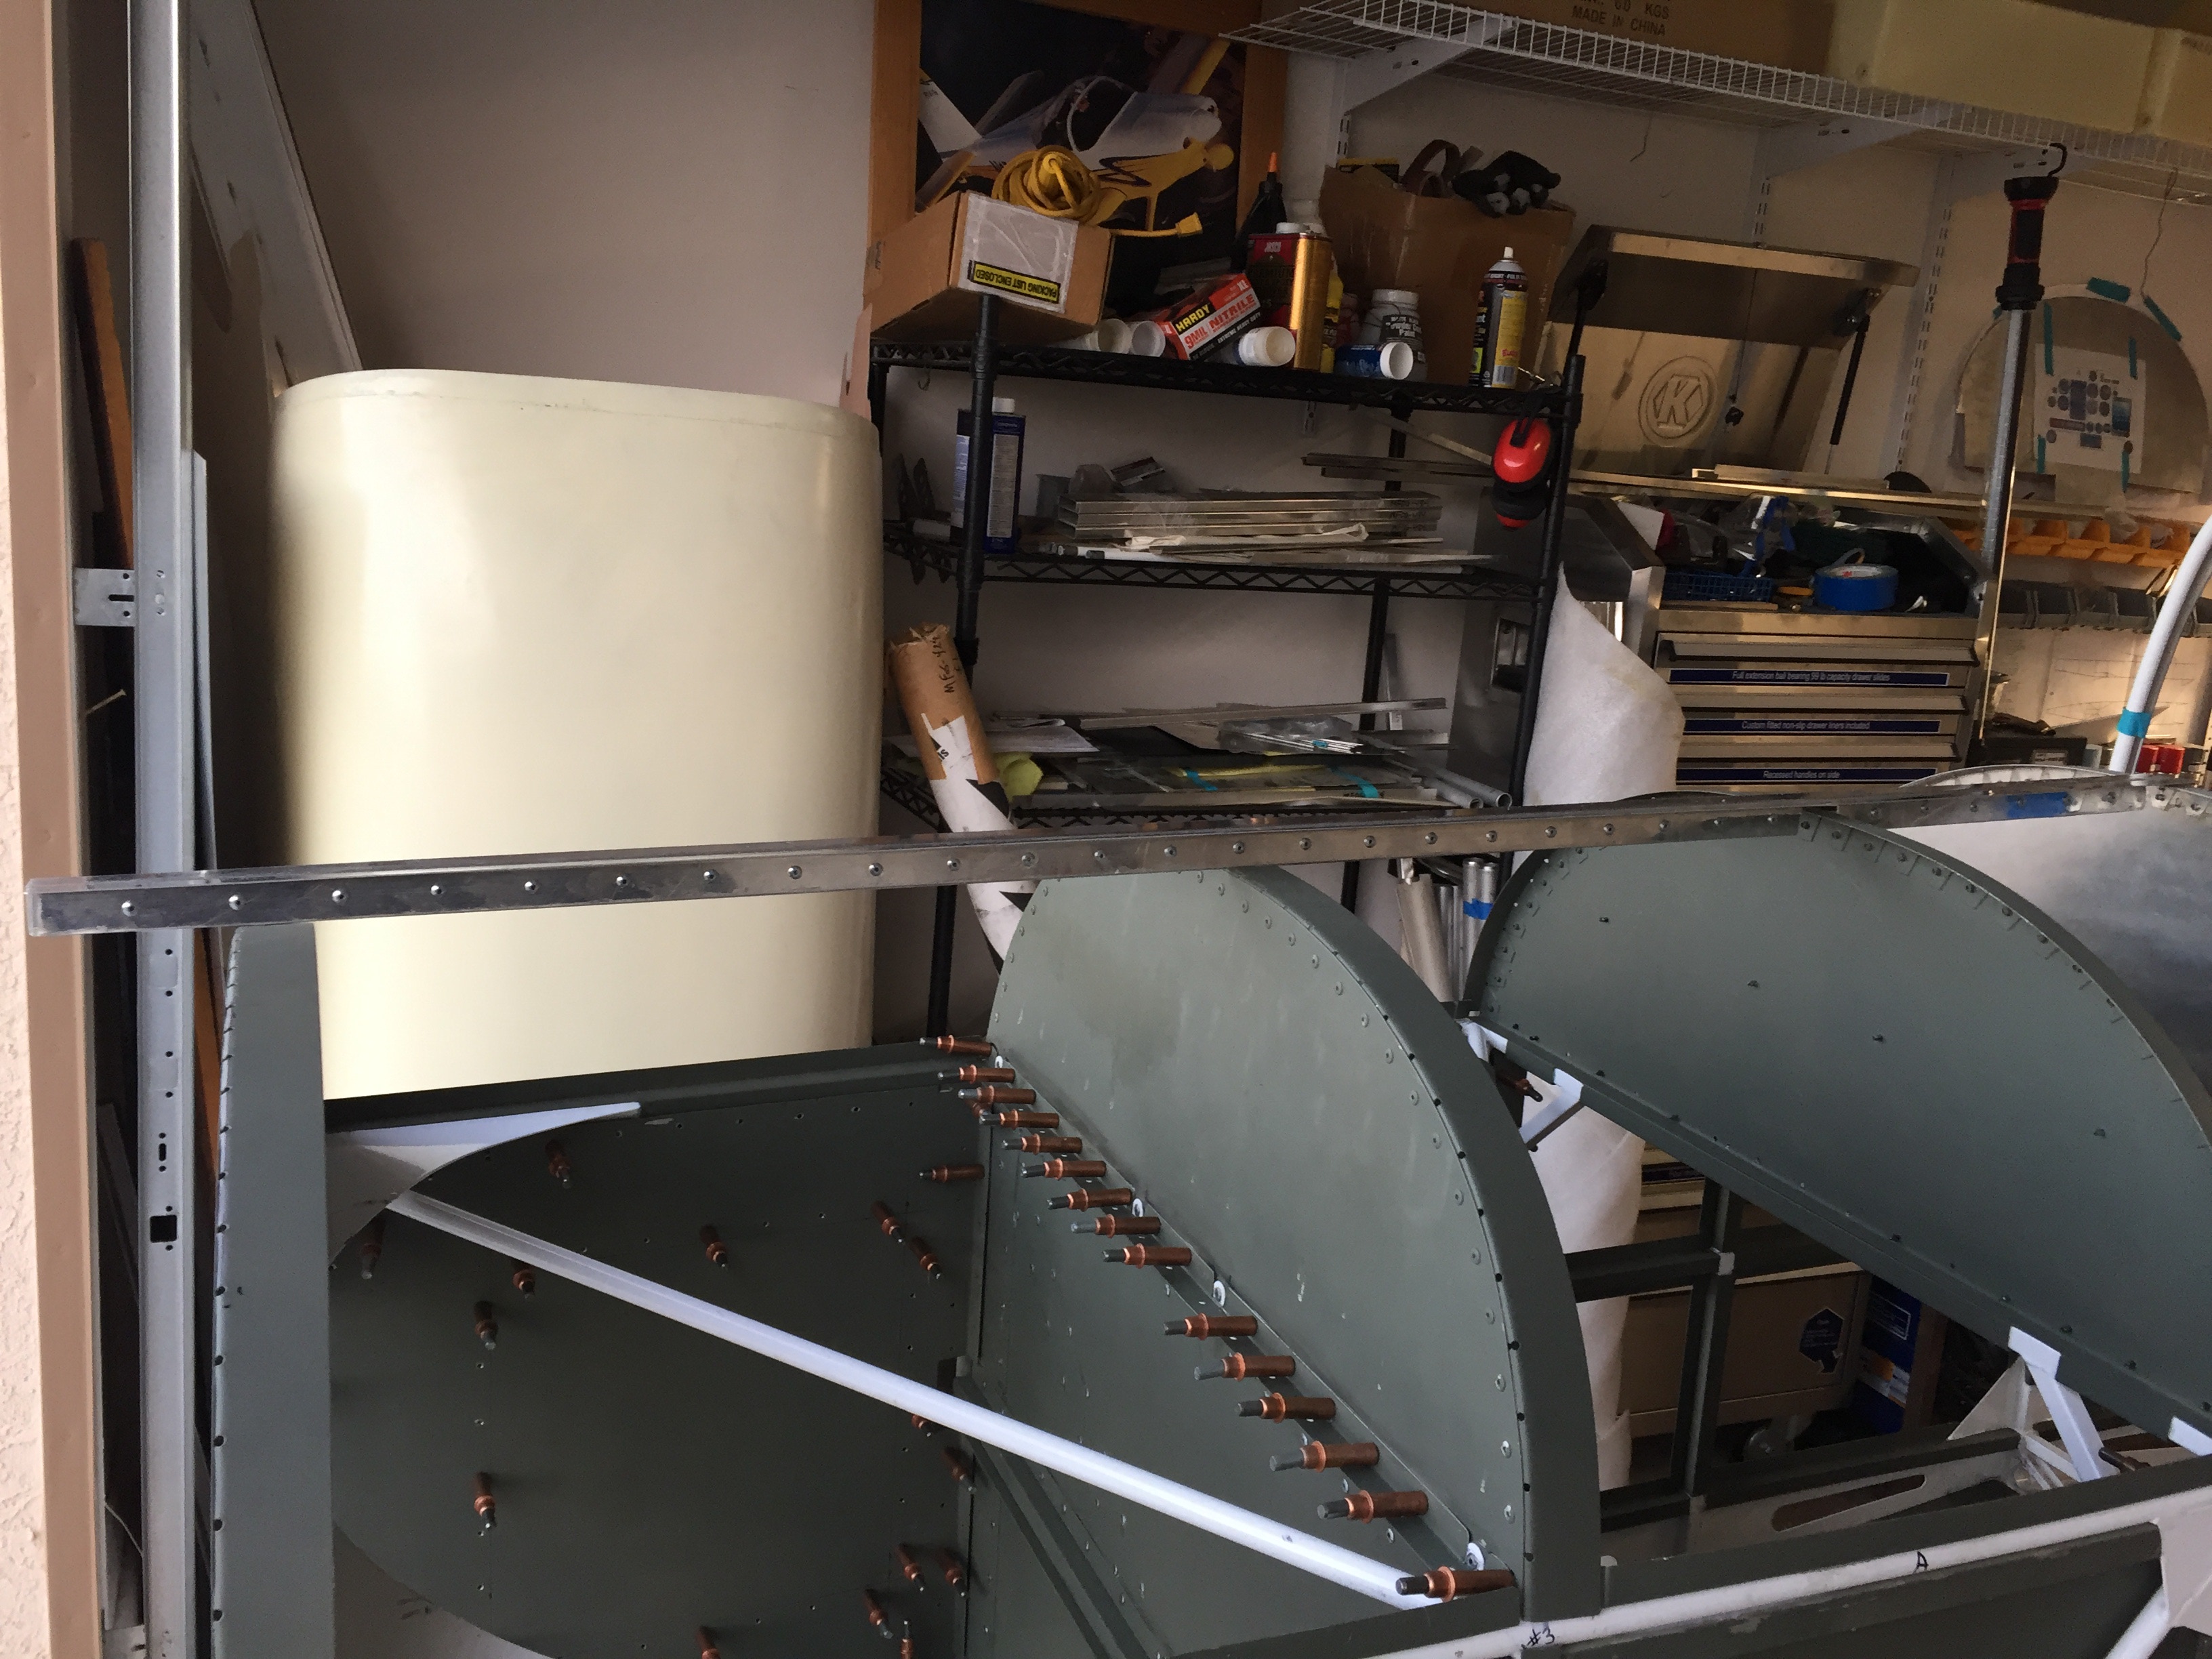
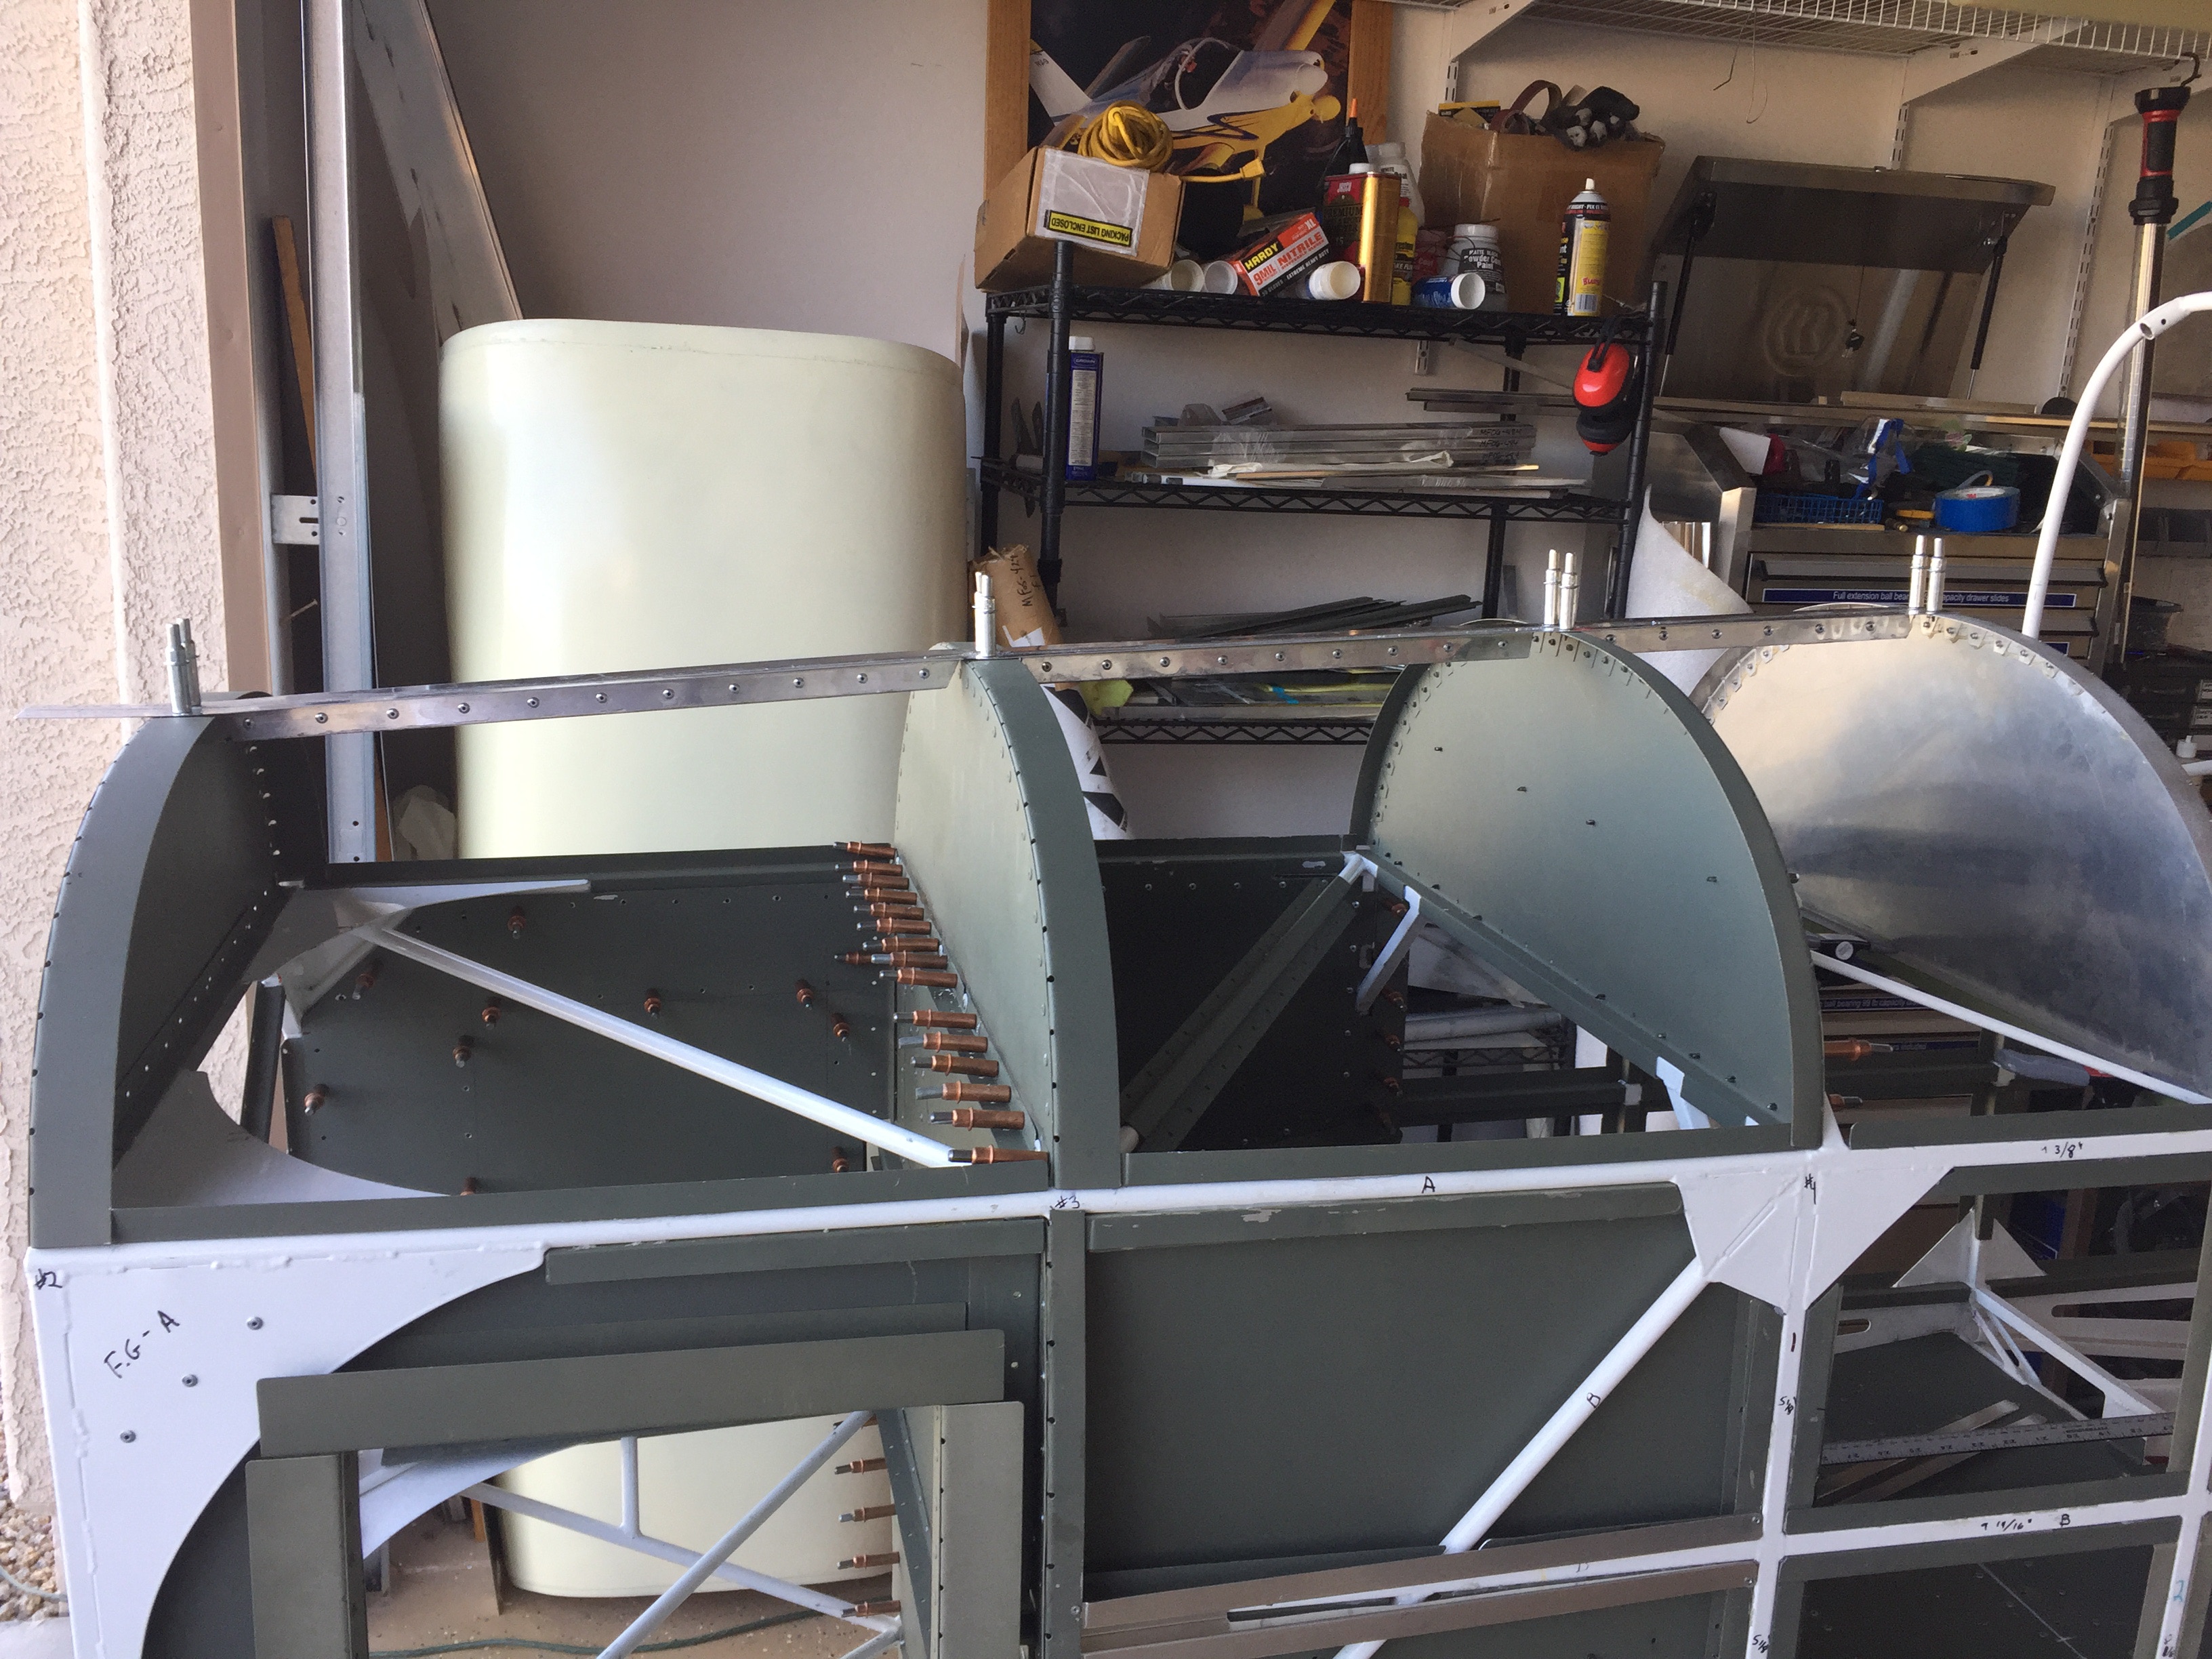
12/10 - 2 hrs. bonded and rivet the center bulkhead stringer.
Another view from the left side of the Center bulkhead stringer
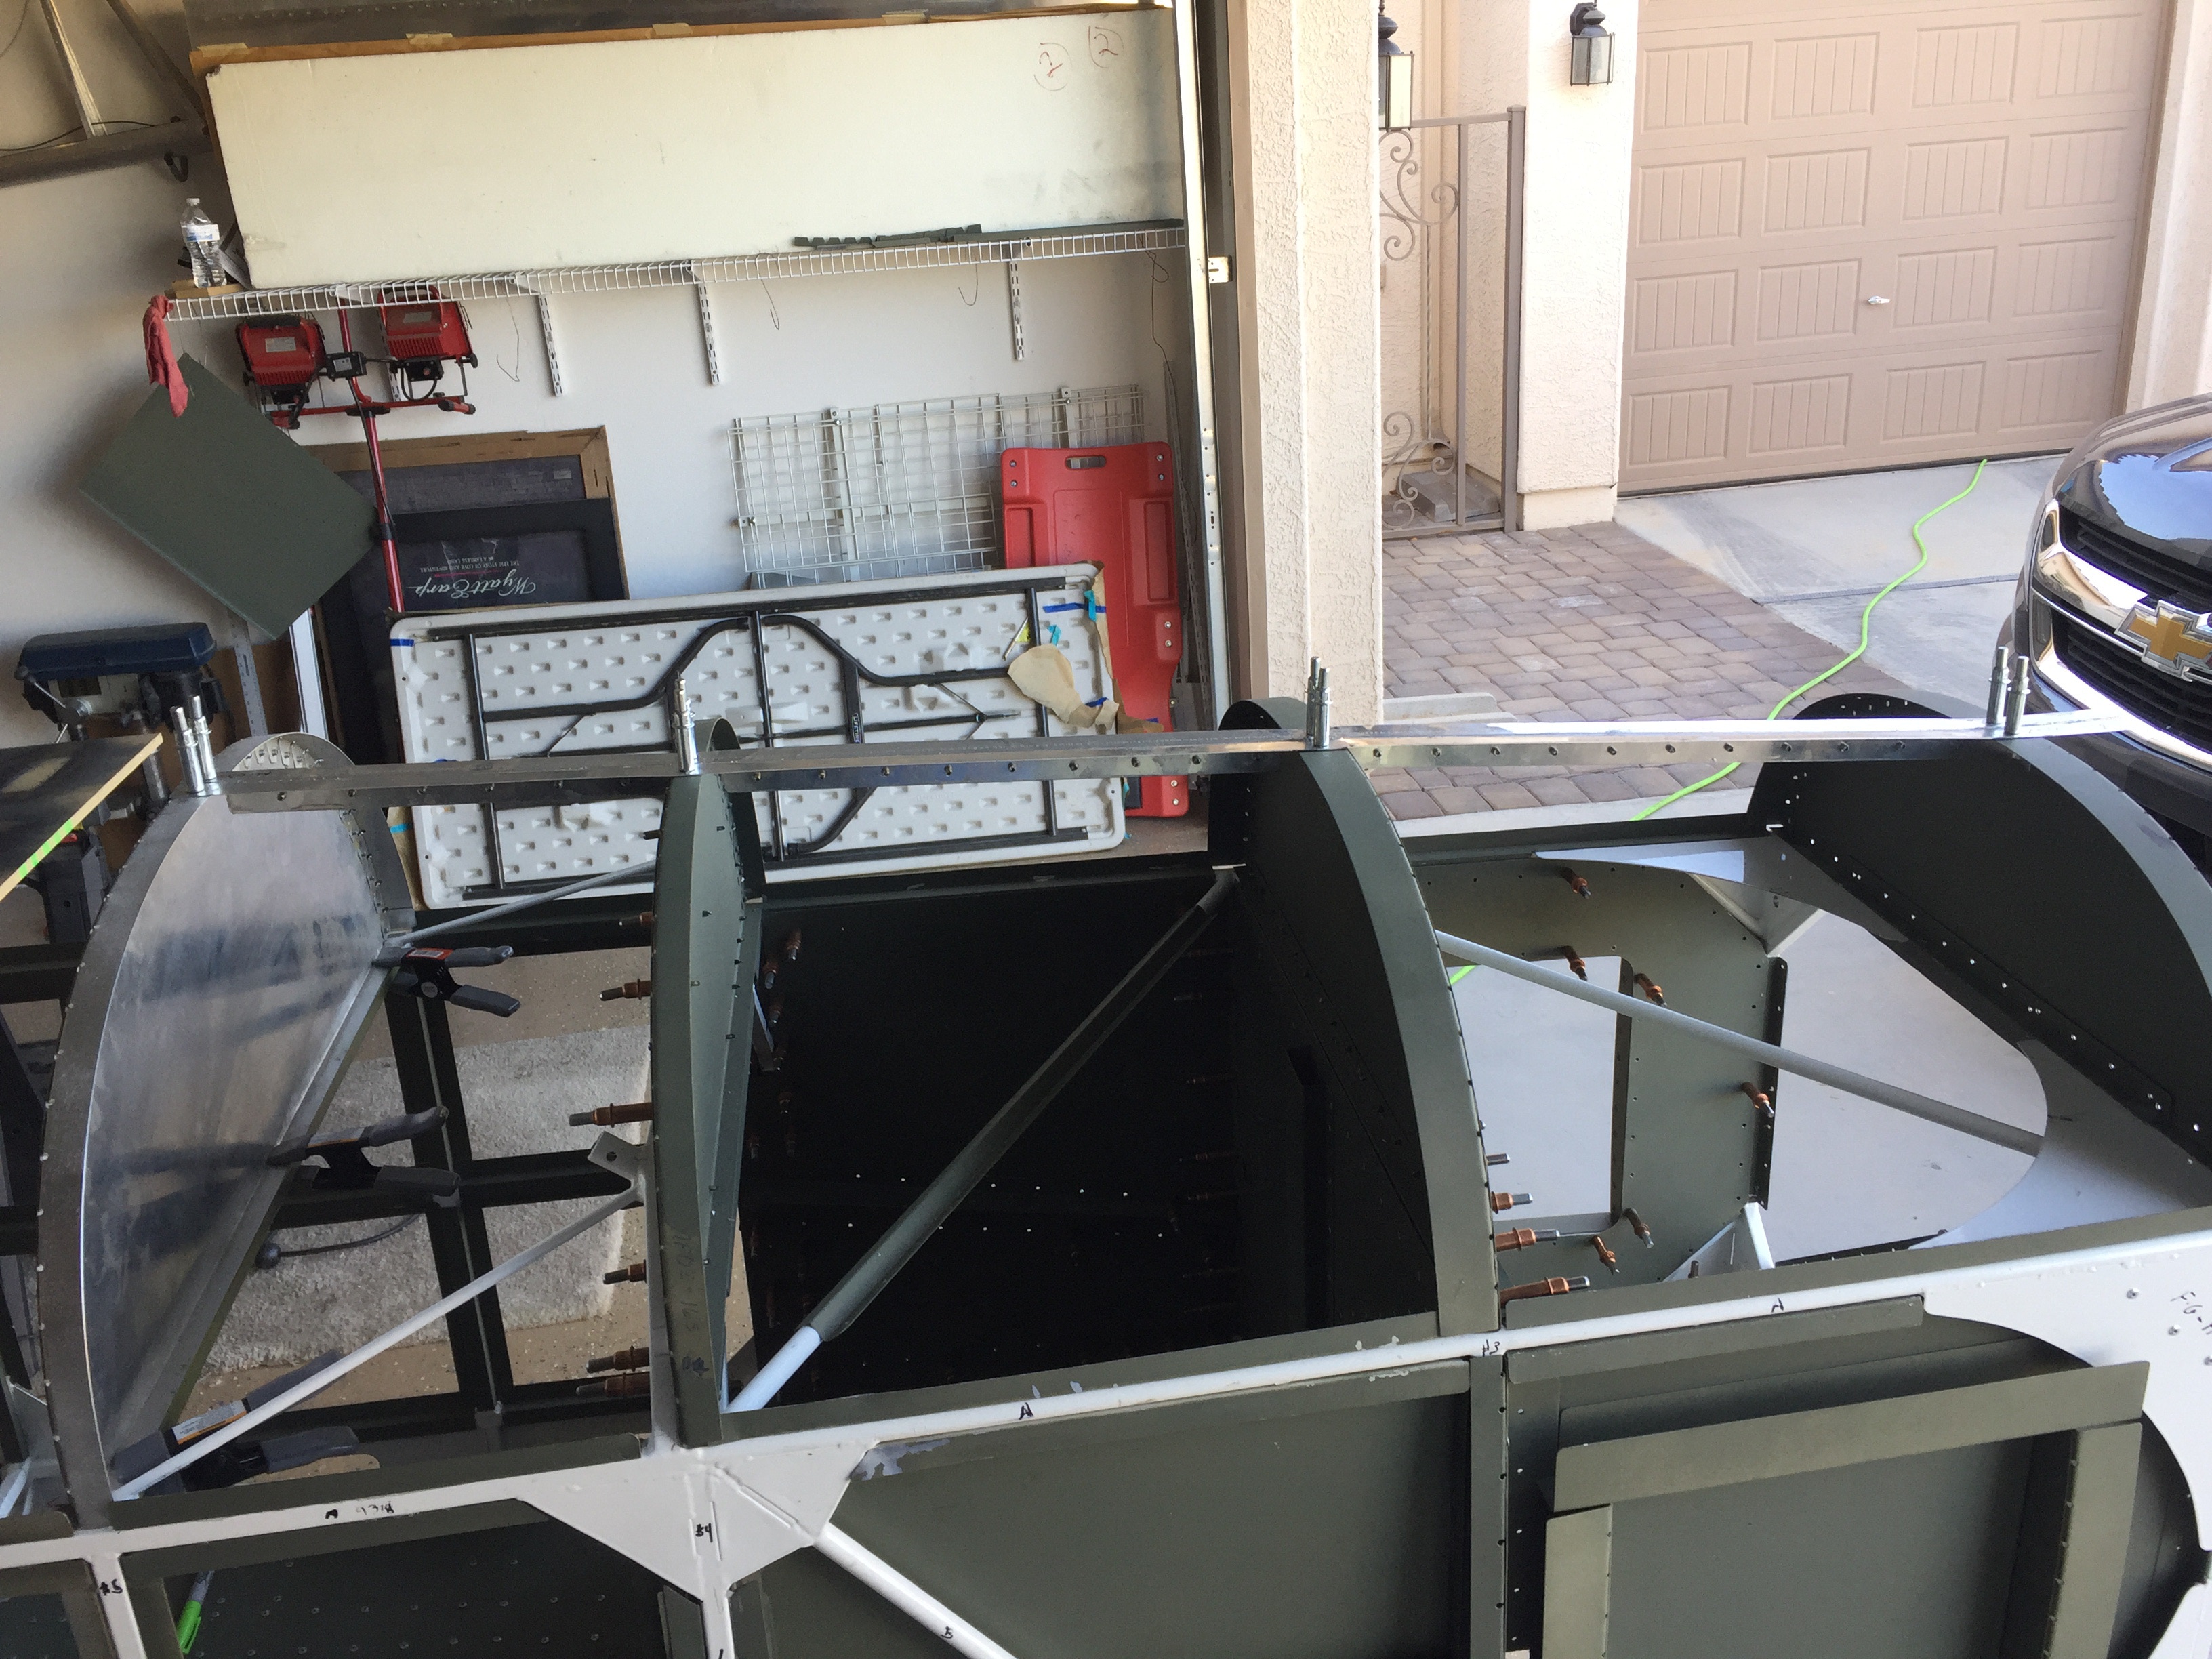
Another view from the right side of the Center bulkhead stringer
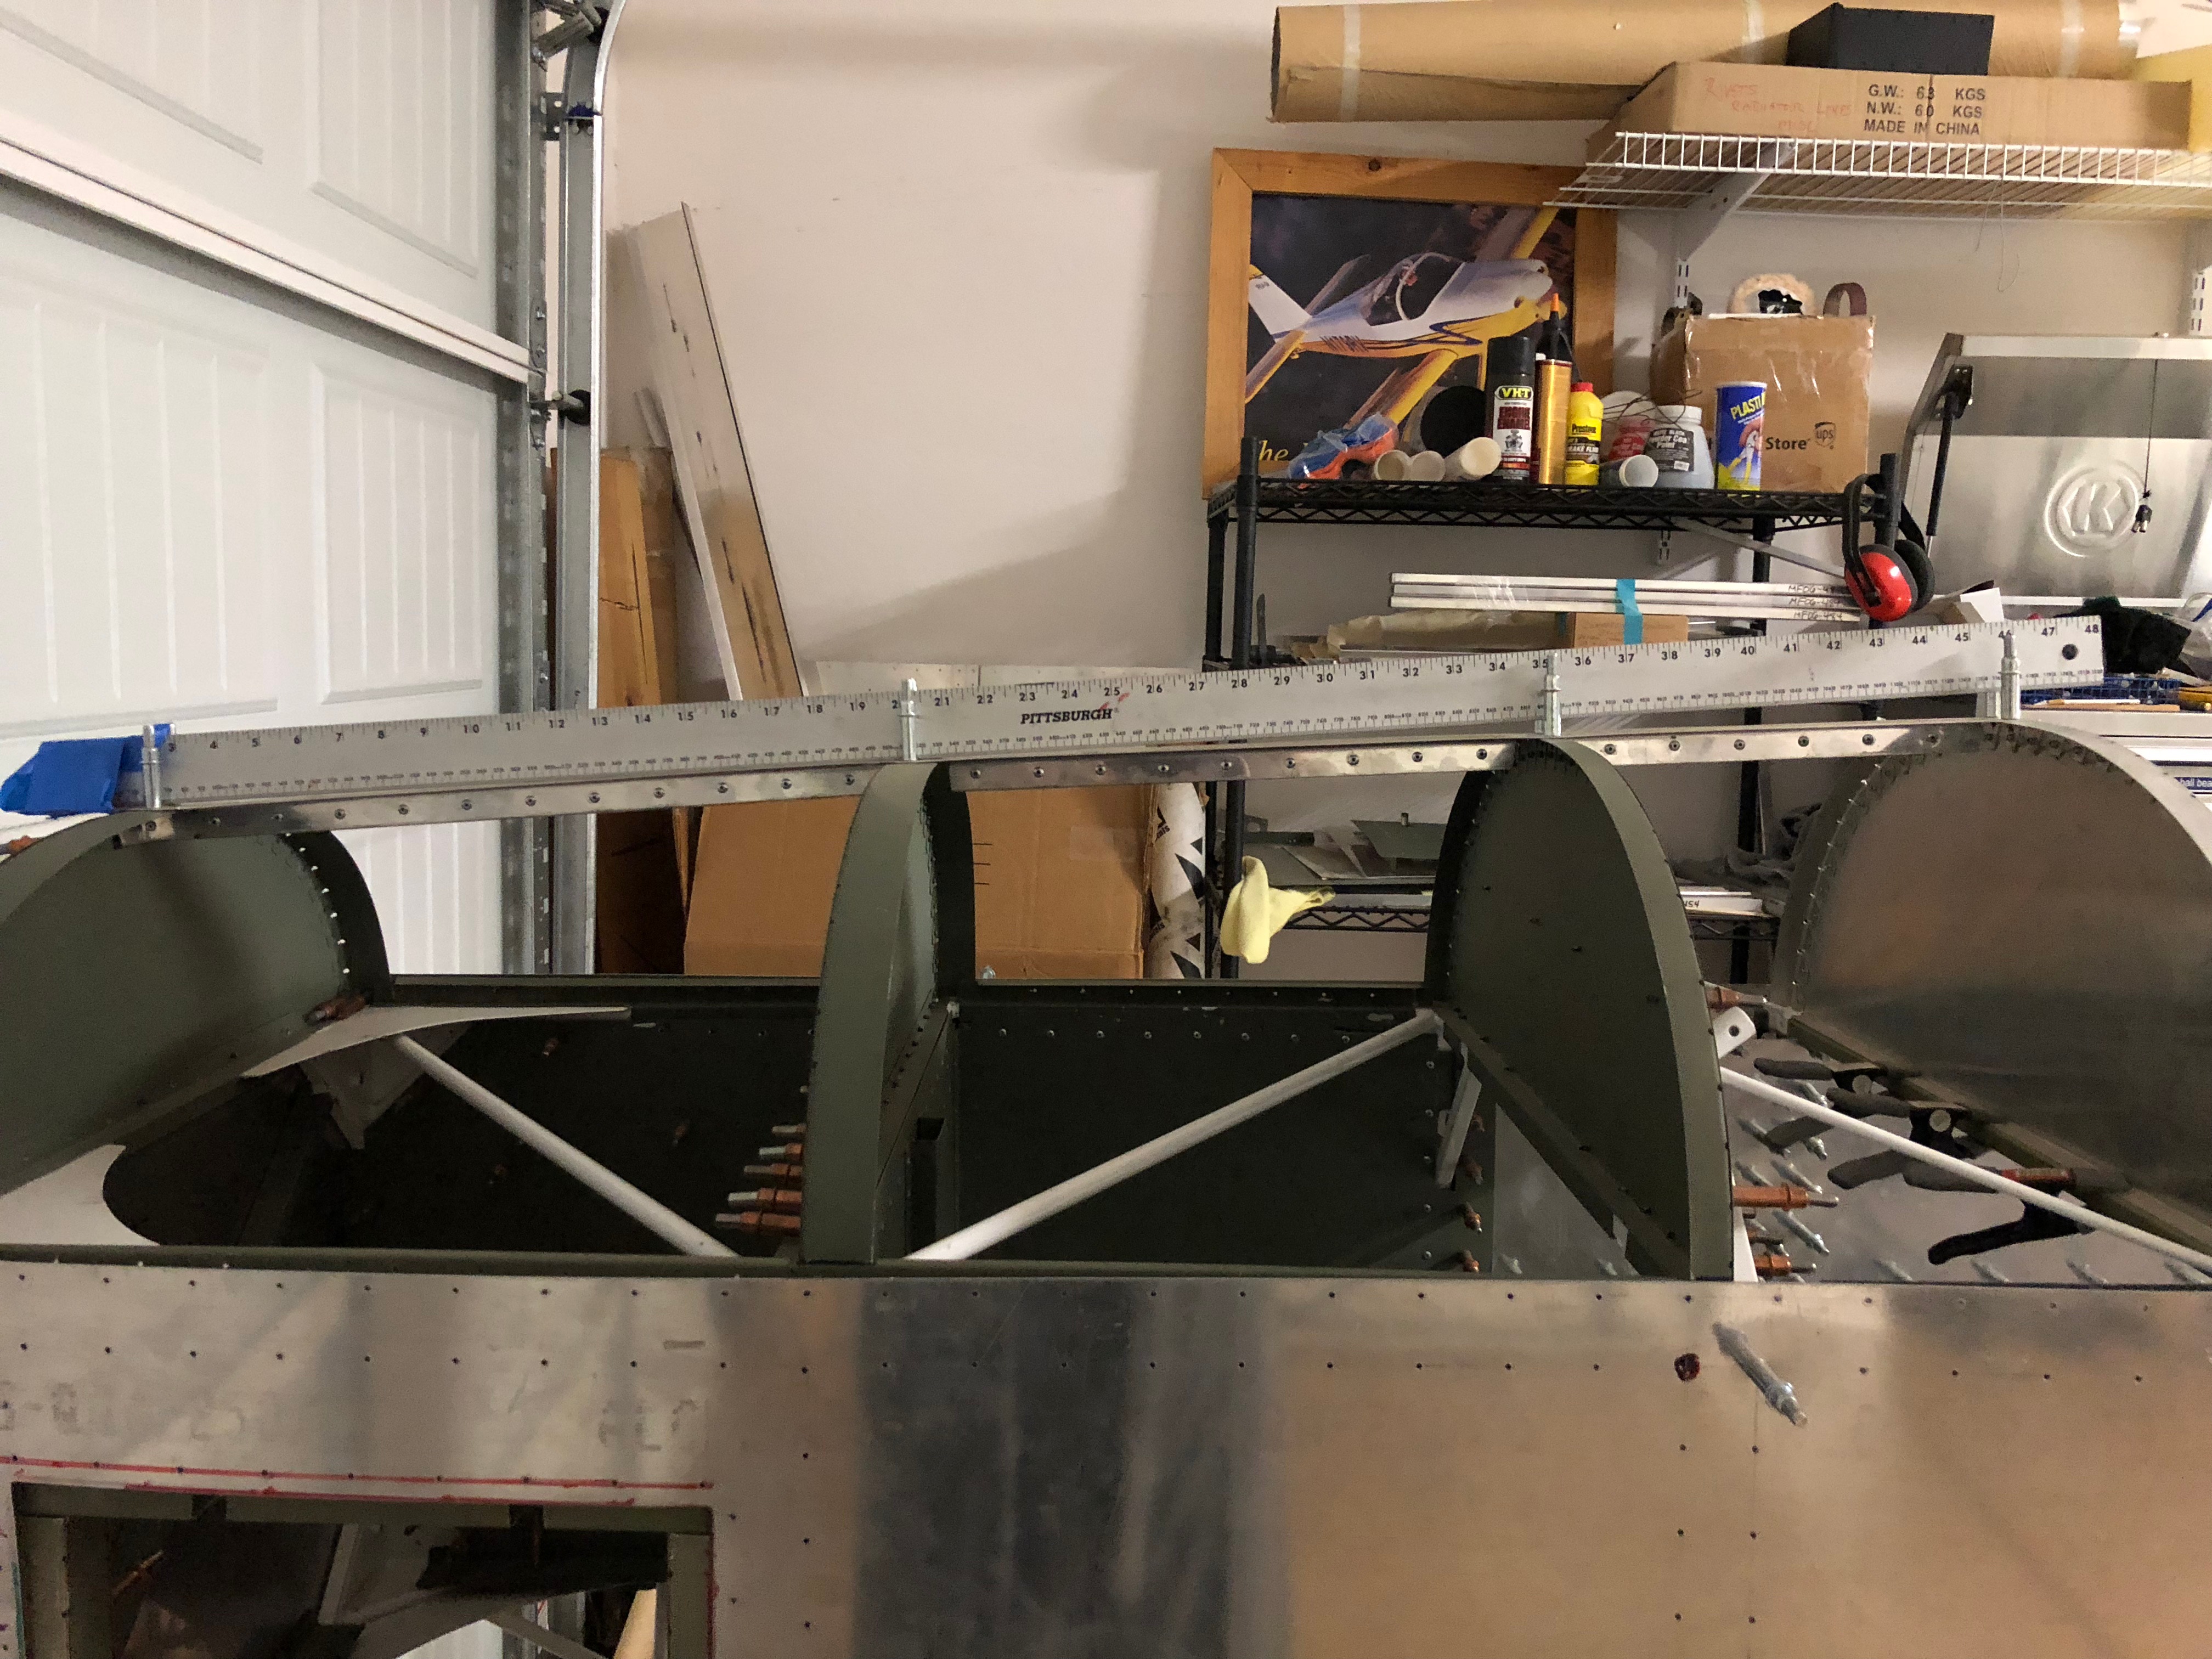
Straight edge laid on top of the Center Stringer. This shows there is a slight curve along the top going from #2 to #4.