

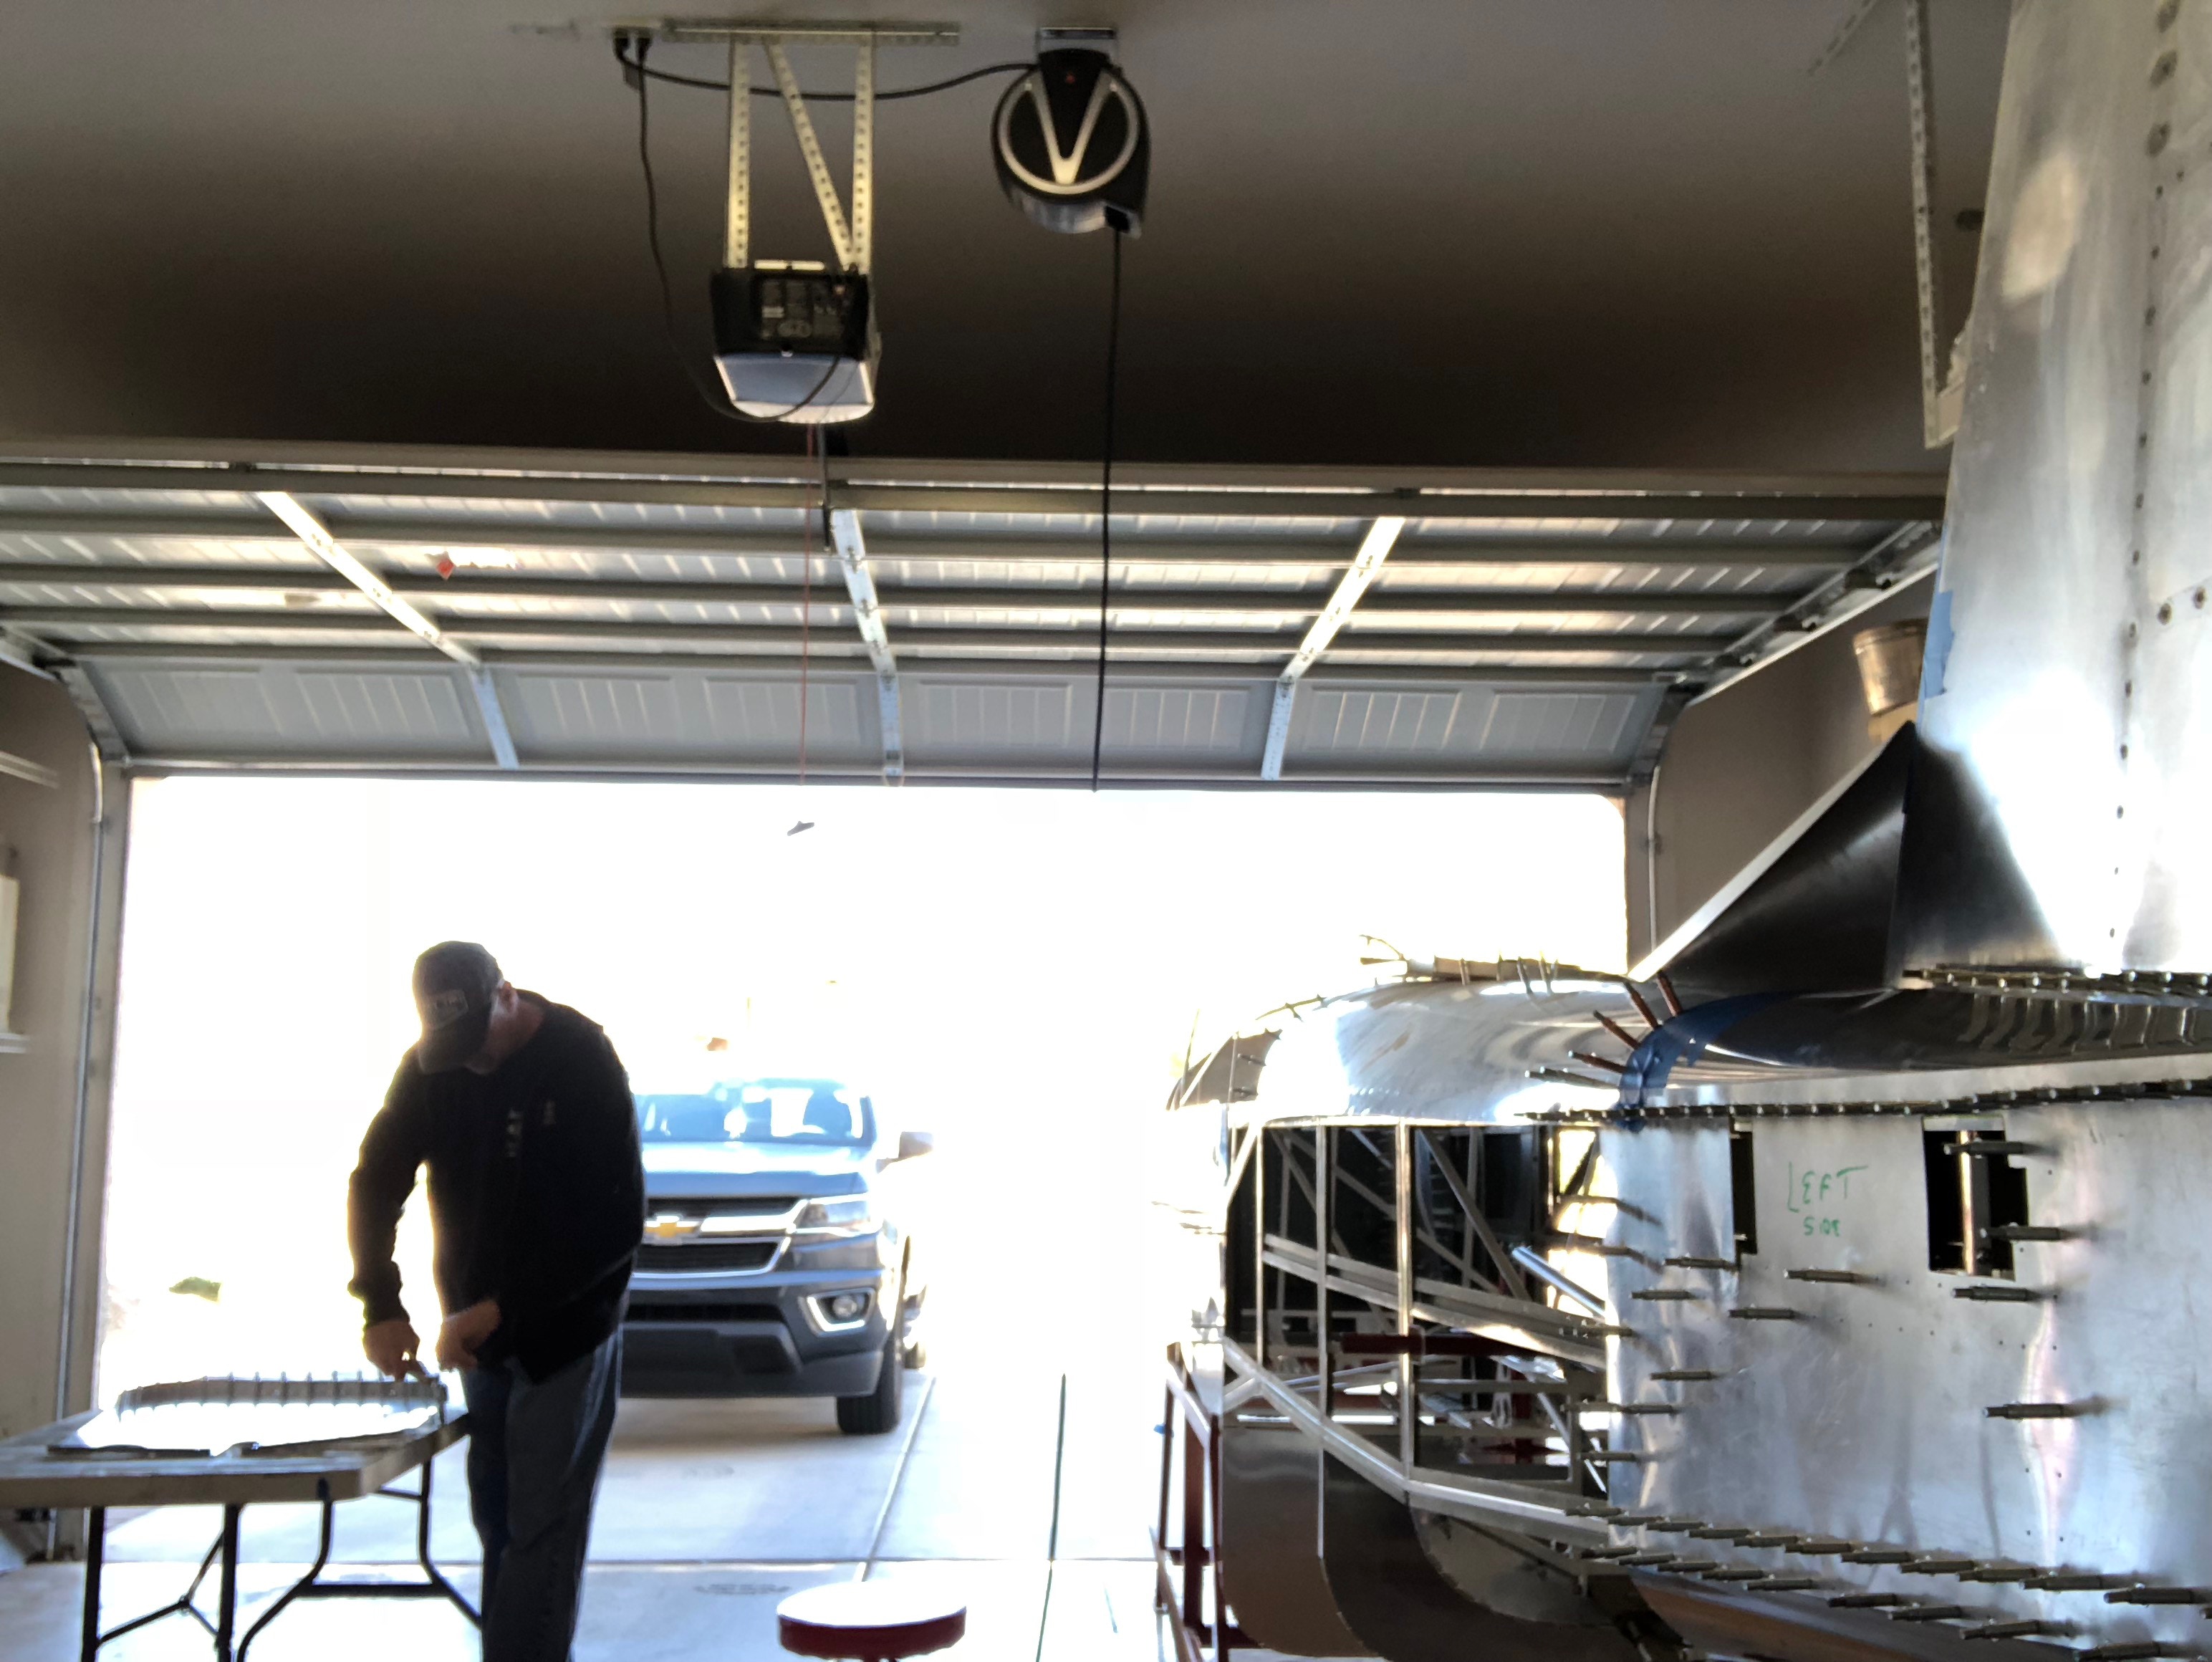
FUSELAGE - Belly Section
Radiator Exhaust & Top Plenum
In this section we will be:
- Attach flange doublers to L8, L9, and L10 (Sense we are installing a fiberglass belly, we will install doublers after belly has been fit.)
- Fit & install belly stringers
- Install Radiator
- Build Enclosed Exhaust Plenum
Date Started: 10/31/2018 Total Hours: 71.5 hrs
Status: In Progress
Here is an interesting article on the Original P51 Mustang and it’s exhaust system:

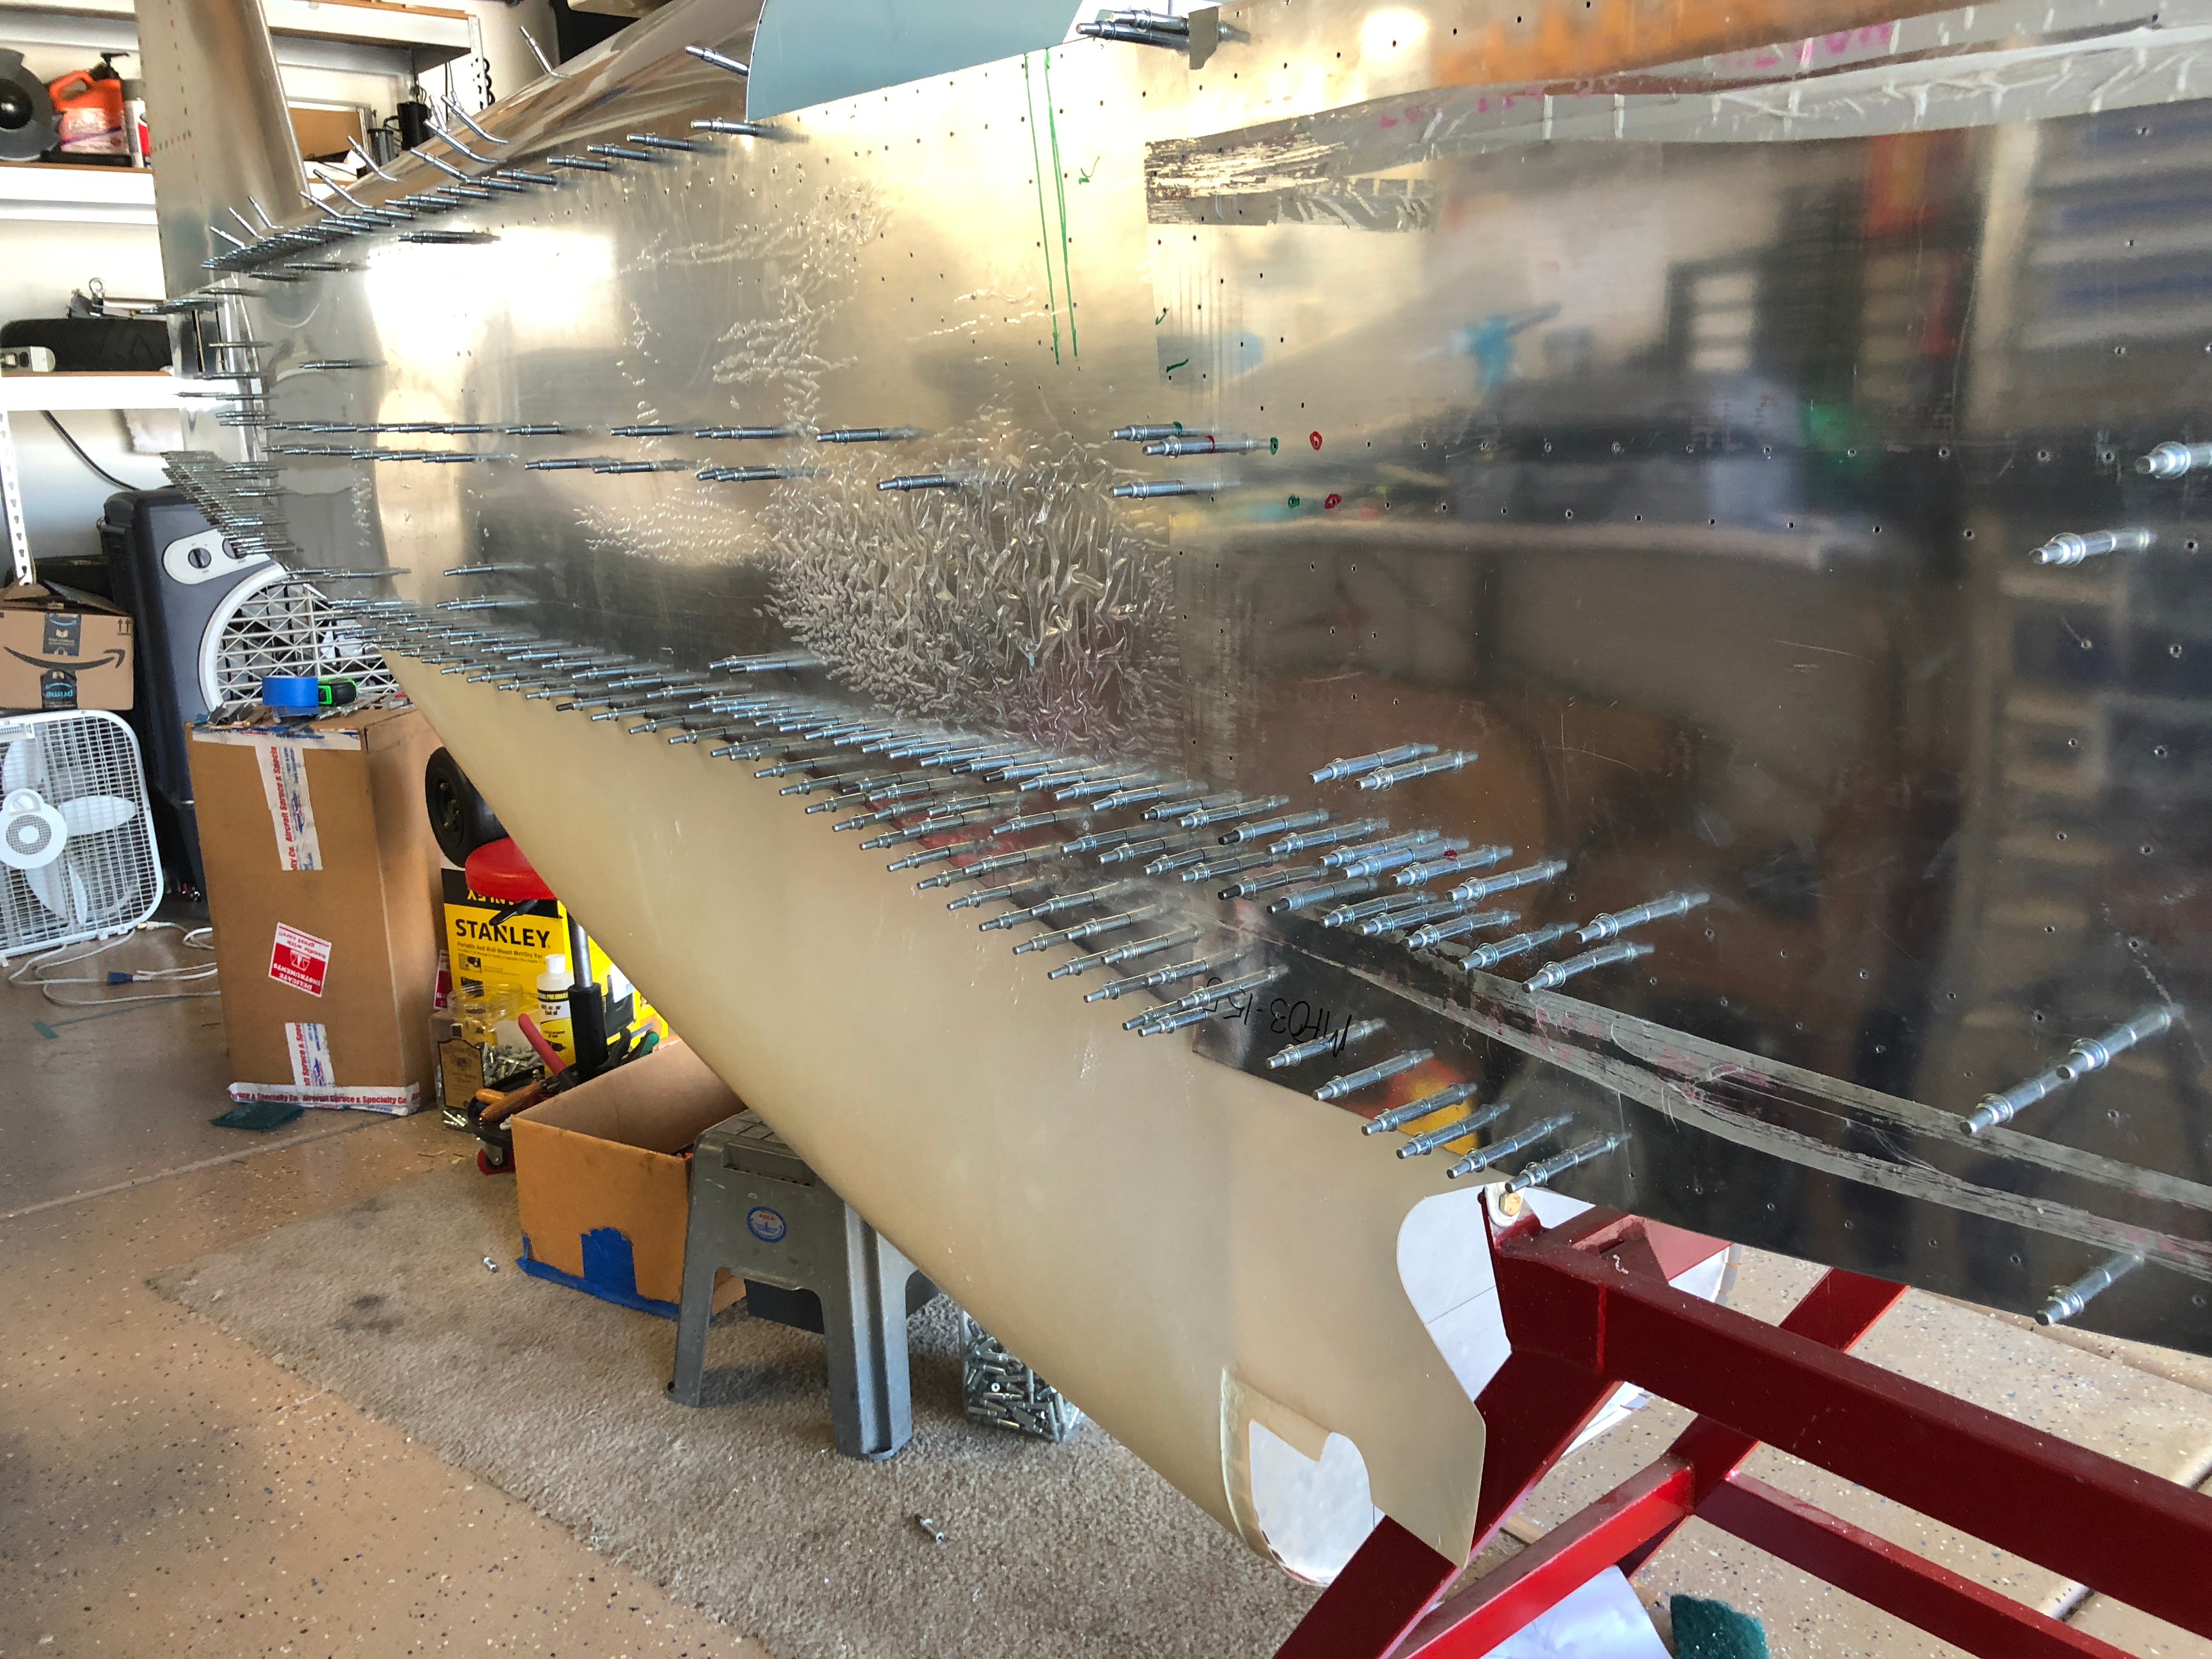
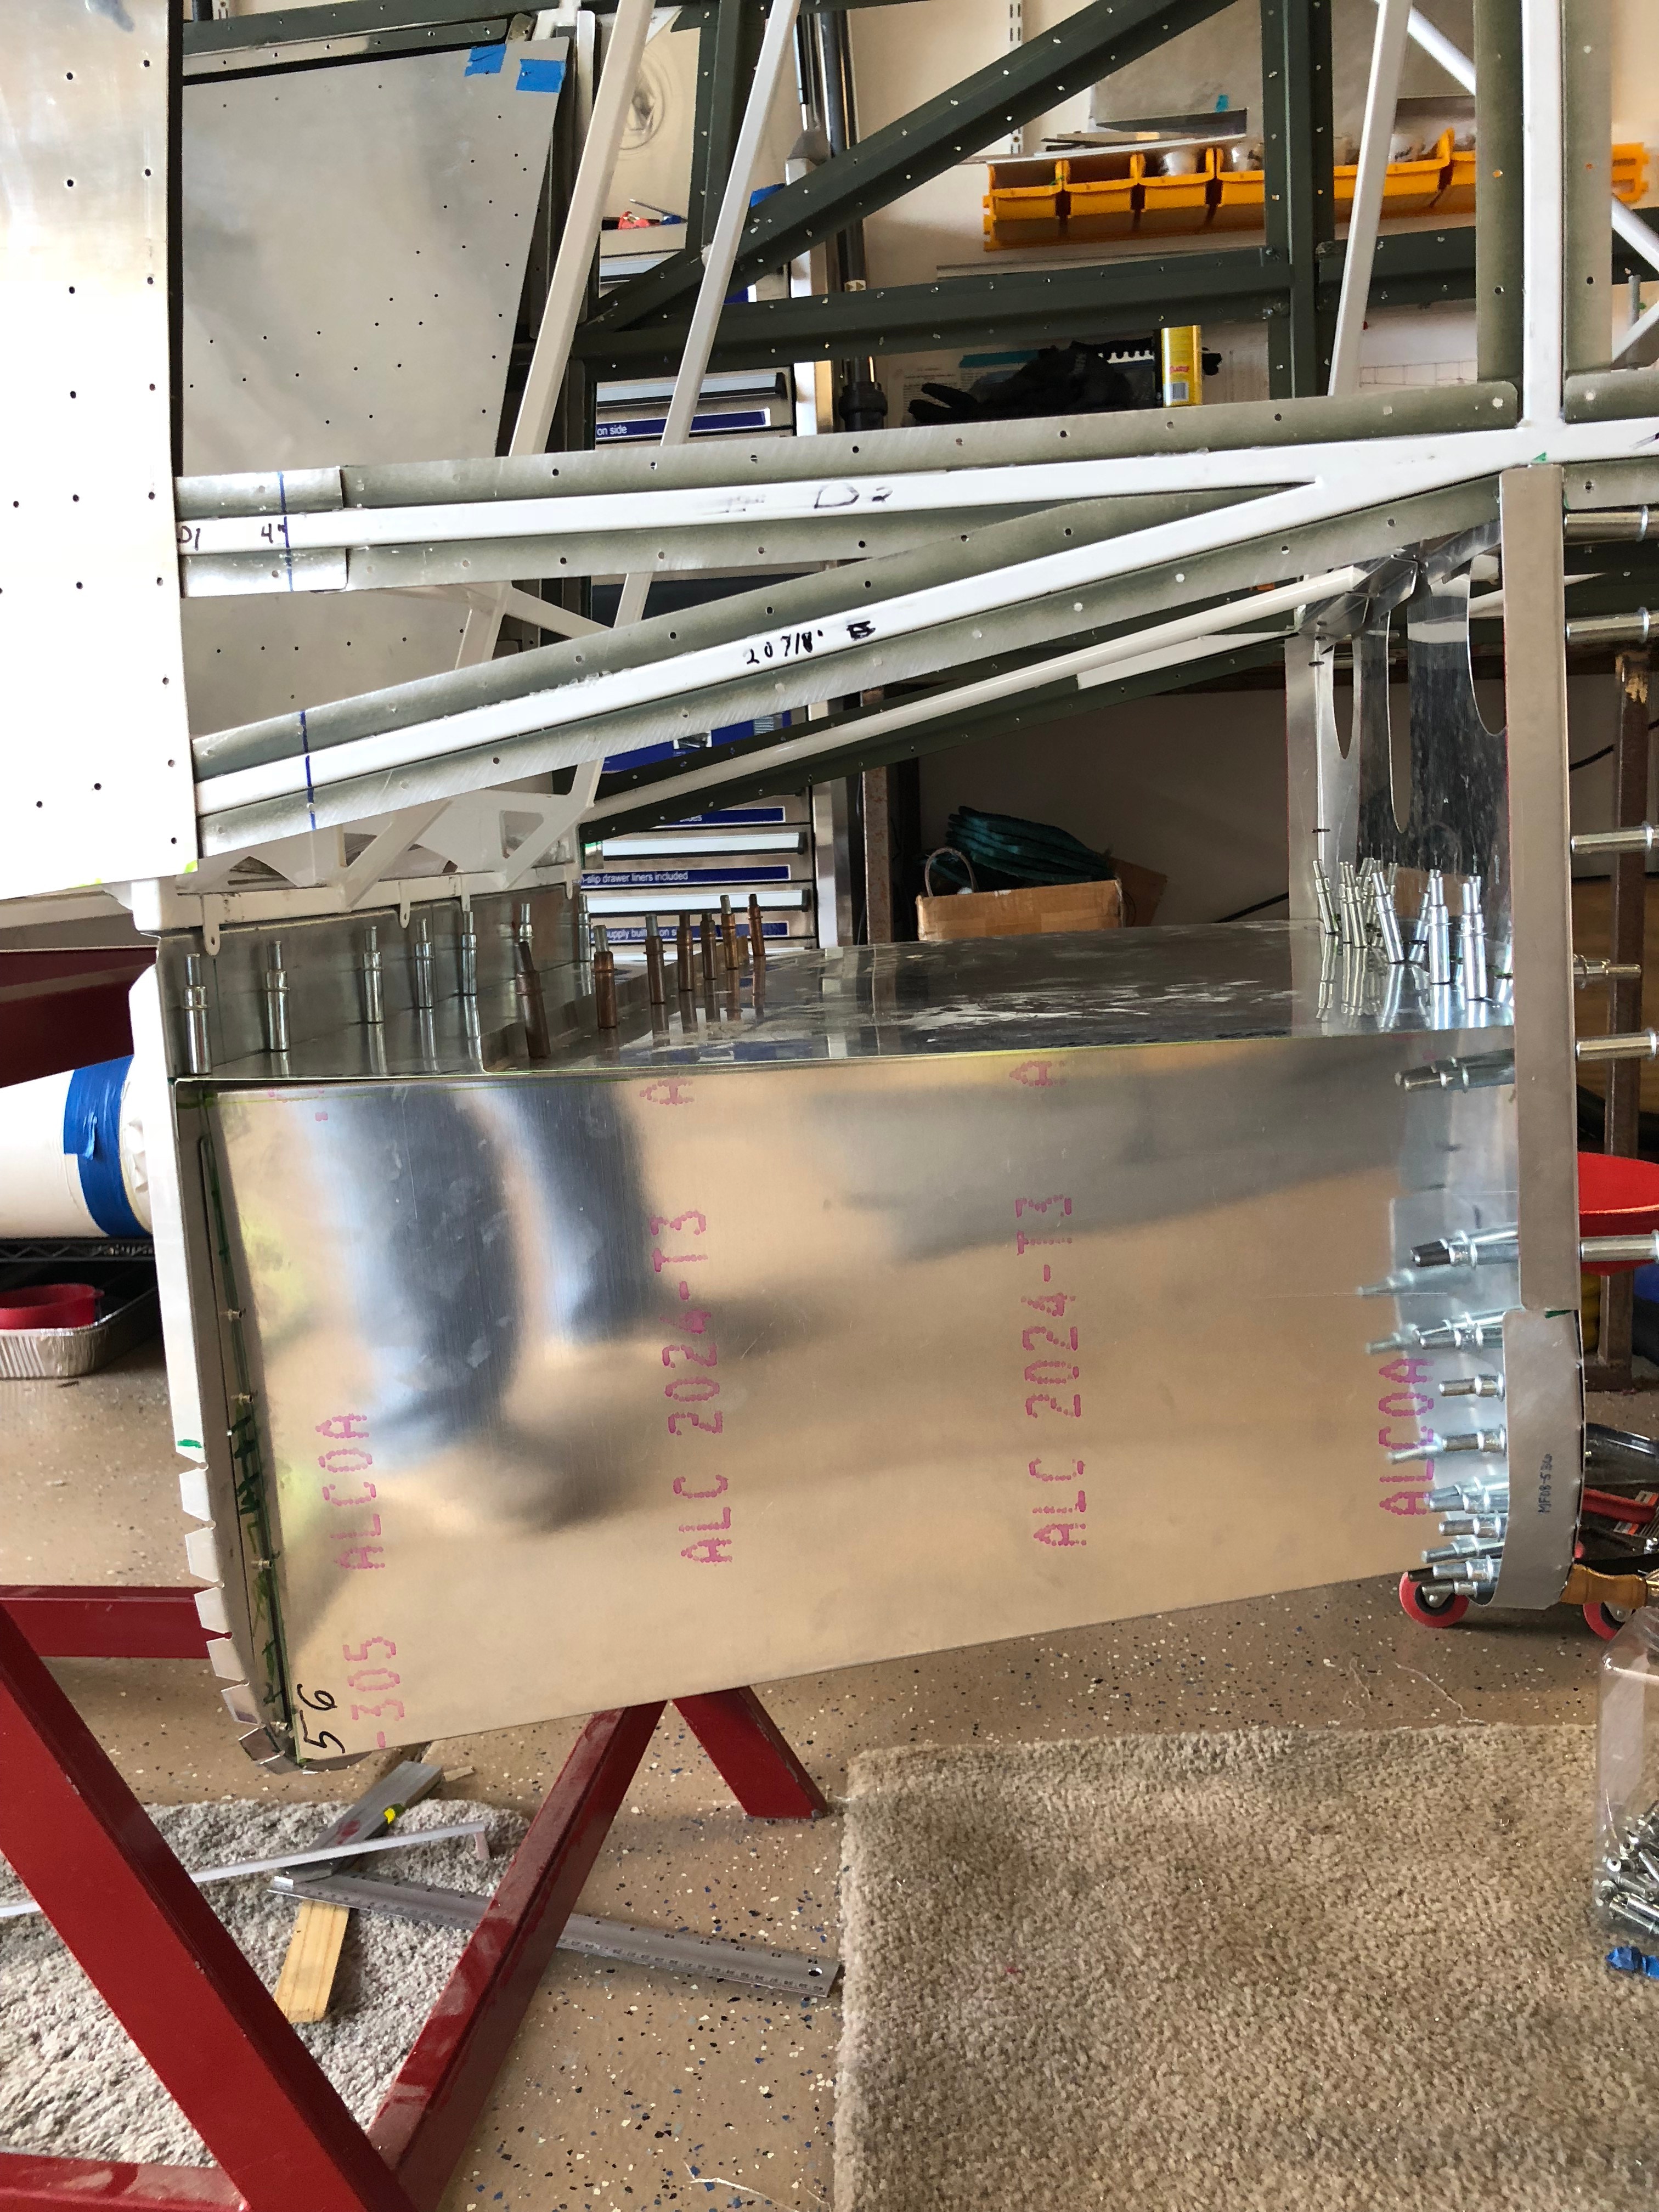
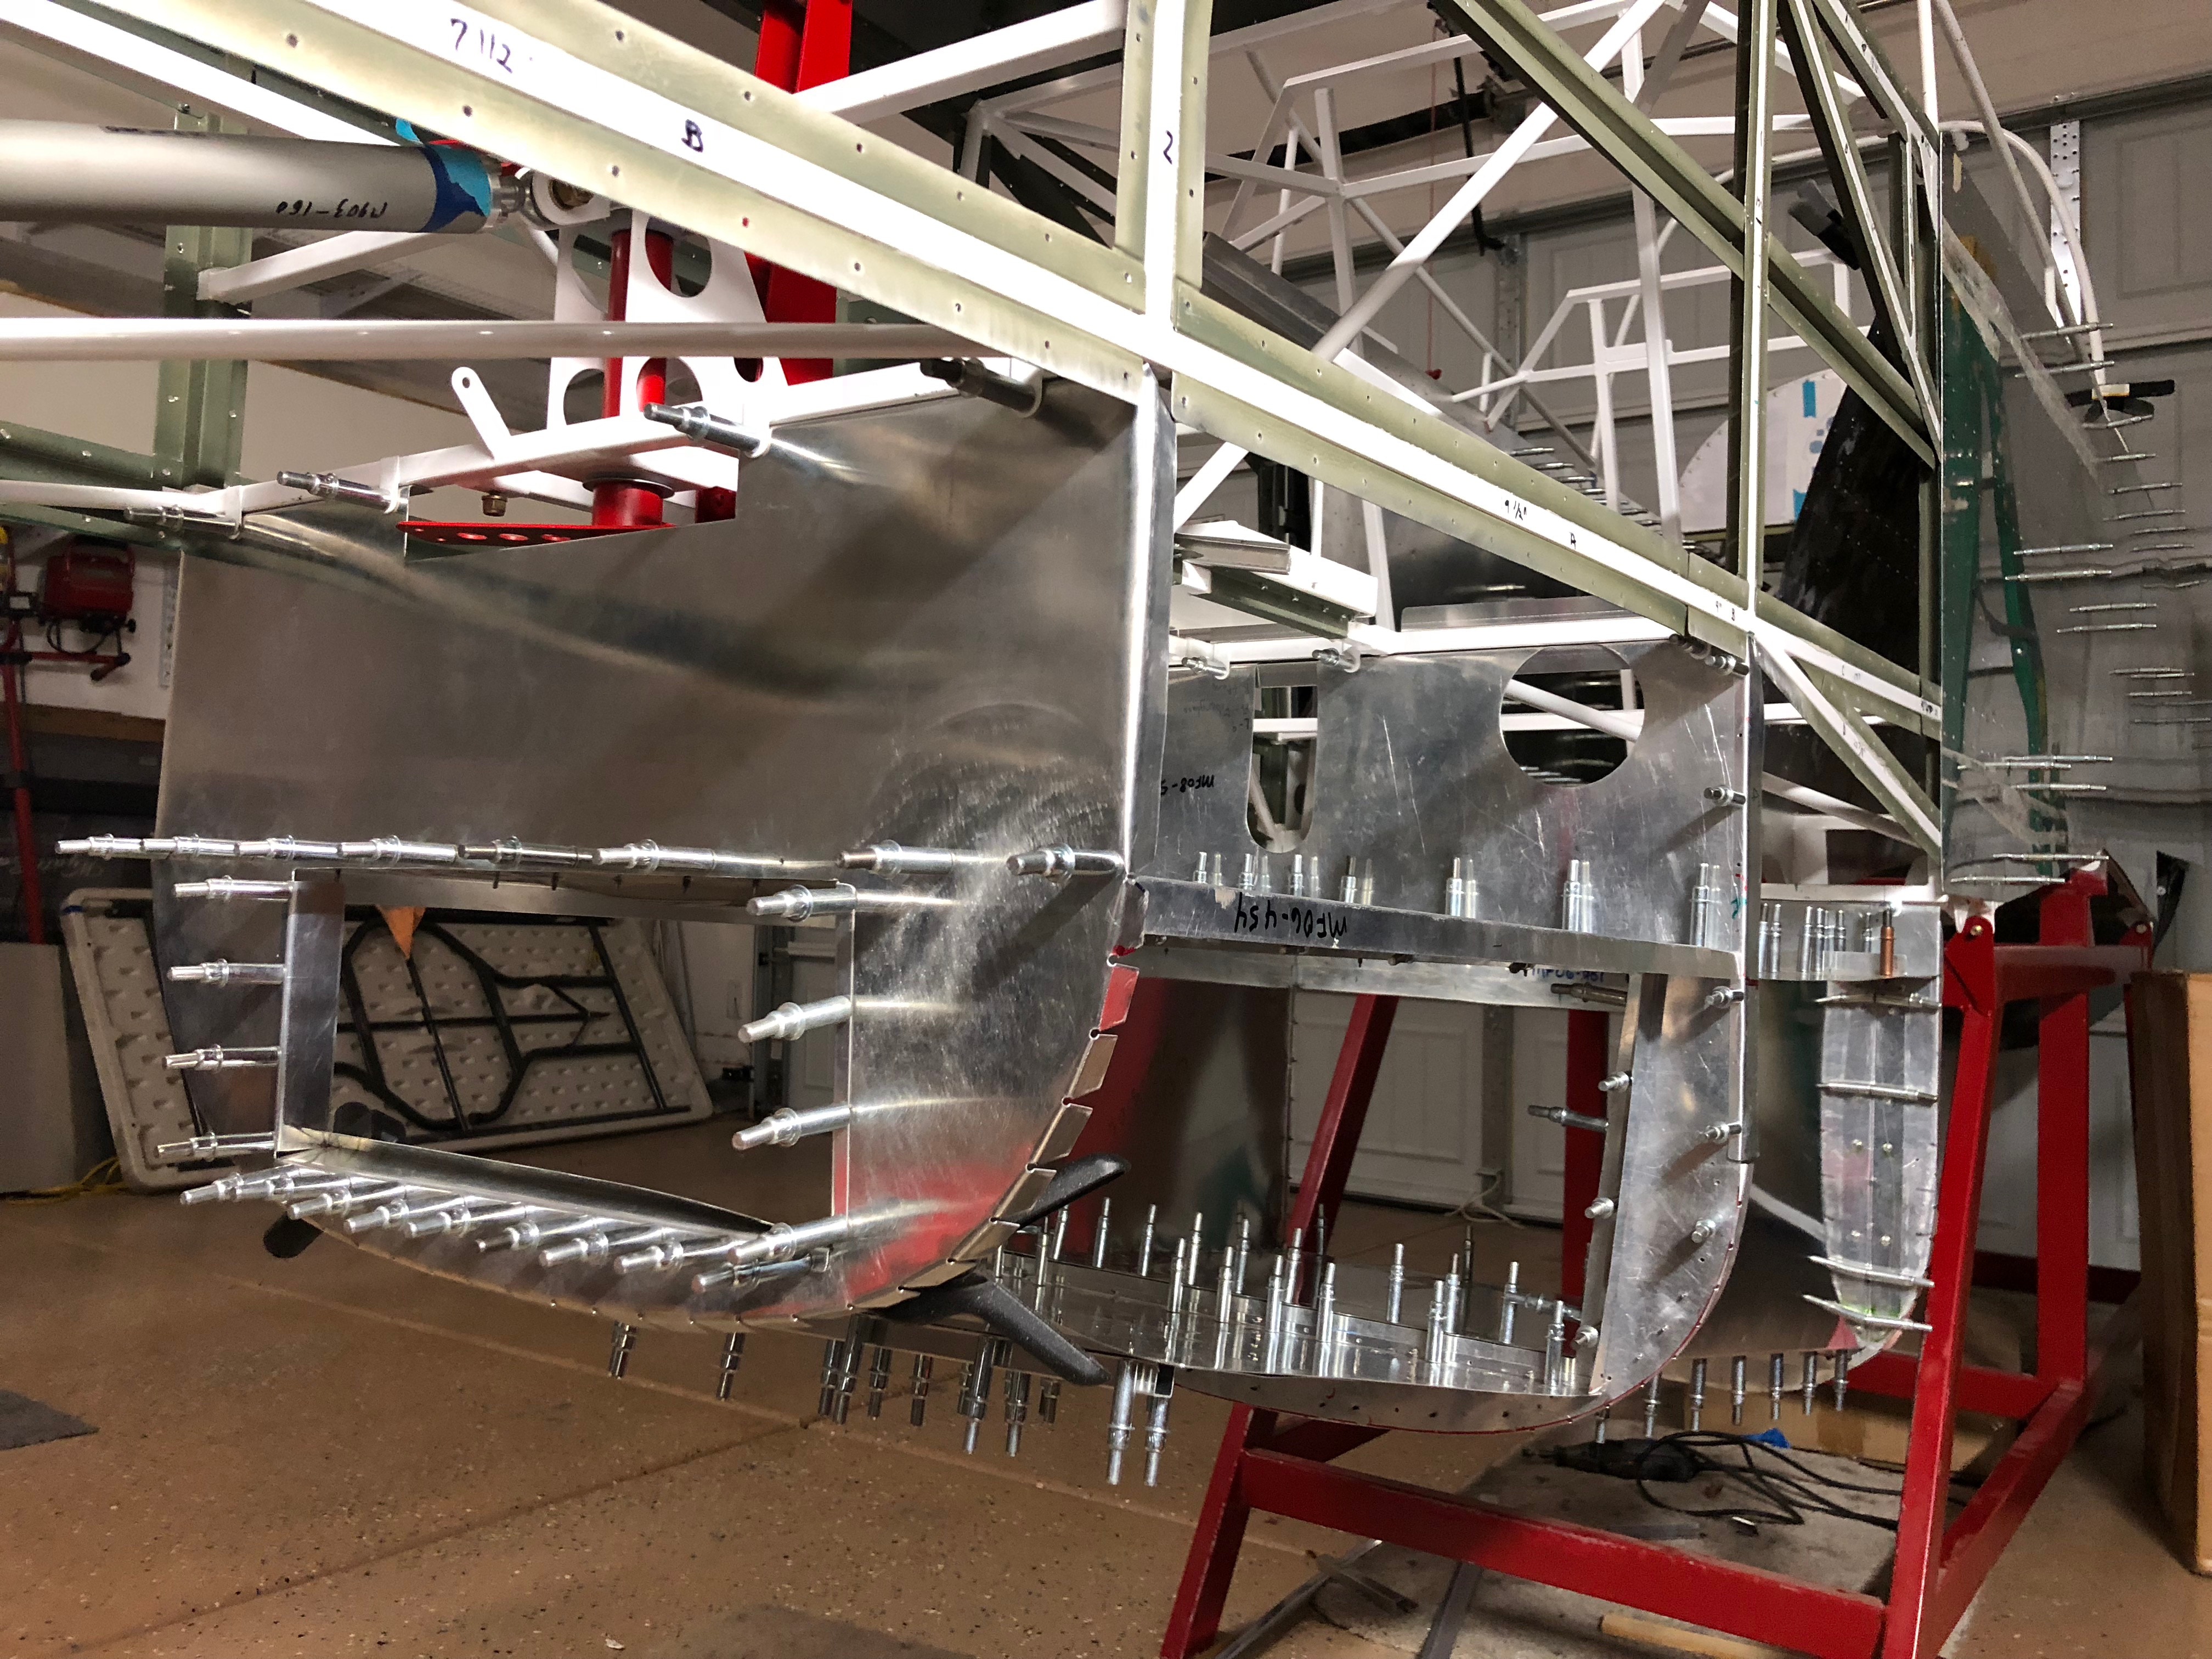
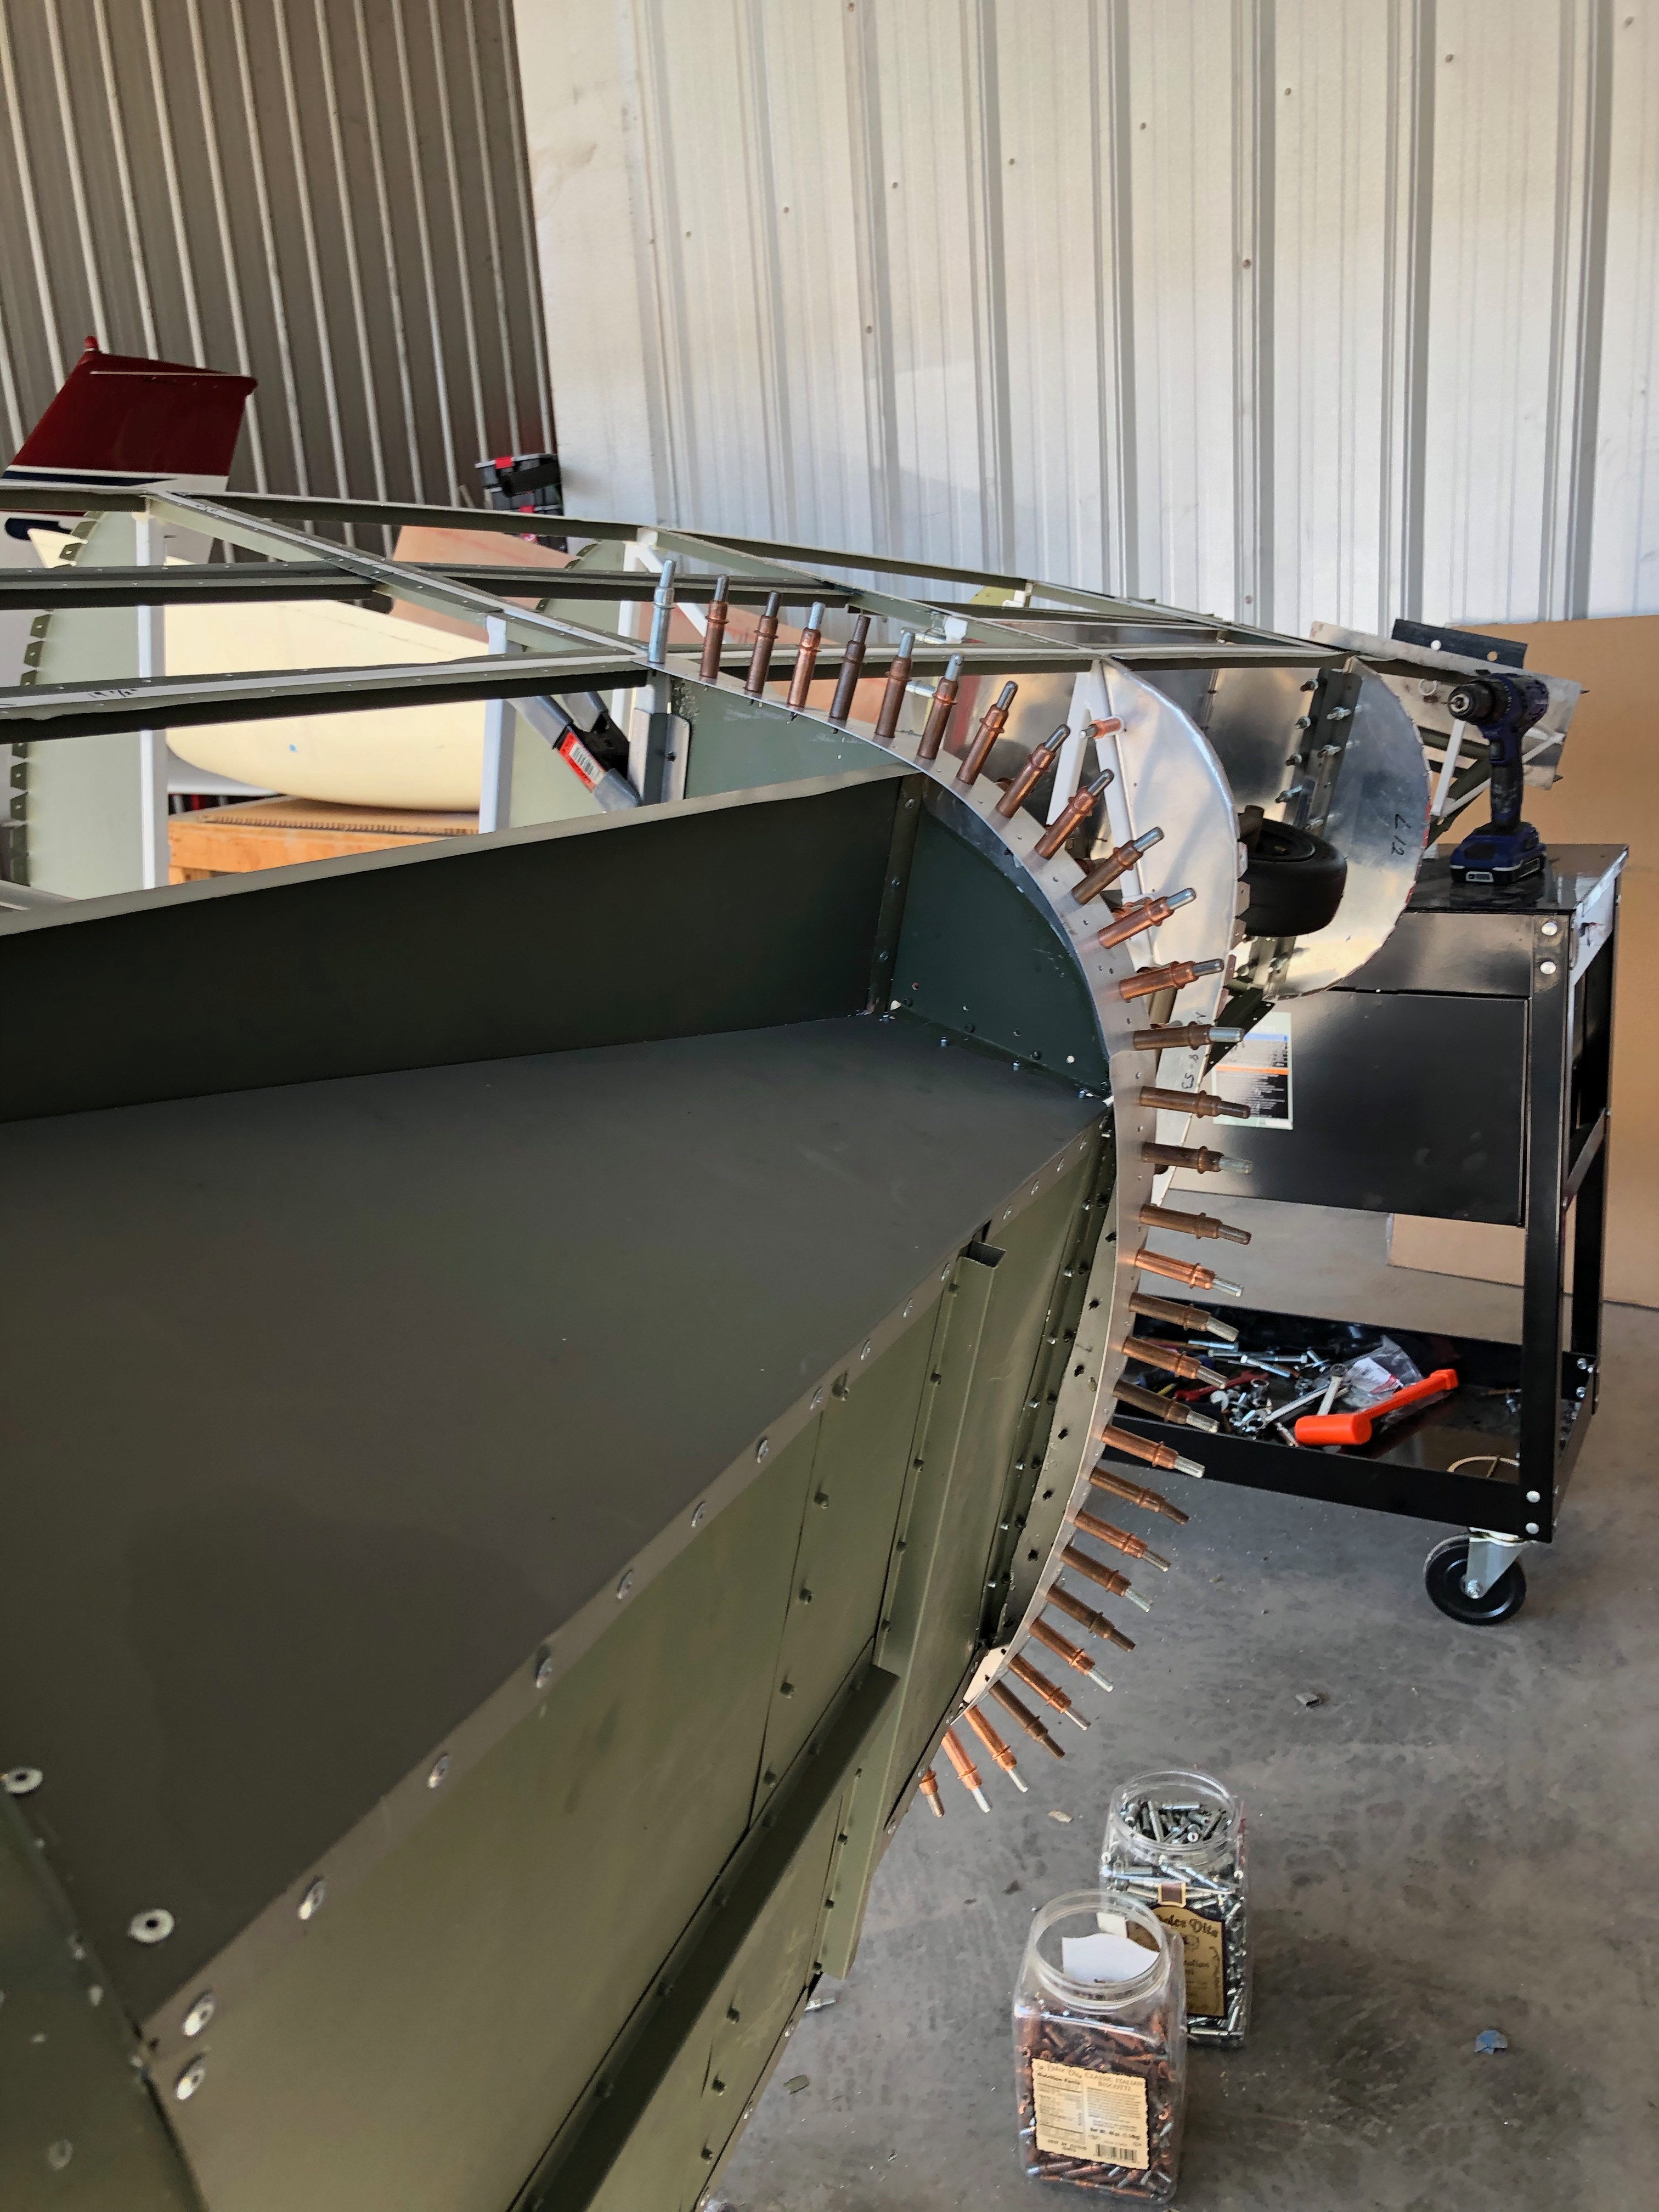
10/31/2018 - 5 hrs - Belly has been fitted - now ready to move on to the next steps
10/31/2018 -
right side view of Belly Fitted
2/3/2018 - 2.5 hrs - worked on lower Bulkheads #9 to allow the FB Belly to fit better
2/3/2018 - 2.5 hrs - fit and cut side stringers for FB Belly.

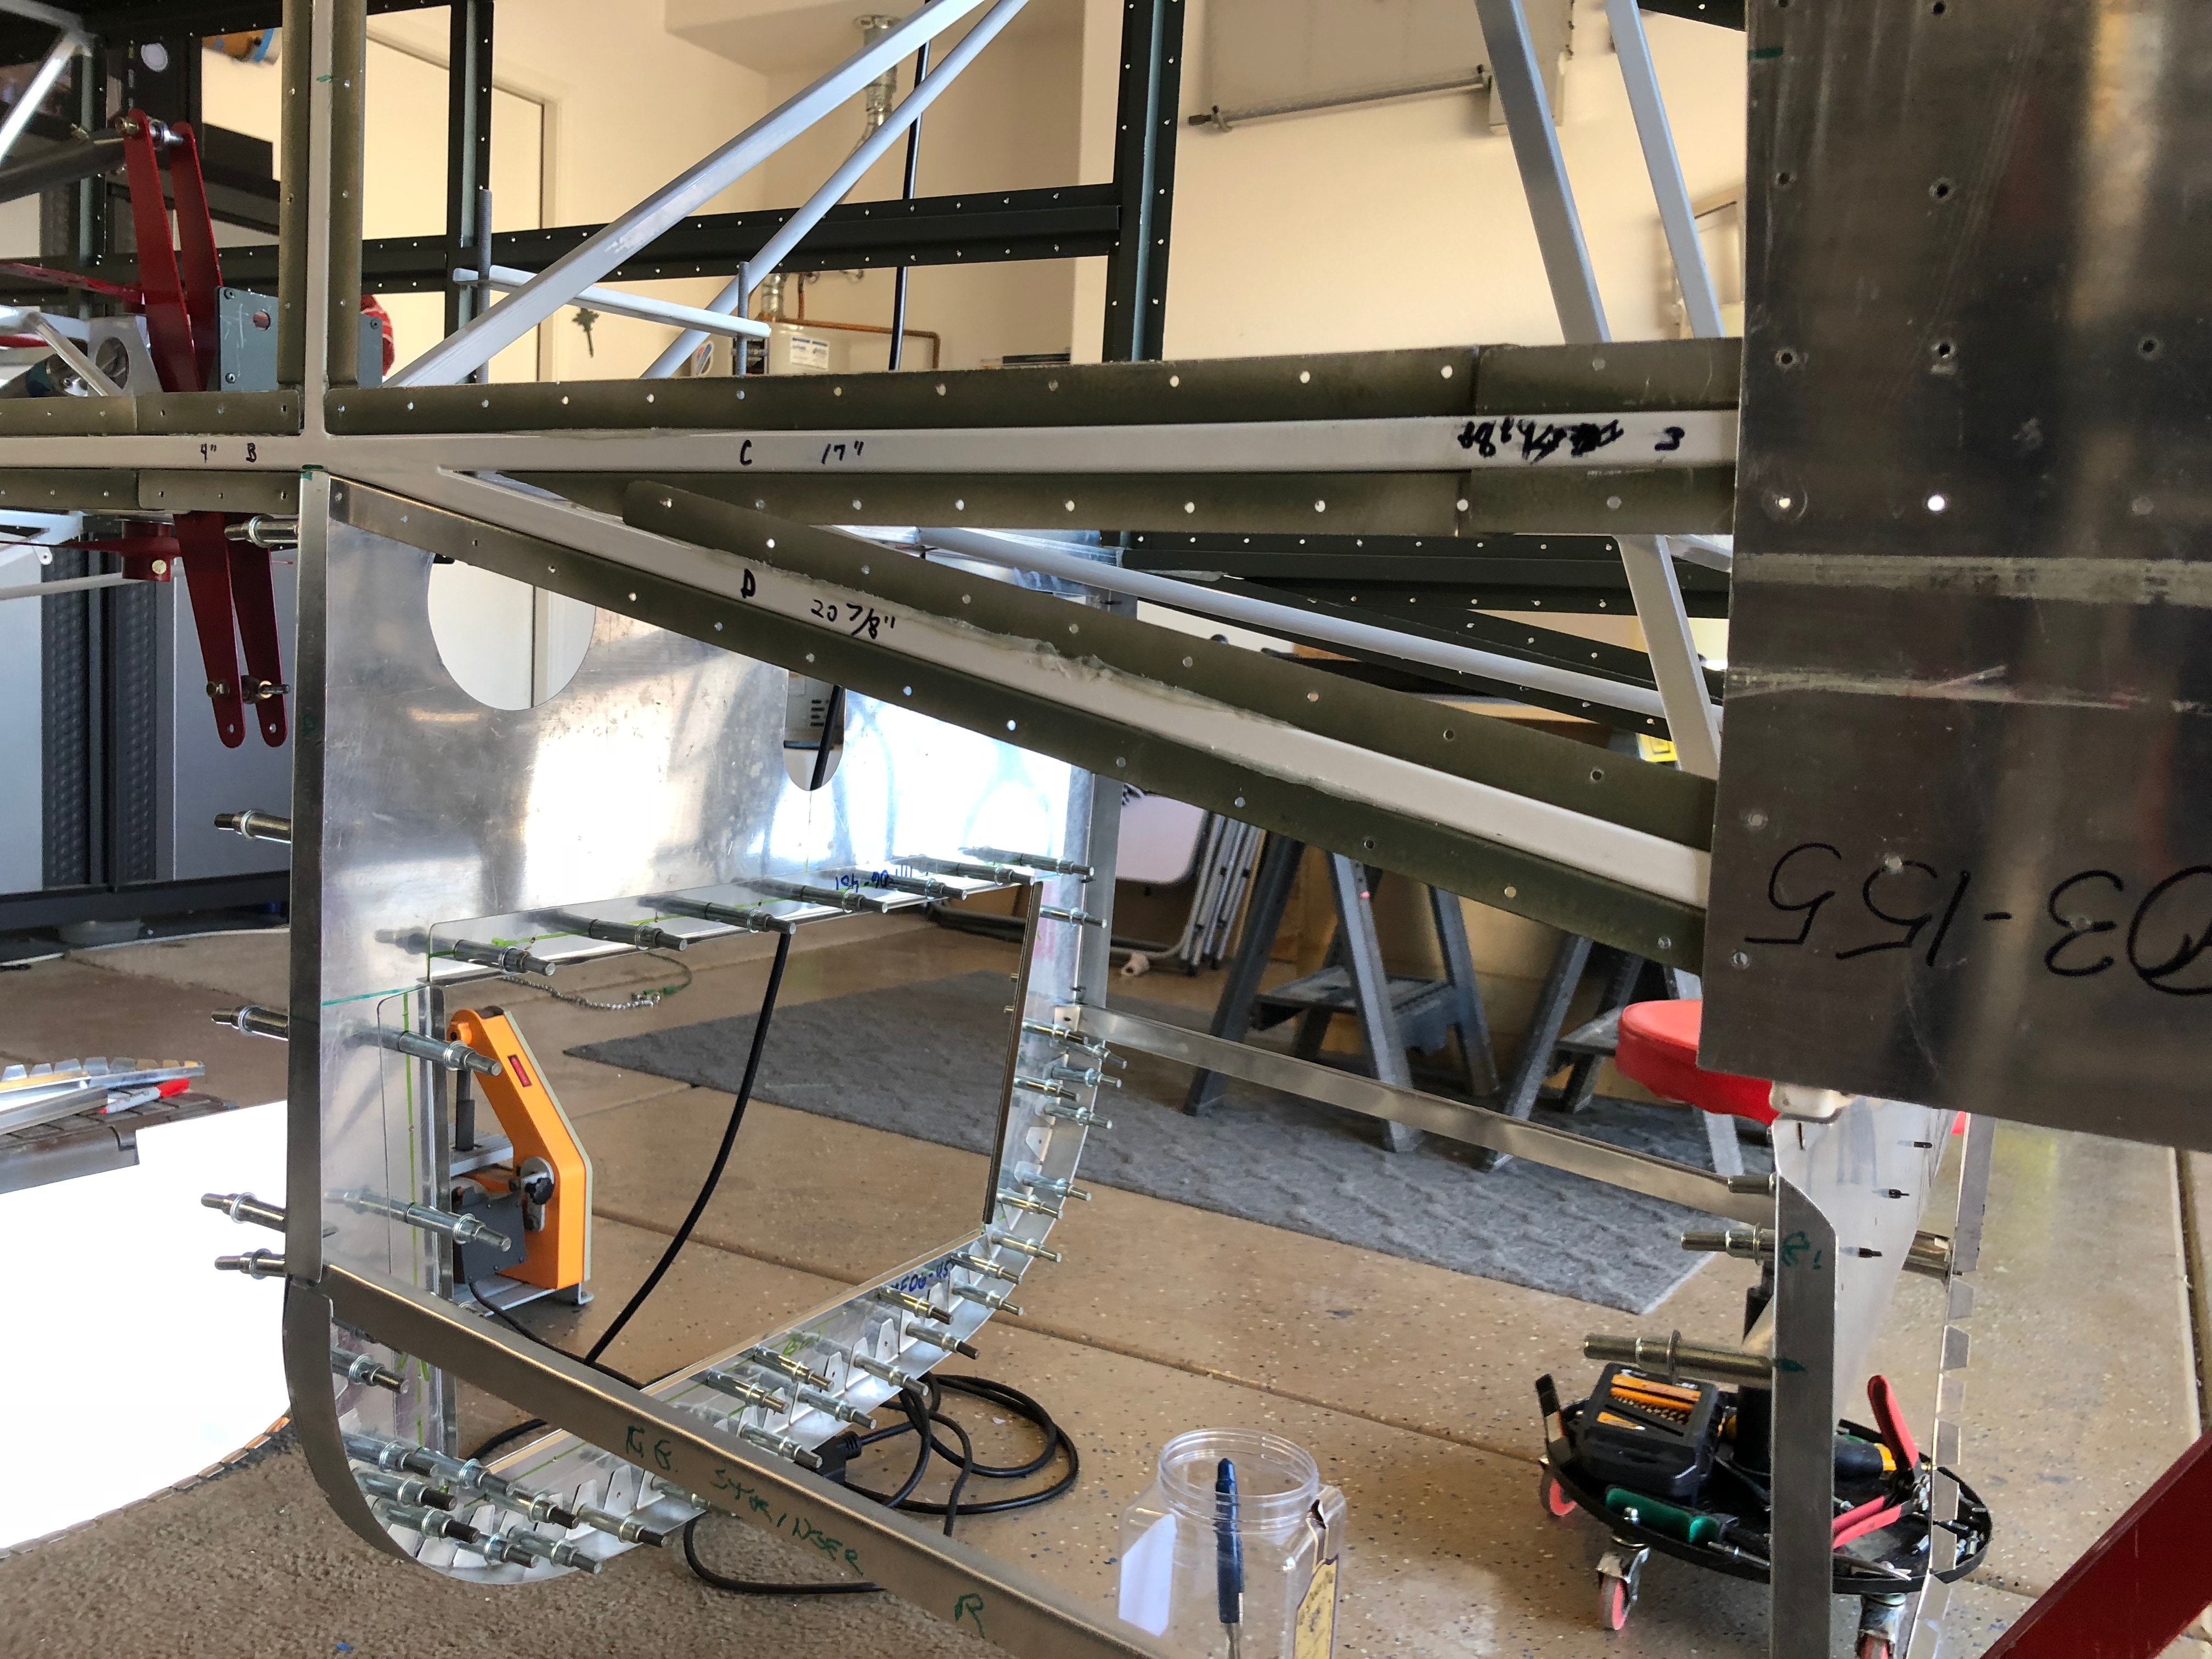
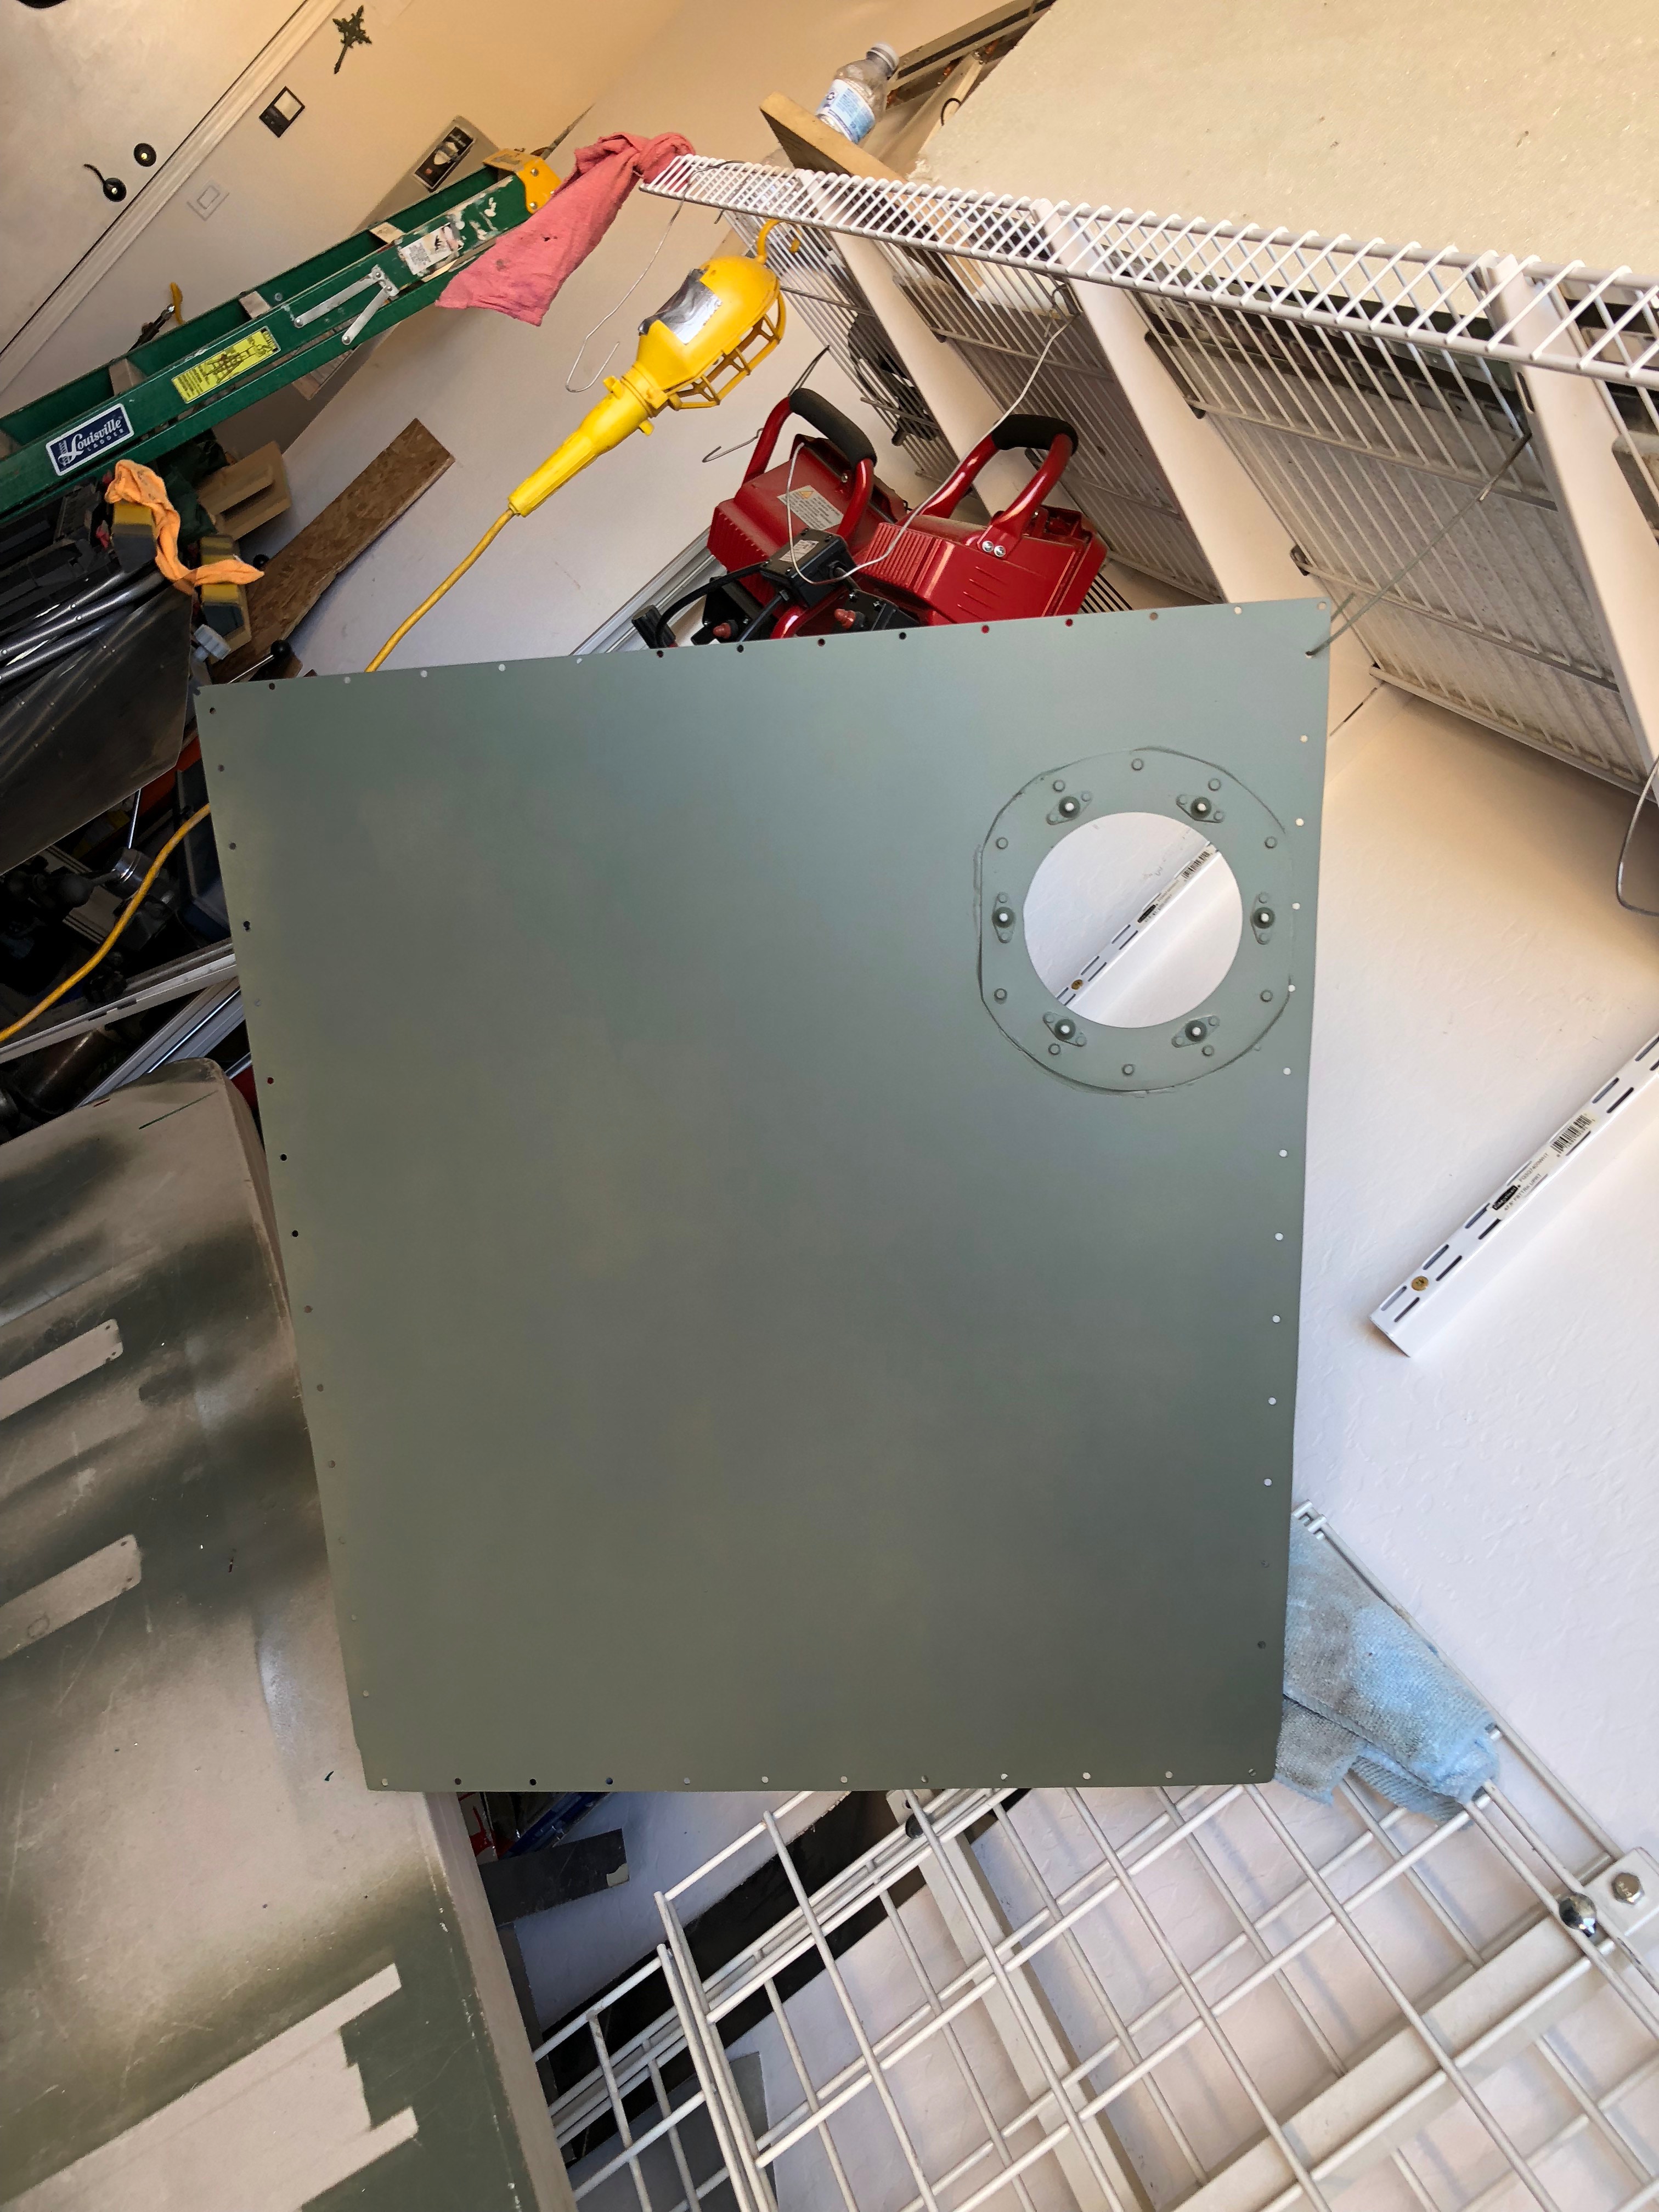
2/10/2018 - 5 hrs - Worked on lower bulkhead #8 to fit the Radiator. Cut opening for Radiator. Had to trim the lower conners of radiator flange to fit.
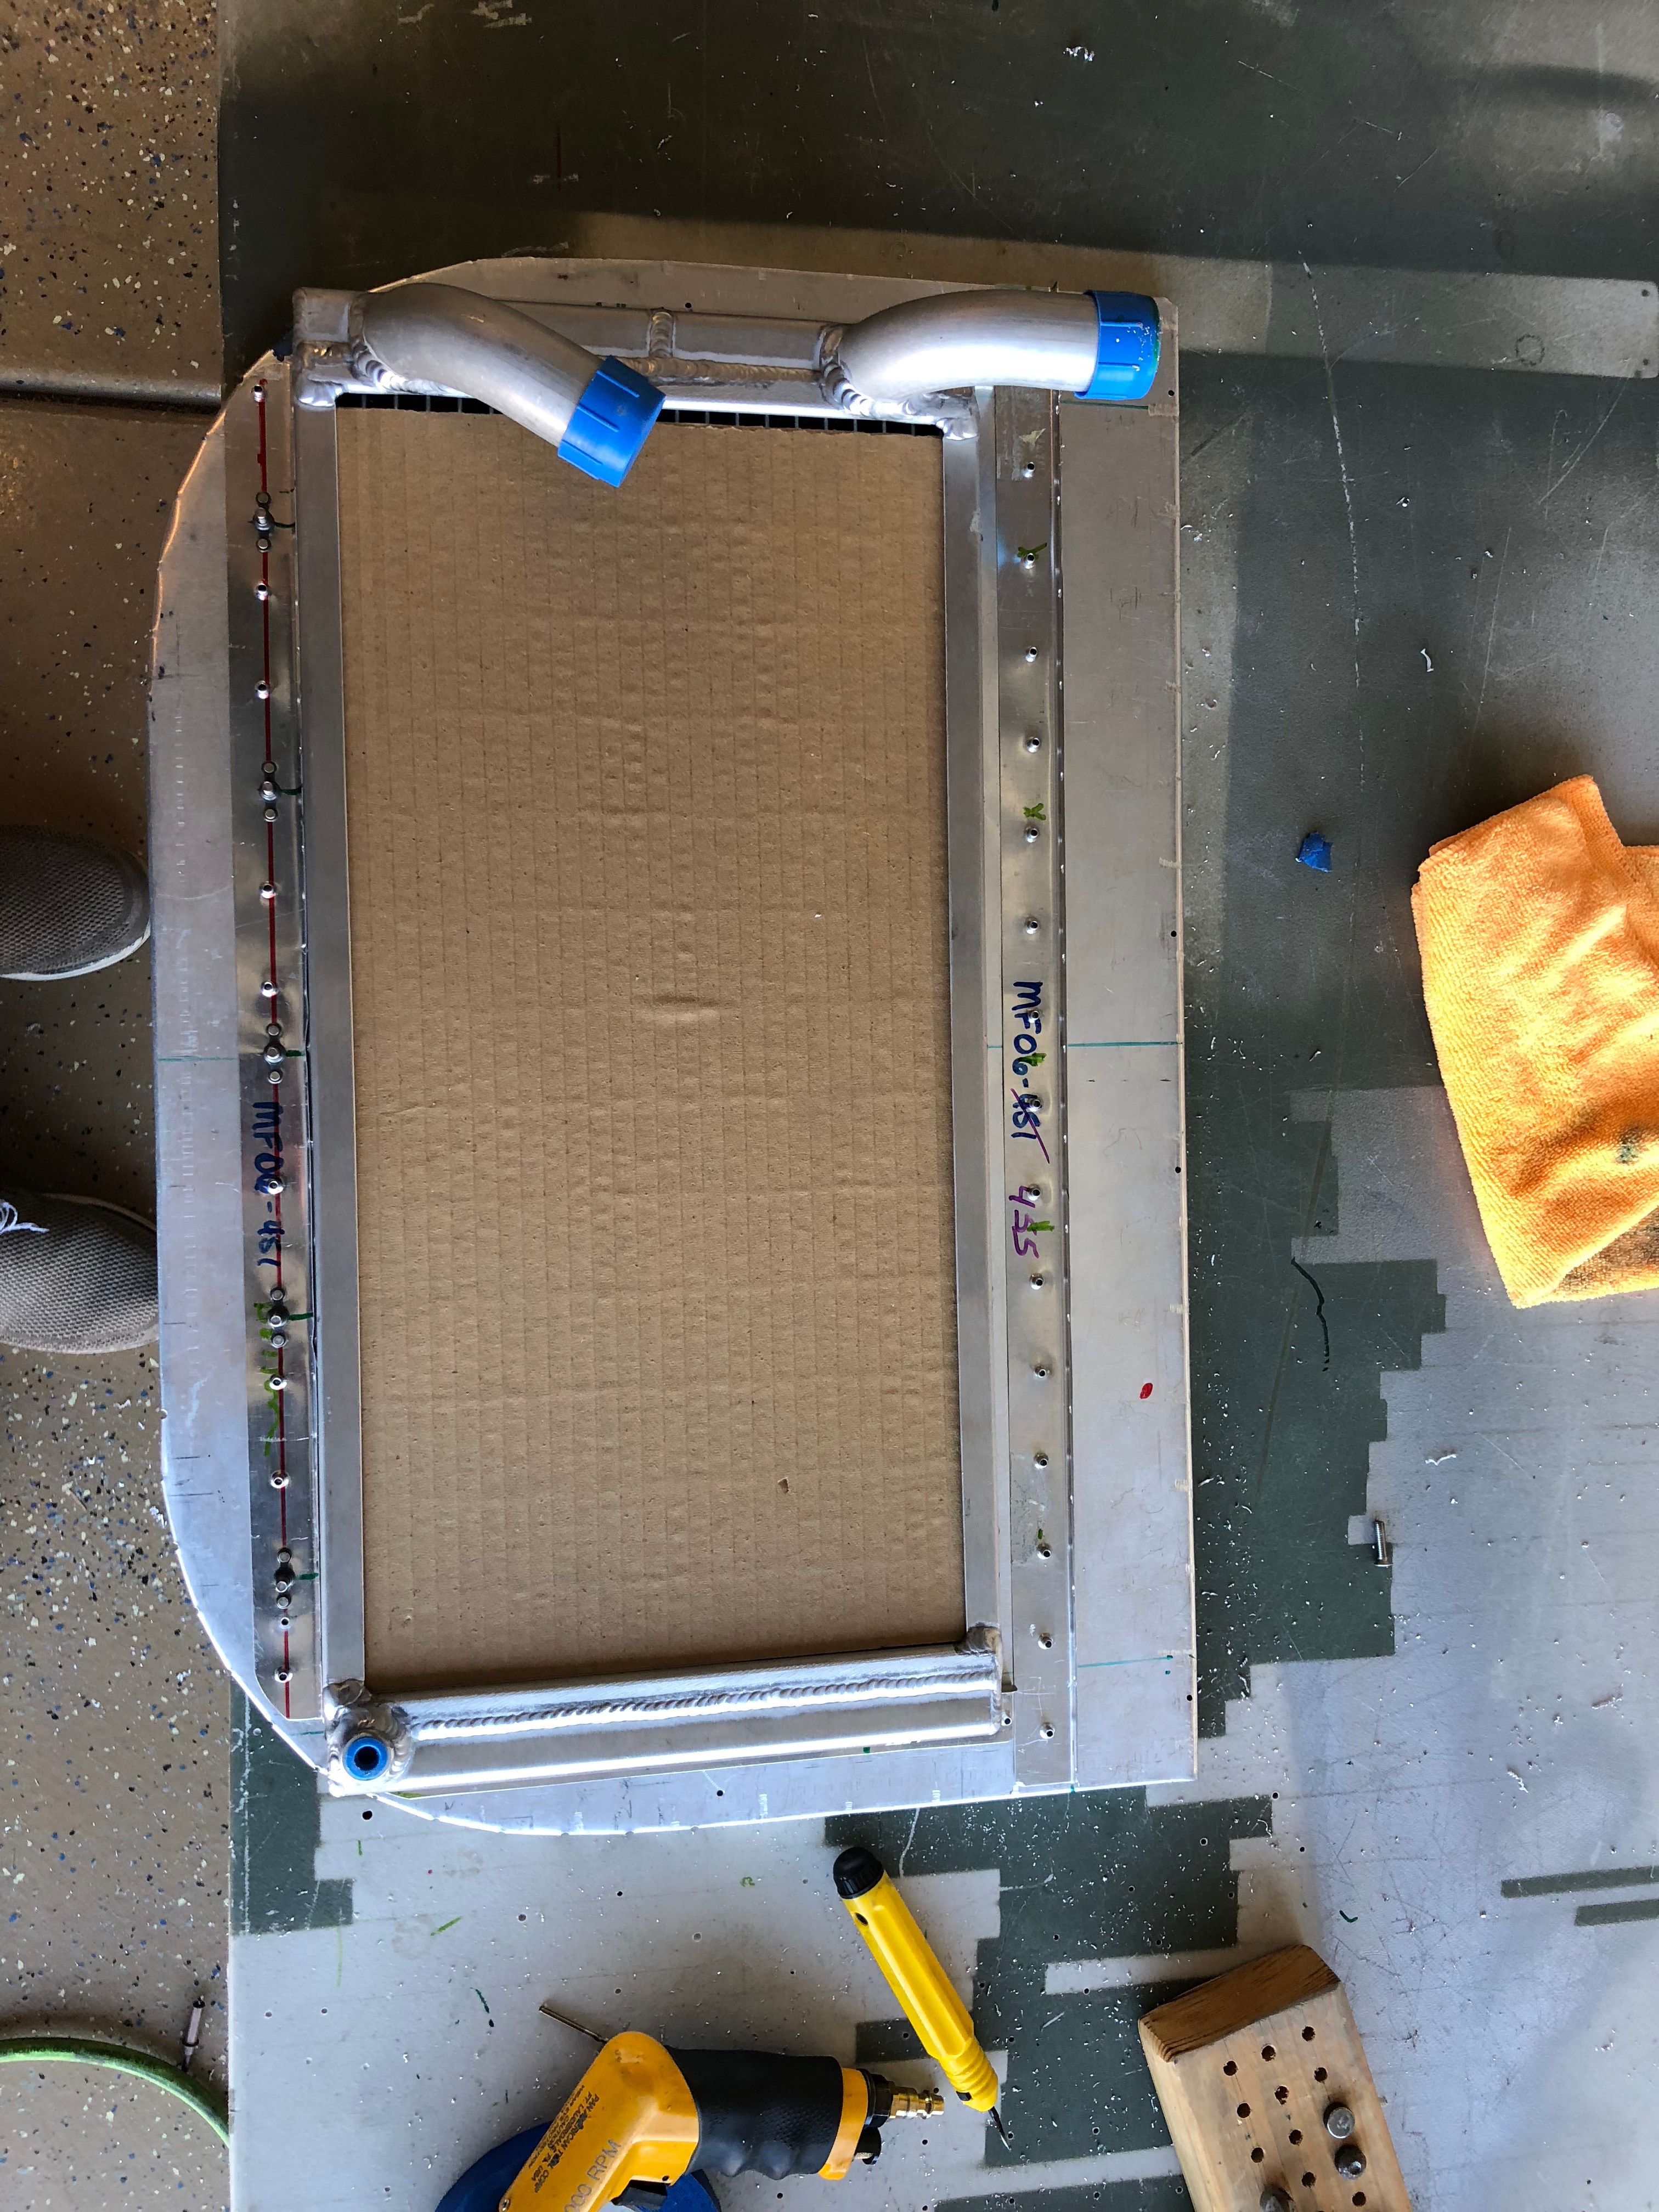
2/11/2018 - 4 hrs - fit top and bottom for Plenum ducting from L8 to L9

2/17/2018 - 5 hrs - Worked on Plenum sides .
2/18/2018 - 5 hrs - Completed fitting and match drilling Plenum top and sides
2/18/2018 - Front half of Plenum ready to be riveted.
2/18/2018 -
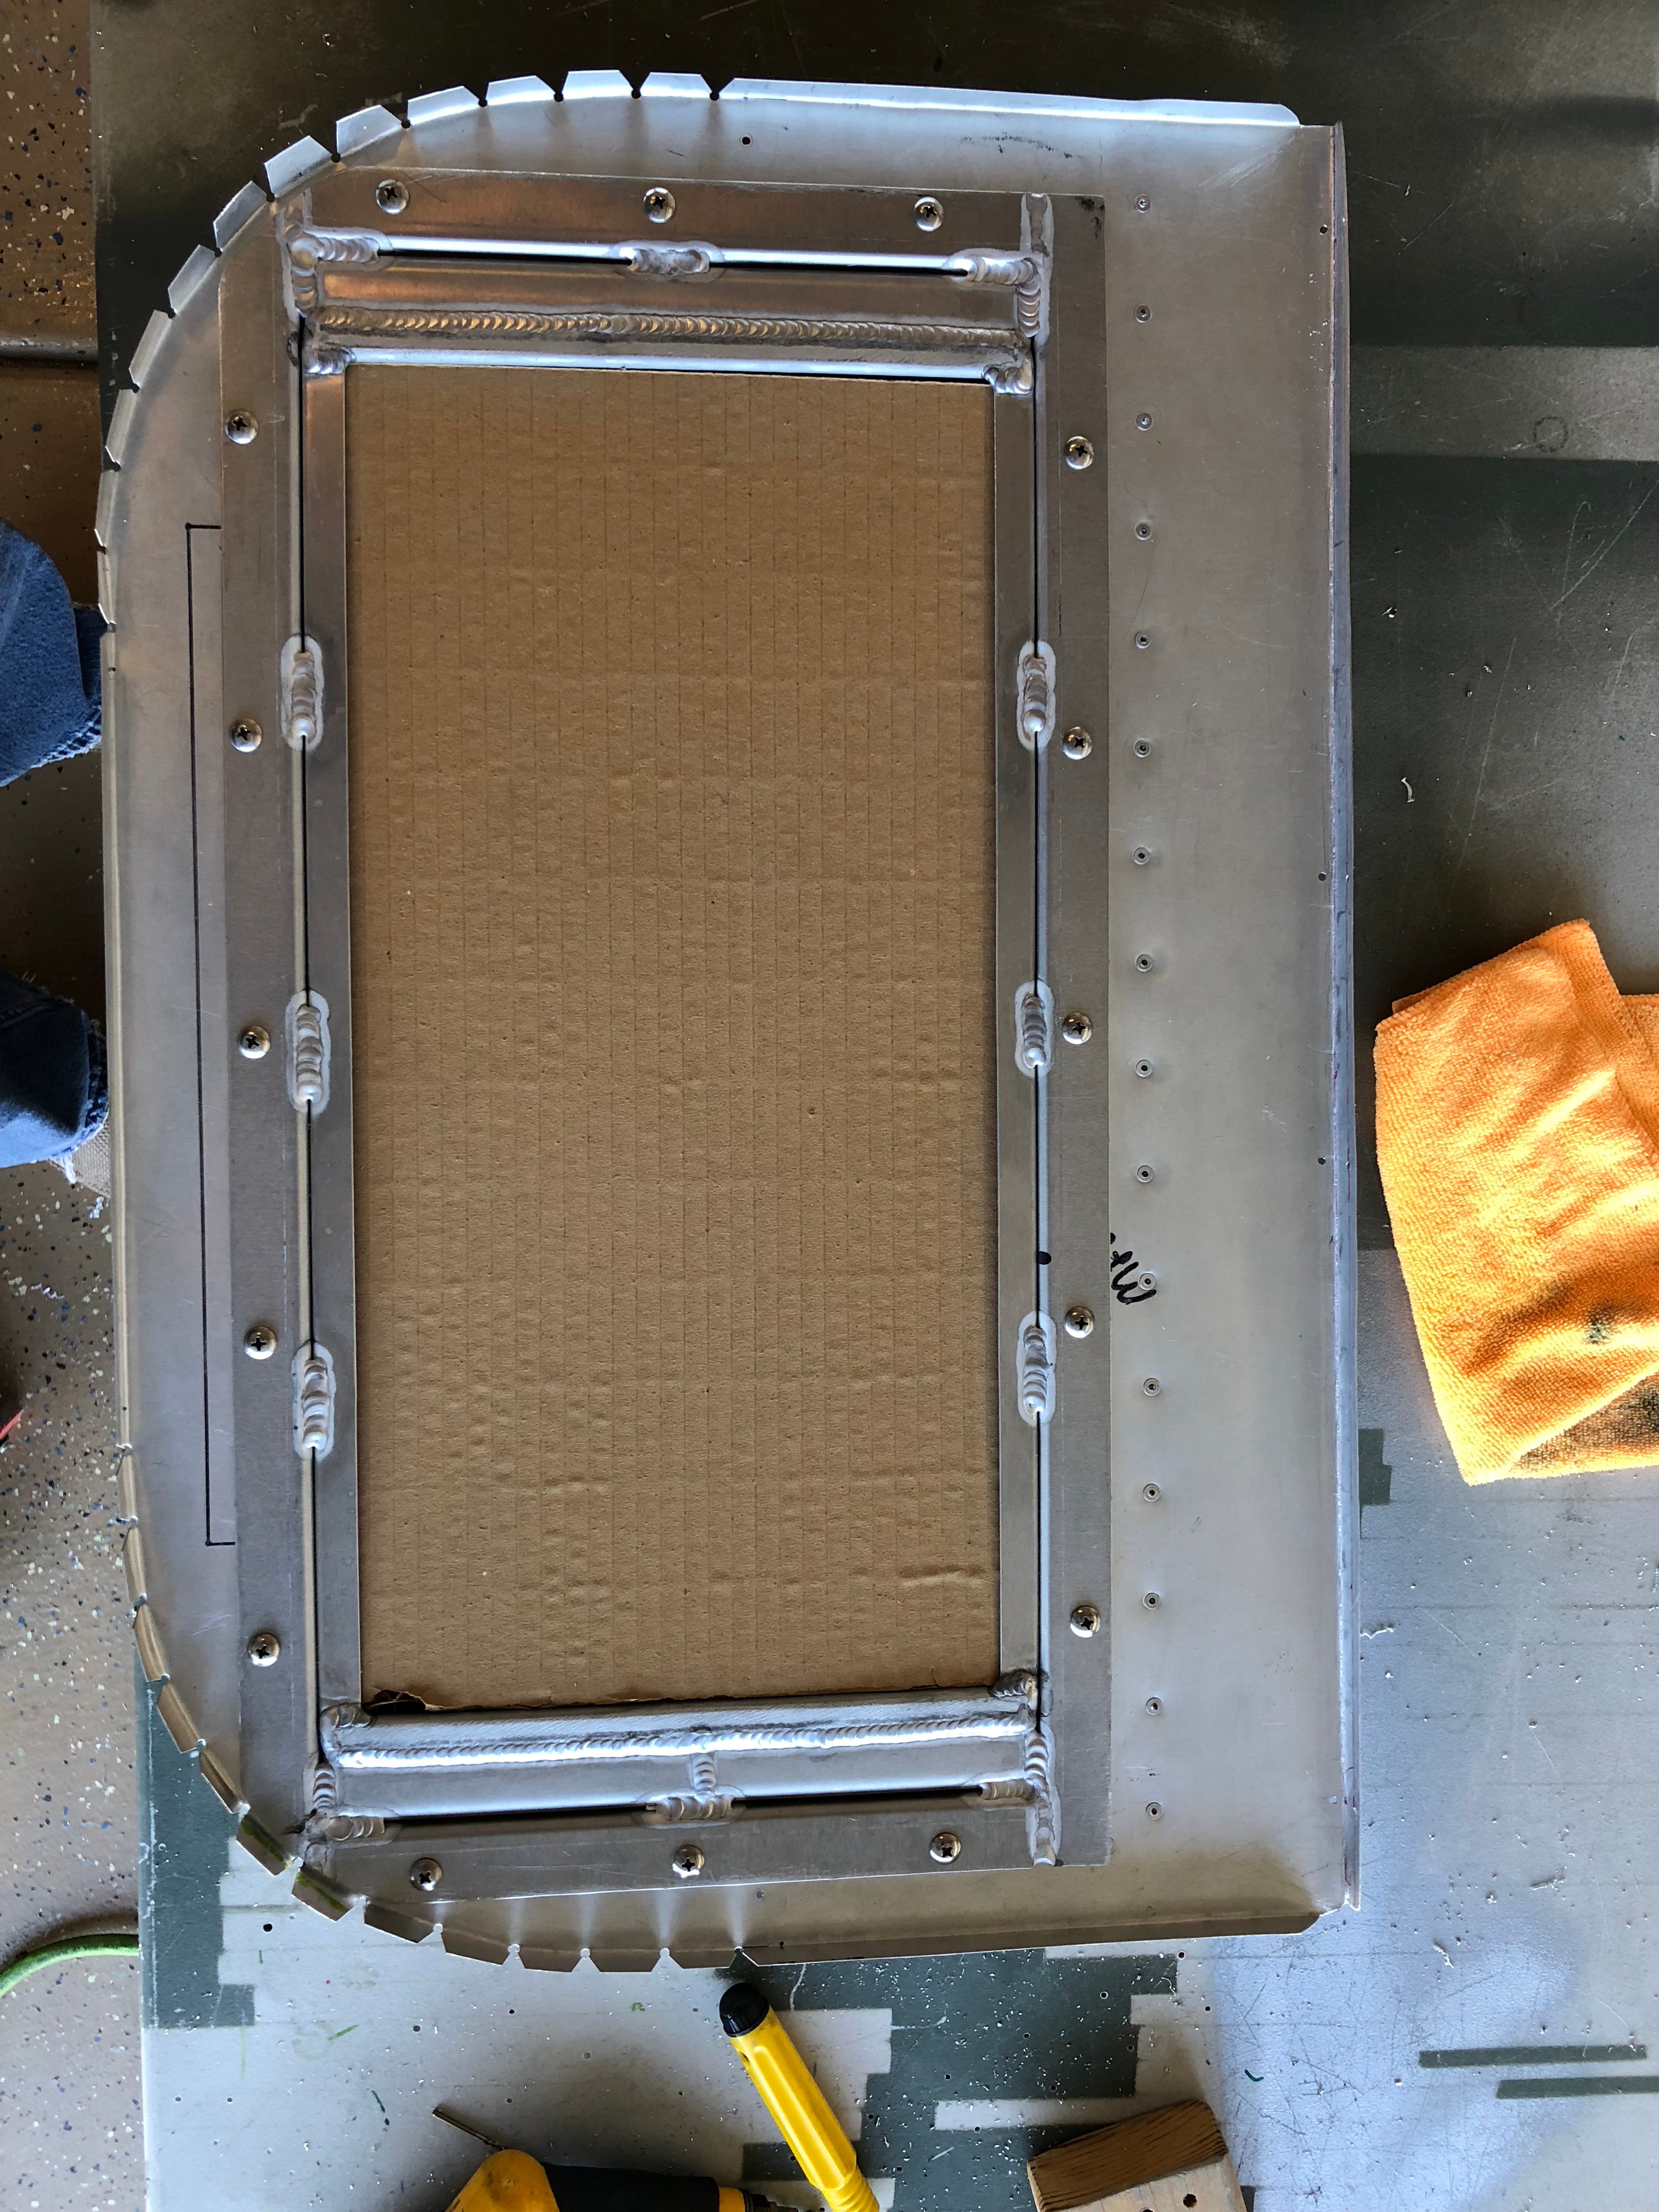
2/24/2018 - 6 hrs - Worked on back half of Plenum adding flanges and fit the top and bottom .
2/25/2018 - 4.5 hrs - Continue fitting the bottom floor of the back half
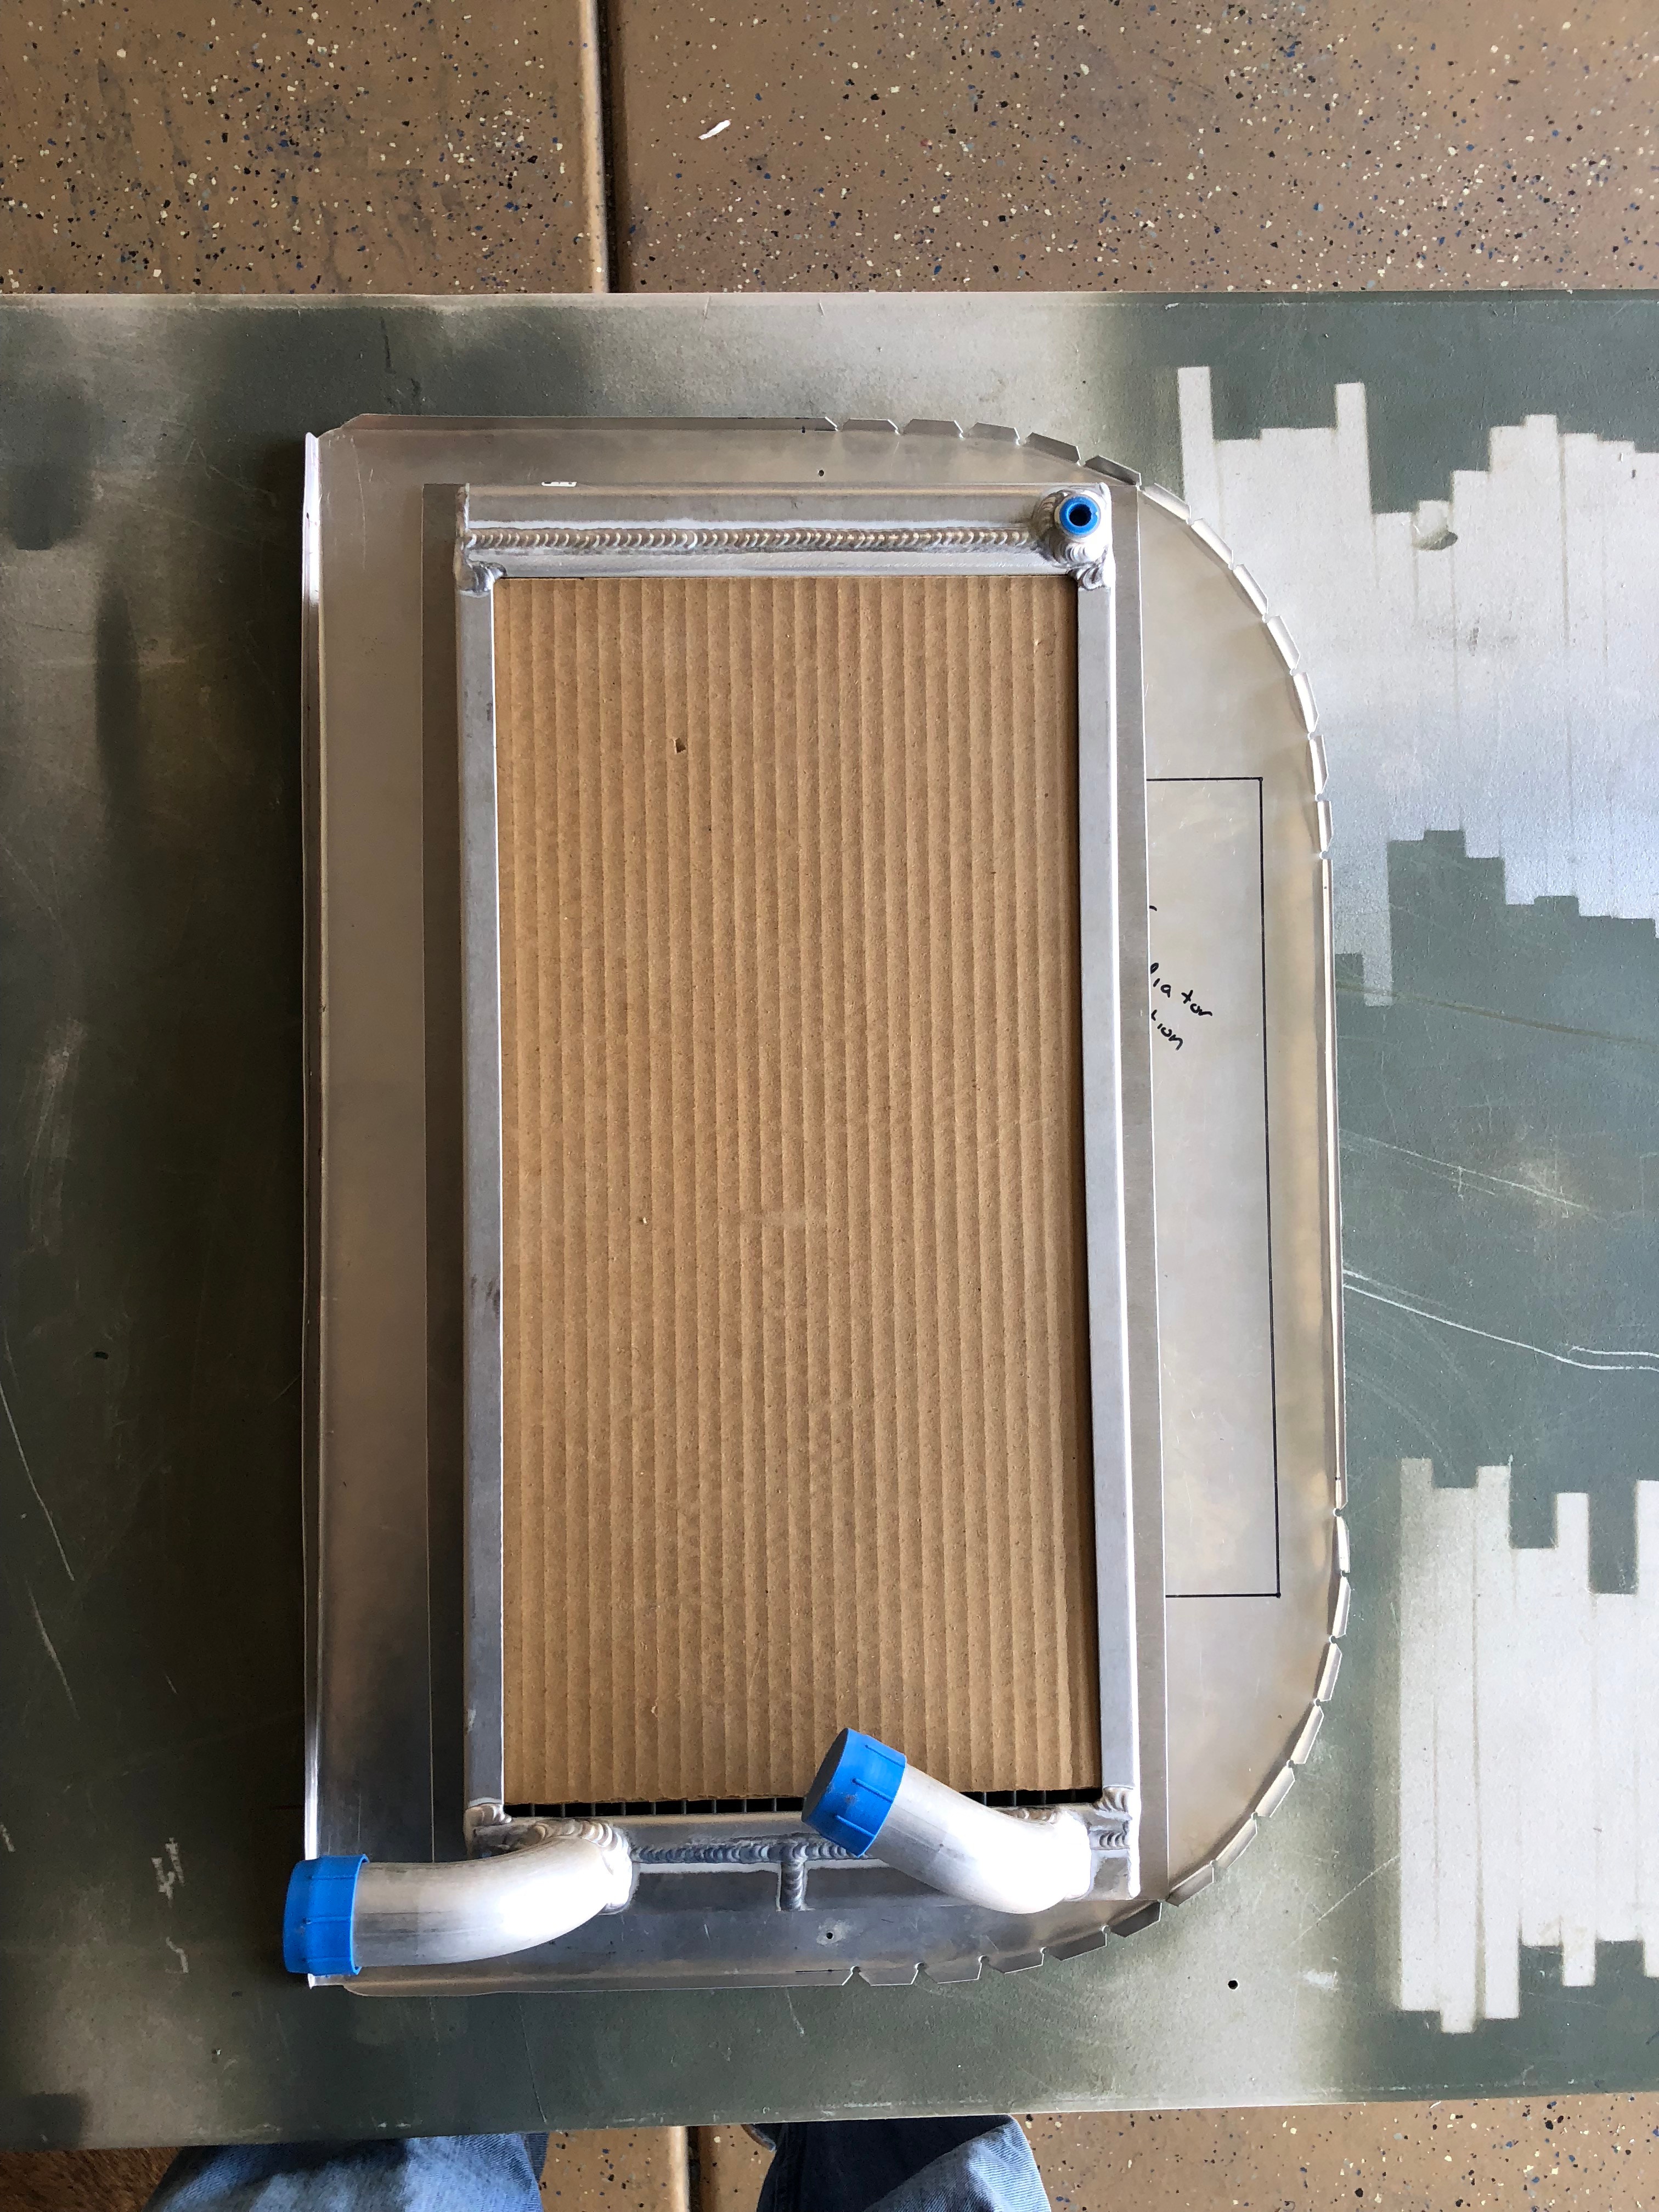
3/3/2018 - 5 hrs - Installed nut plates for #10 screws to mount Radiator to bulkhead #8
3/3/2018 - Completed install of Nut plates and Radiator install
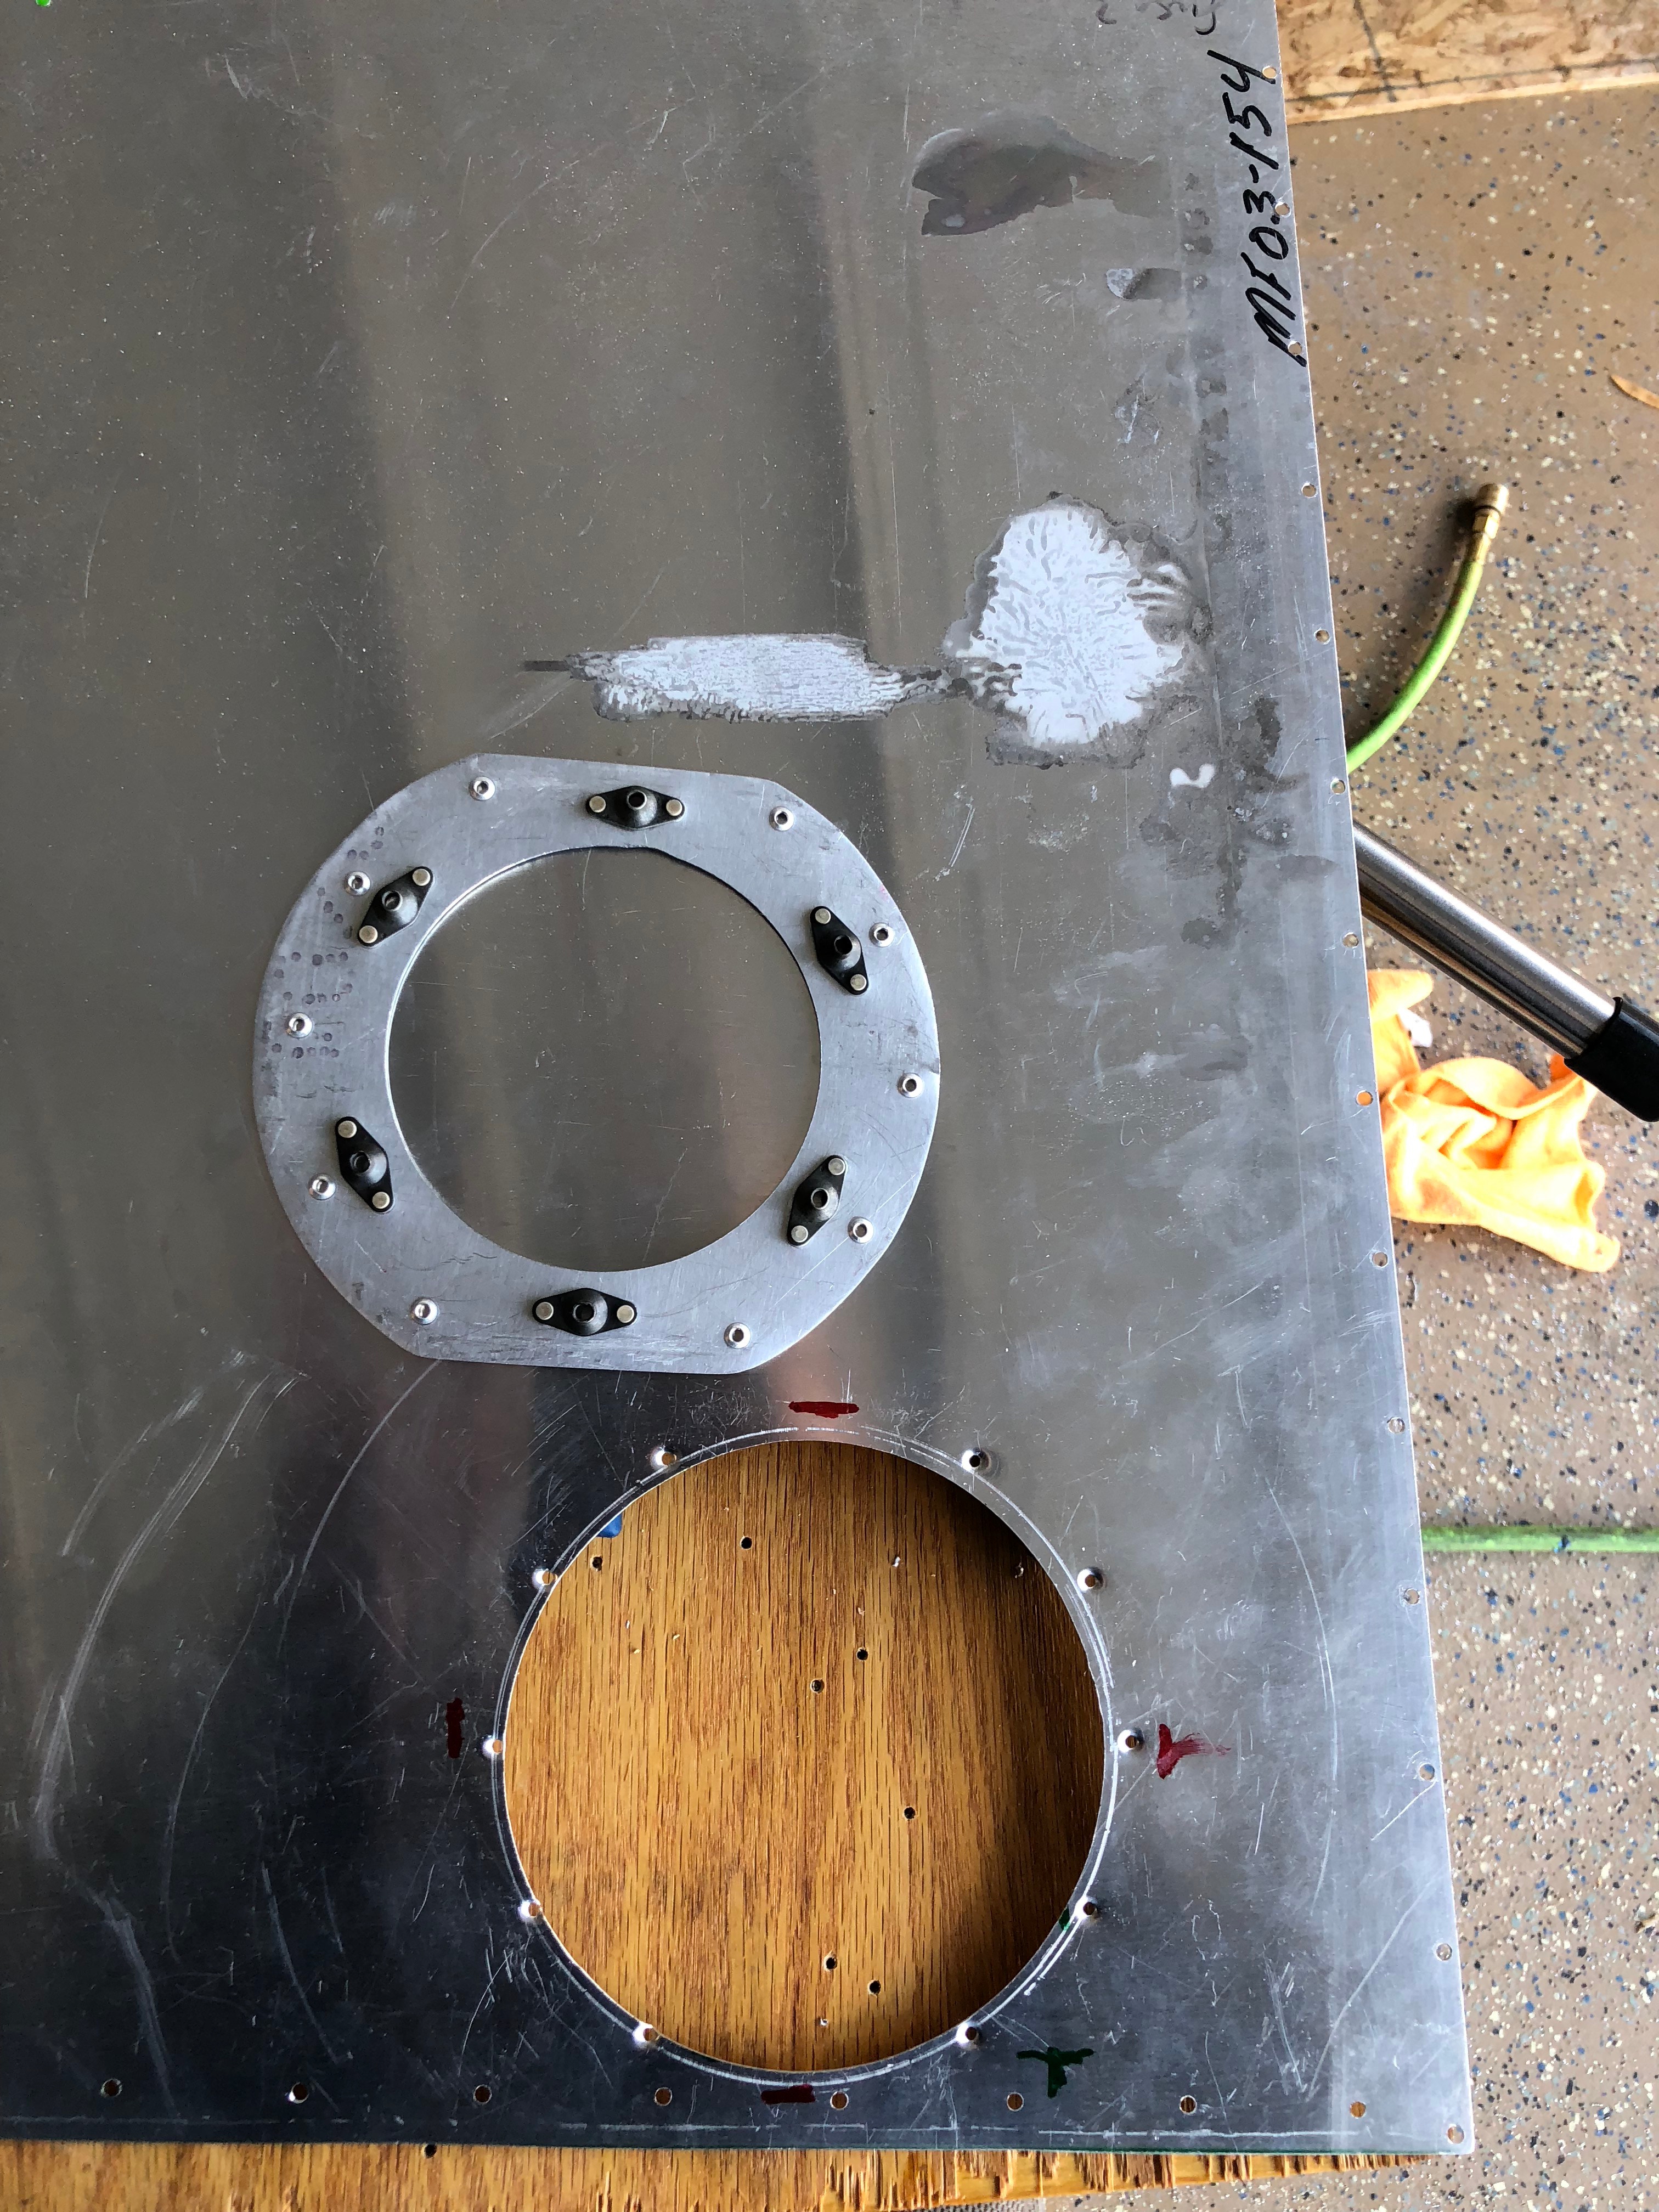
3/11/2018 - 4 hrs - made an Inspection panel flange for the floor of the Plenum behind the Radiator. Rivet nut plates to the flange. Had to practices on a couple of pieces.
3/11/2018 - 4 hrs - made an Inspection panel flange for the floor of the Plenum behind the Radiator. Rivet nut plates to the flange. Had to practices on a couple of pieces.
3/11/2018 - Inspection Panel mounting flange glued/riveted to the Plenum floor and Primed.
3/11/2018 - Inspection Panel mounting flange glued/riveted to the Plenum floor and Primed.
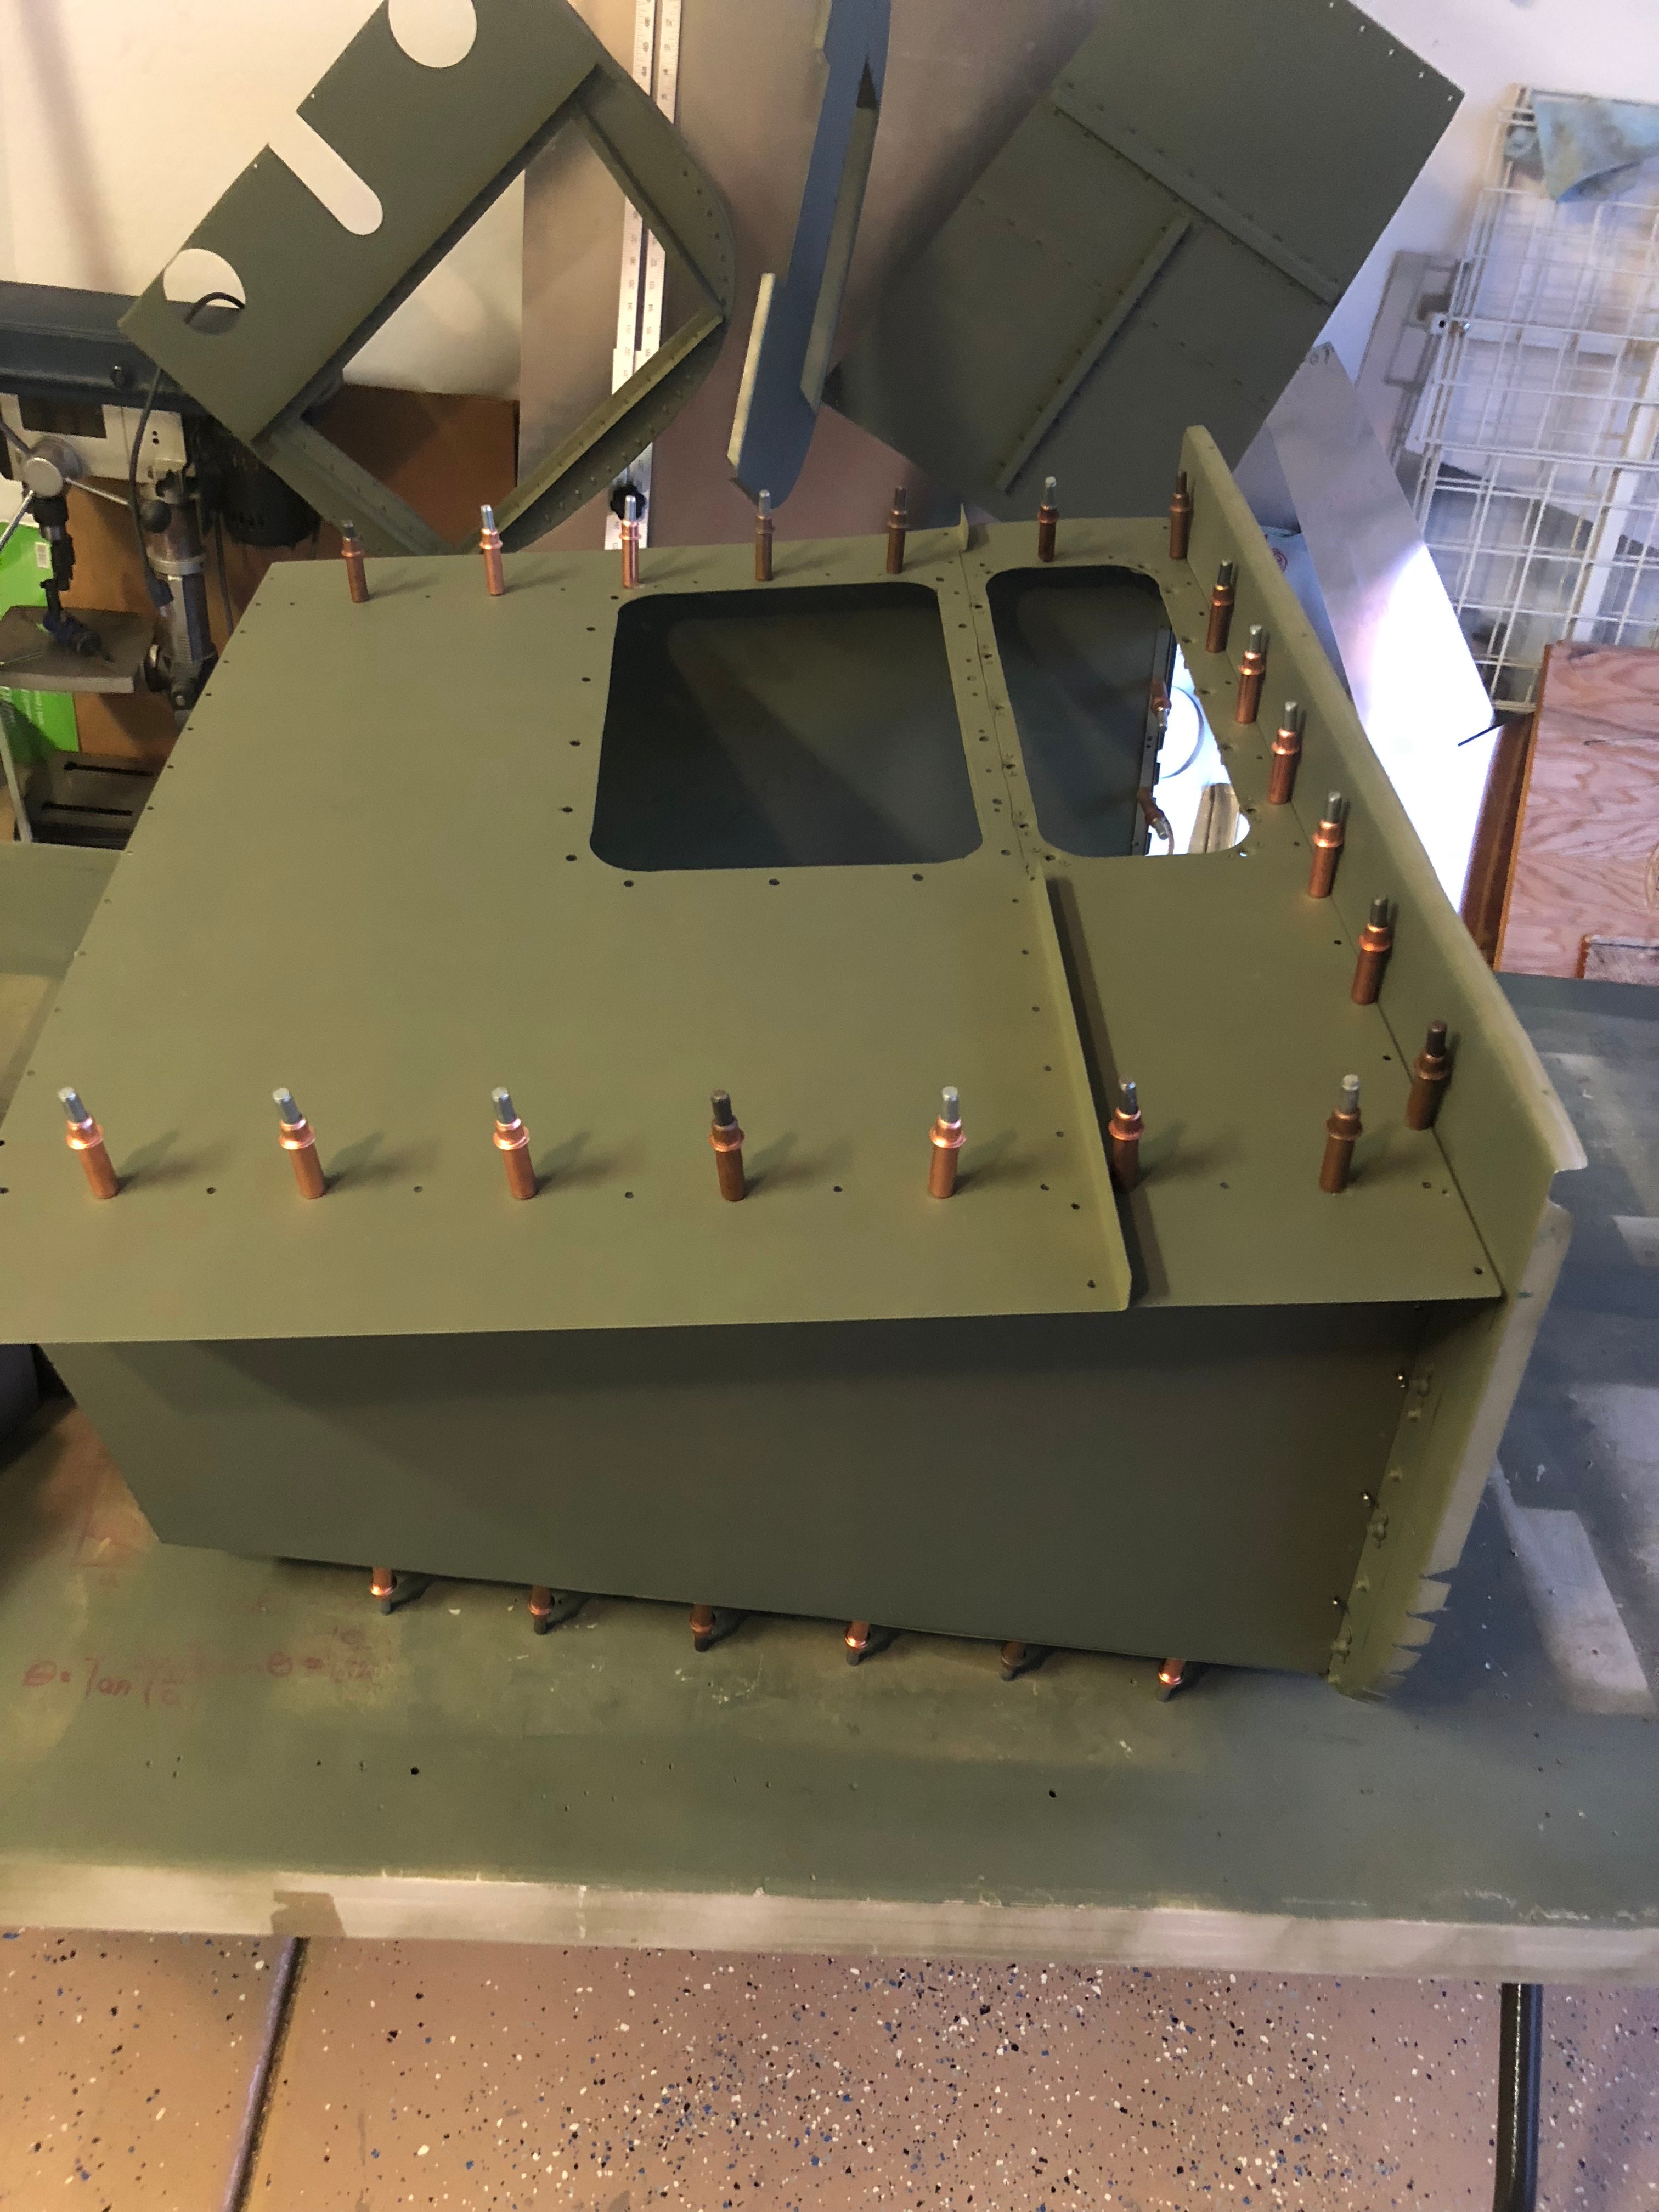
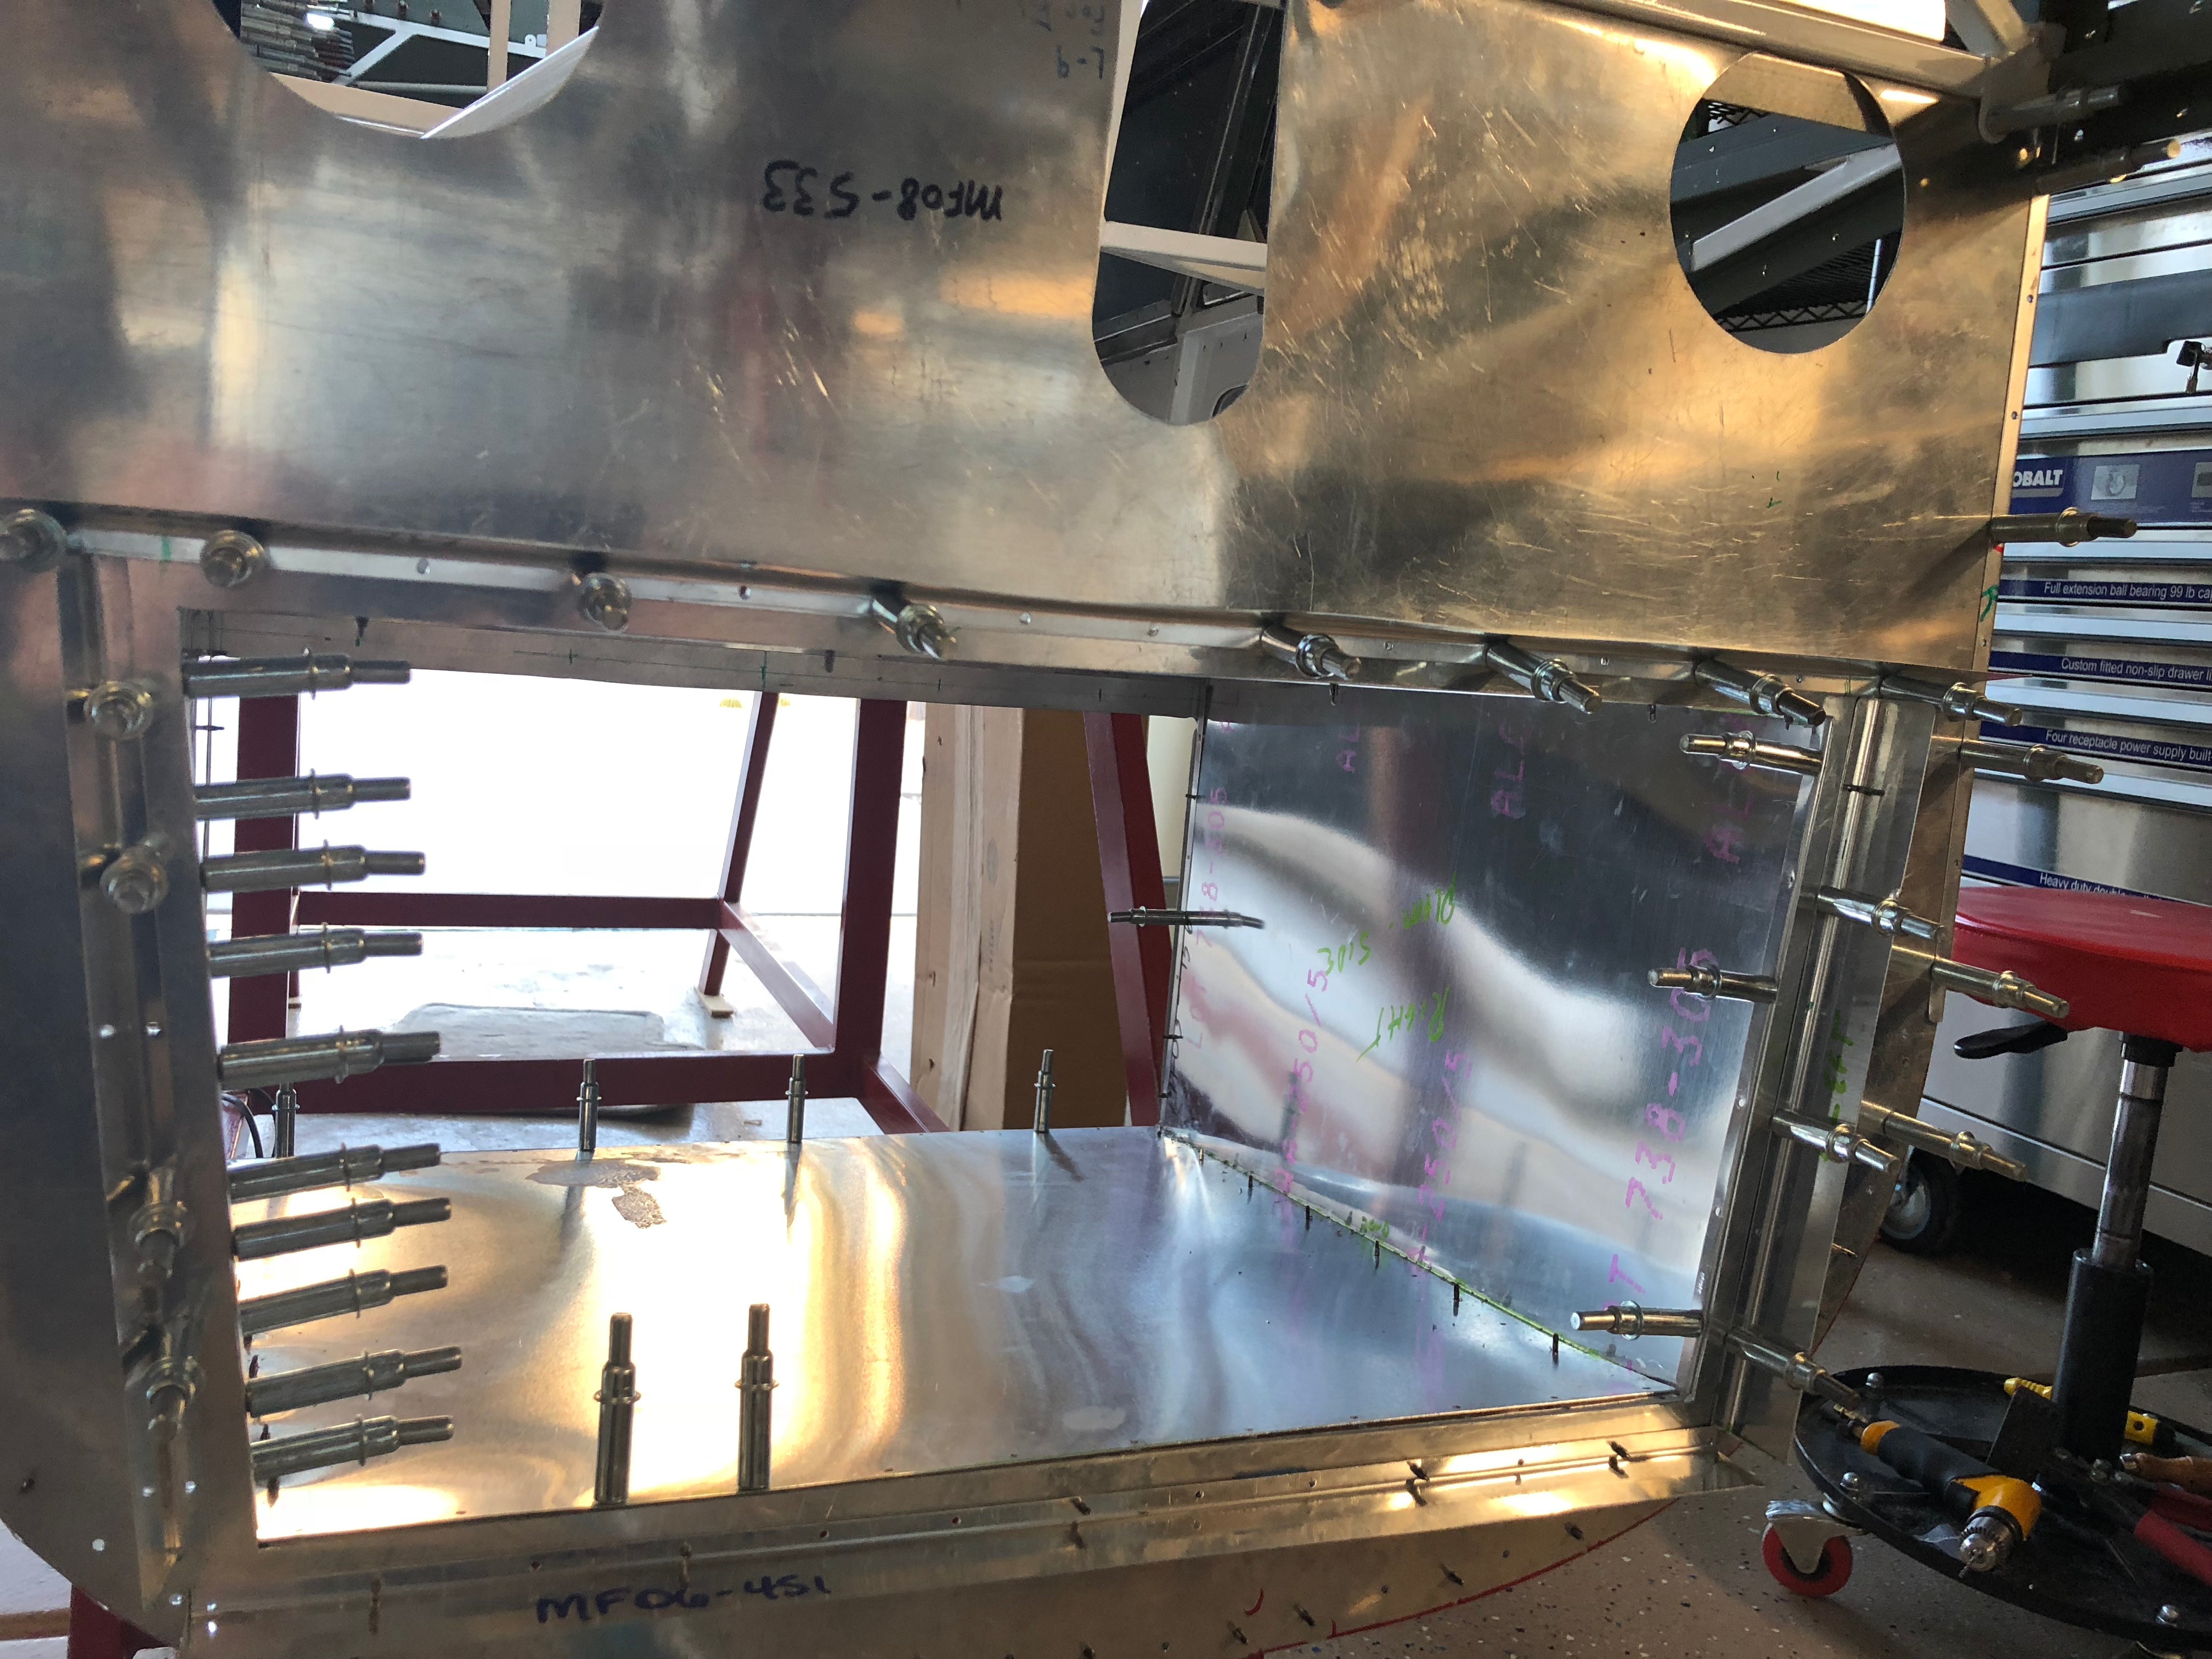
3/18/2018 - 4 hrs - made Inspection panel cut out on top of Plenum behind radiator to have access to the radiator hose and clamps.
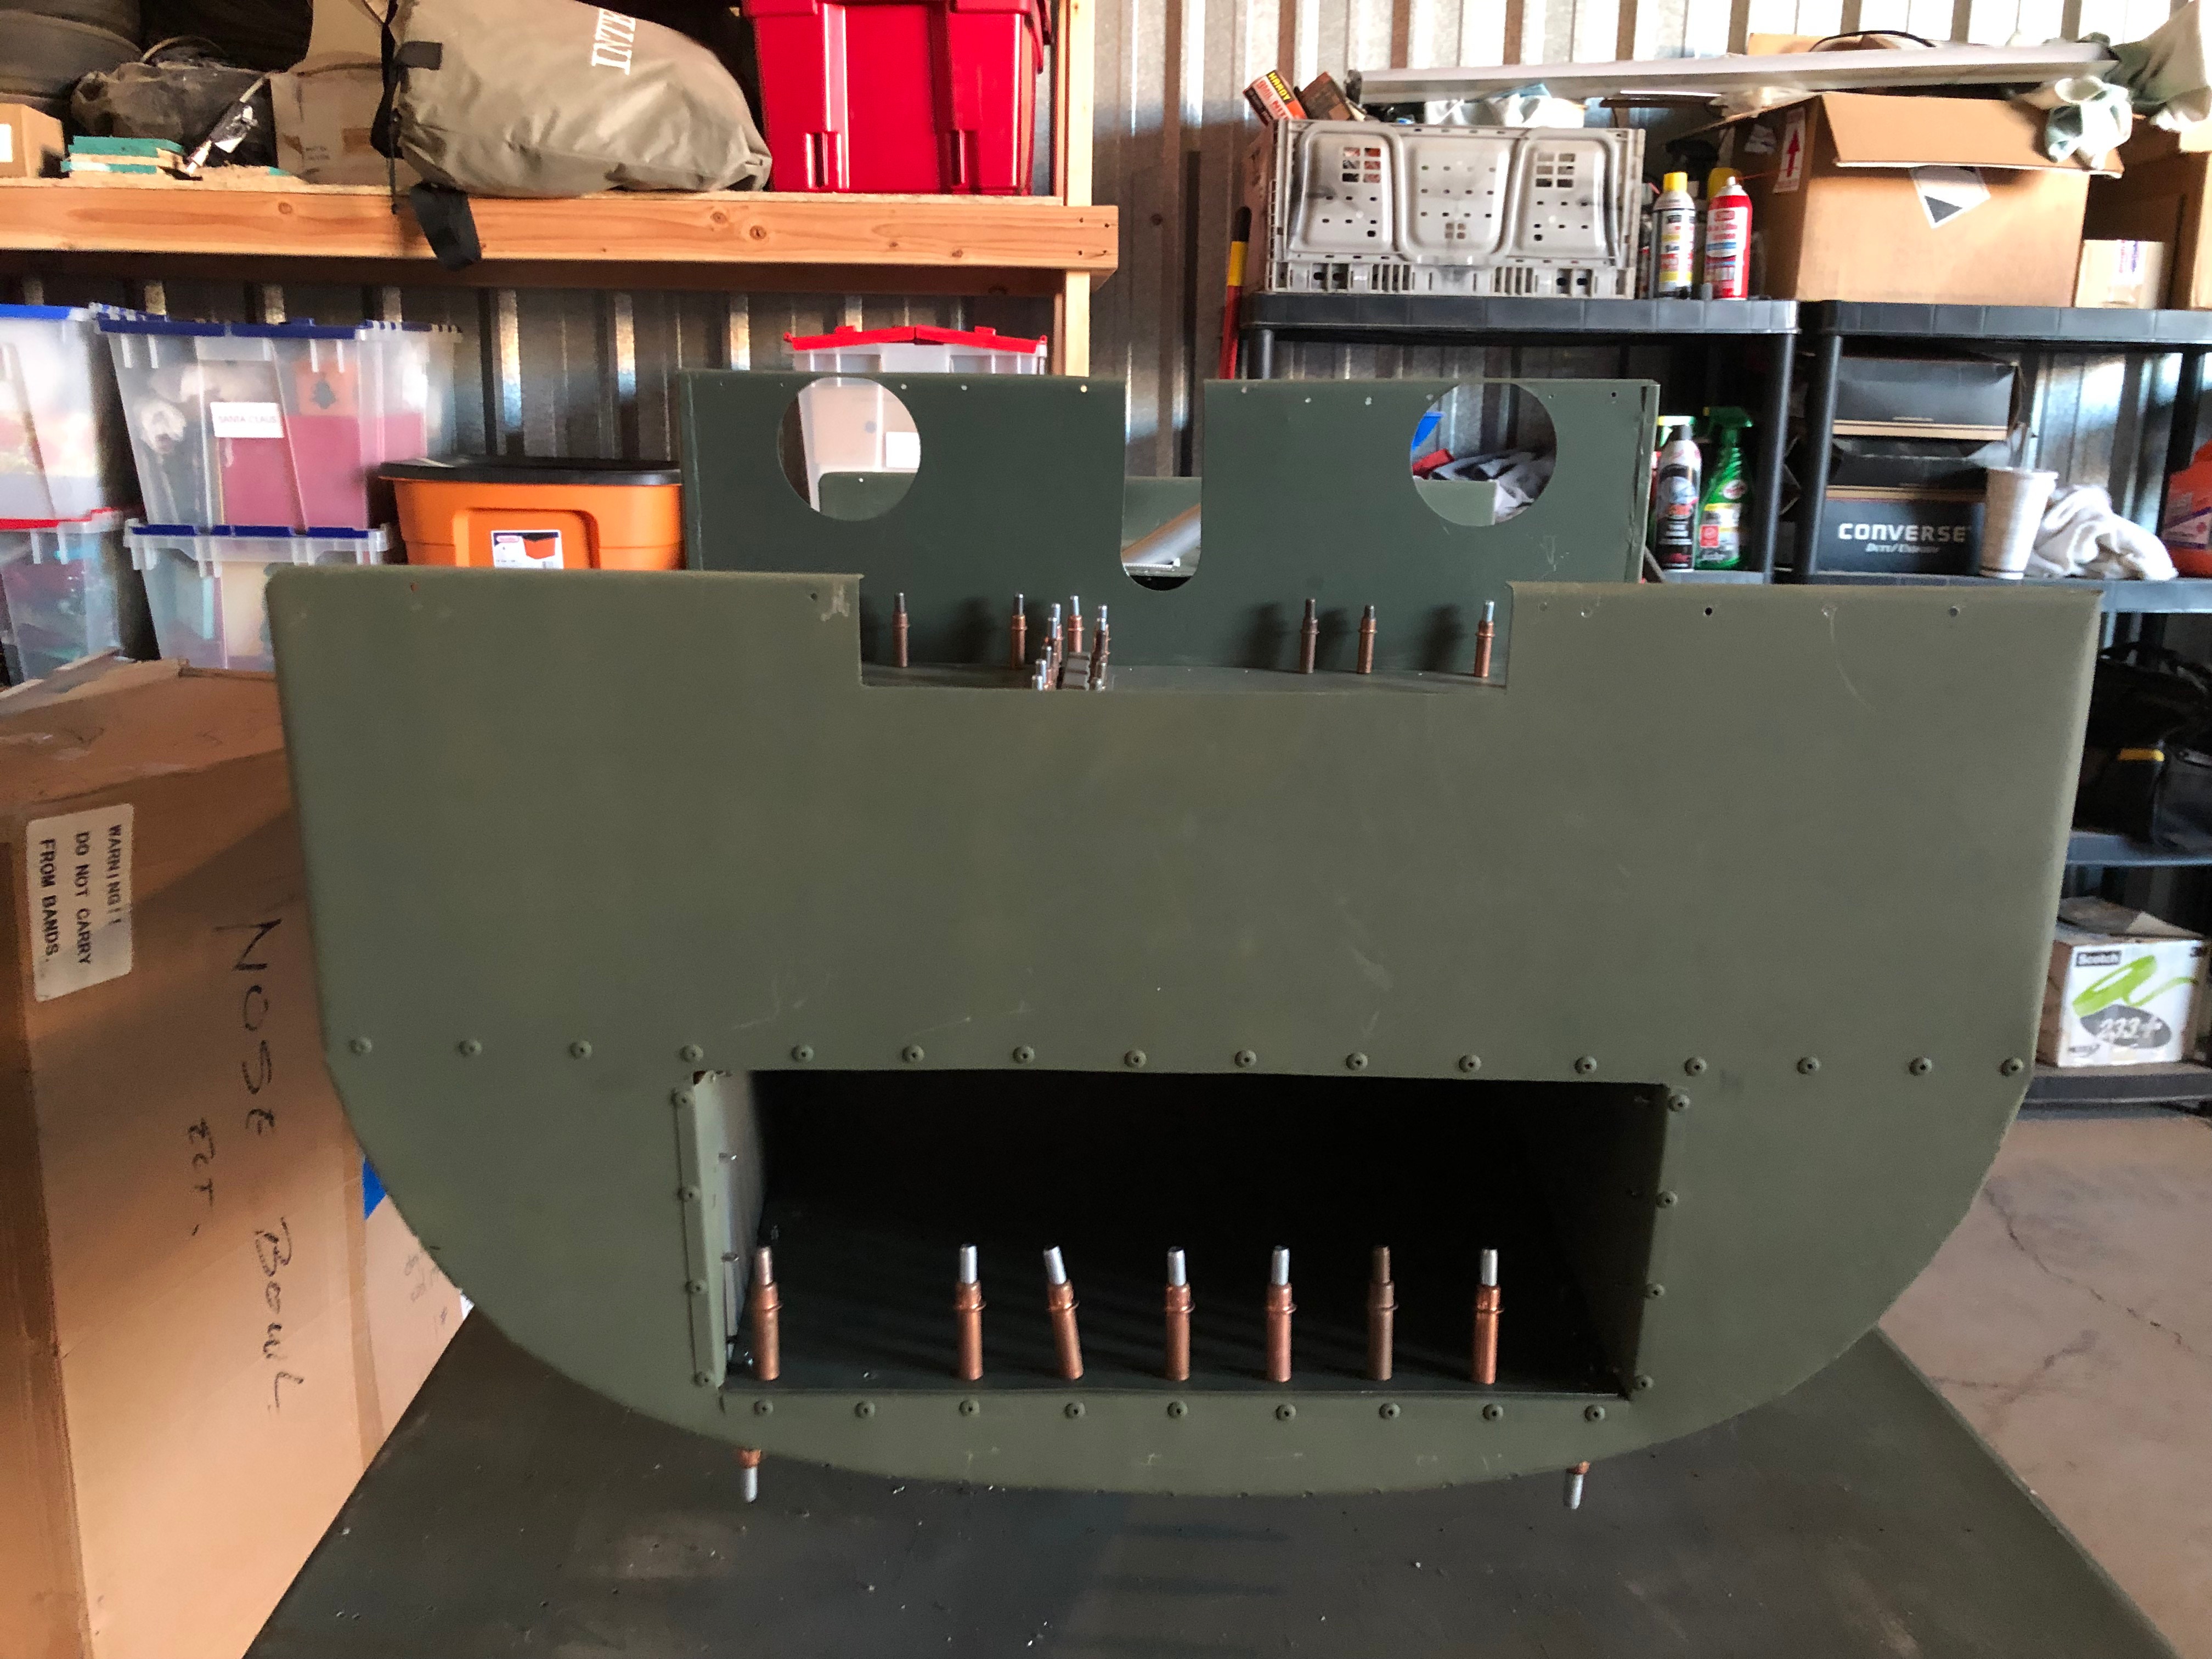
3/18/2018 - Front view of bulkhead #8
Drilled and ready for adhesive and Rivet.
5/13/2018 - 5 hrs -
Building the Plenum enclosure from Bulhead #9 to Buldhead #10
5/13/2018 -
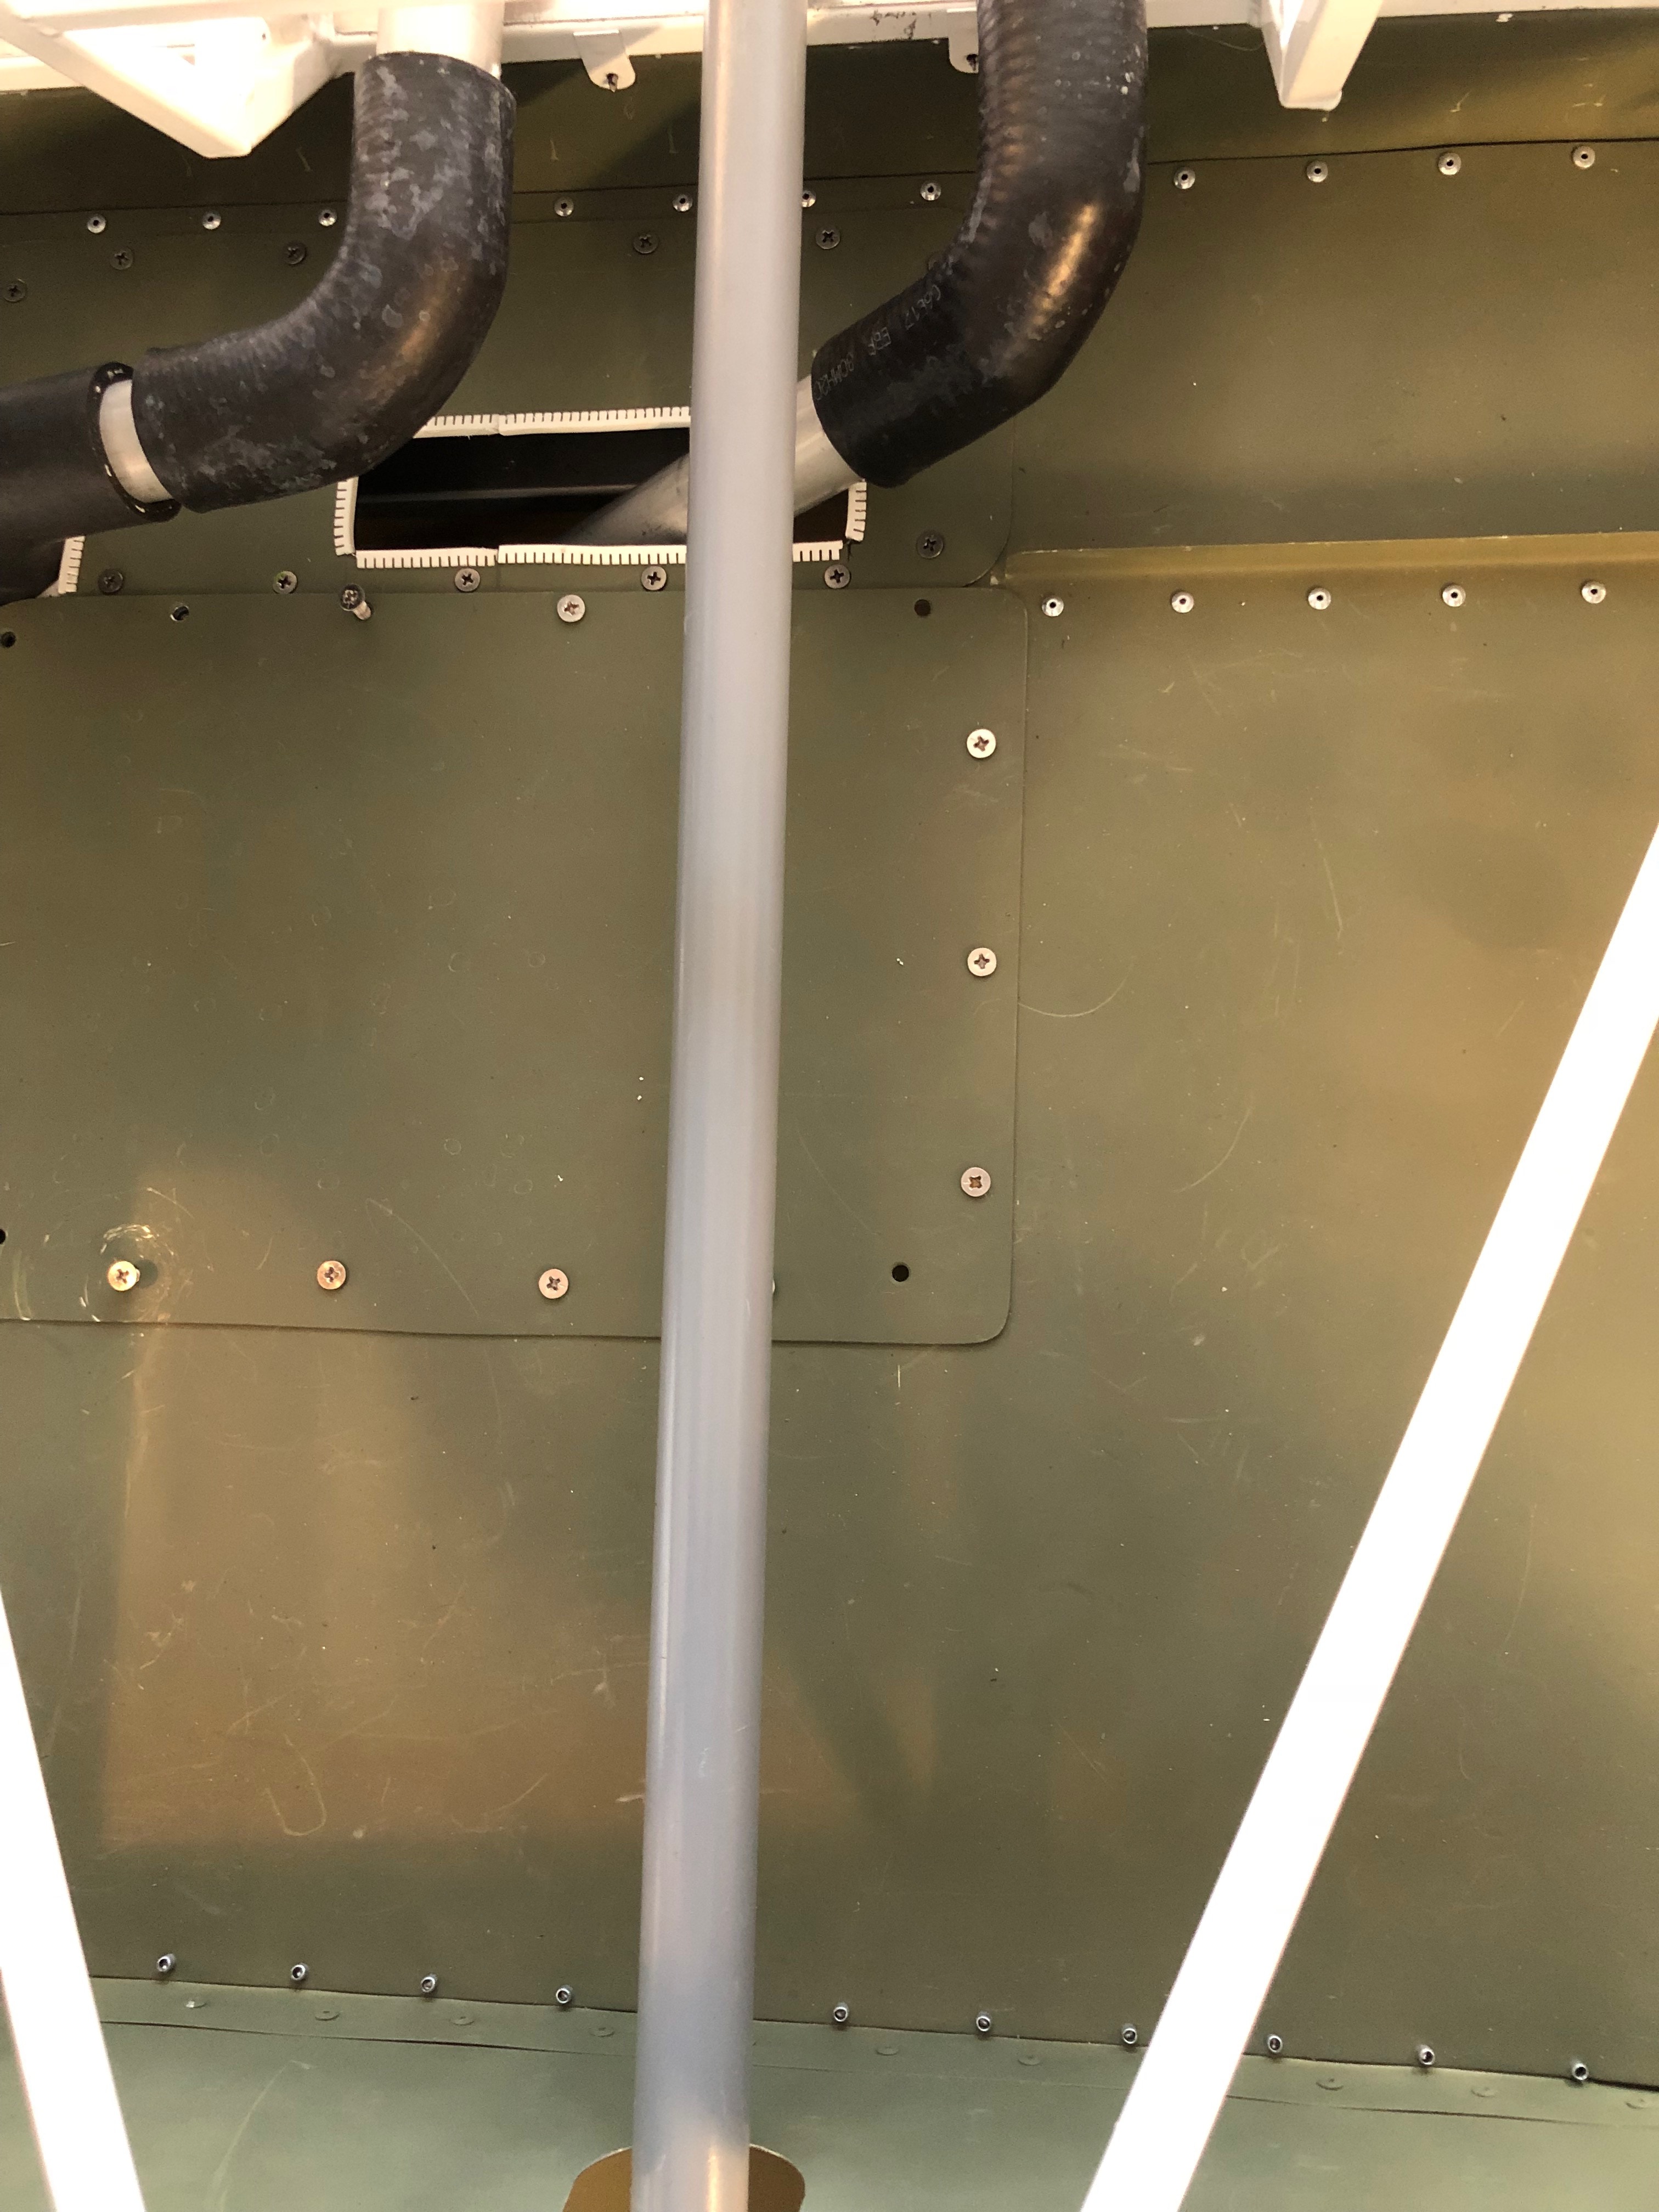
Inspection panels installed on top of Exhaust Plenum behind radiator. This will provide access to the Radiator hose clamps.
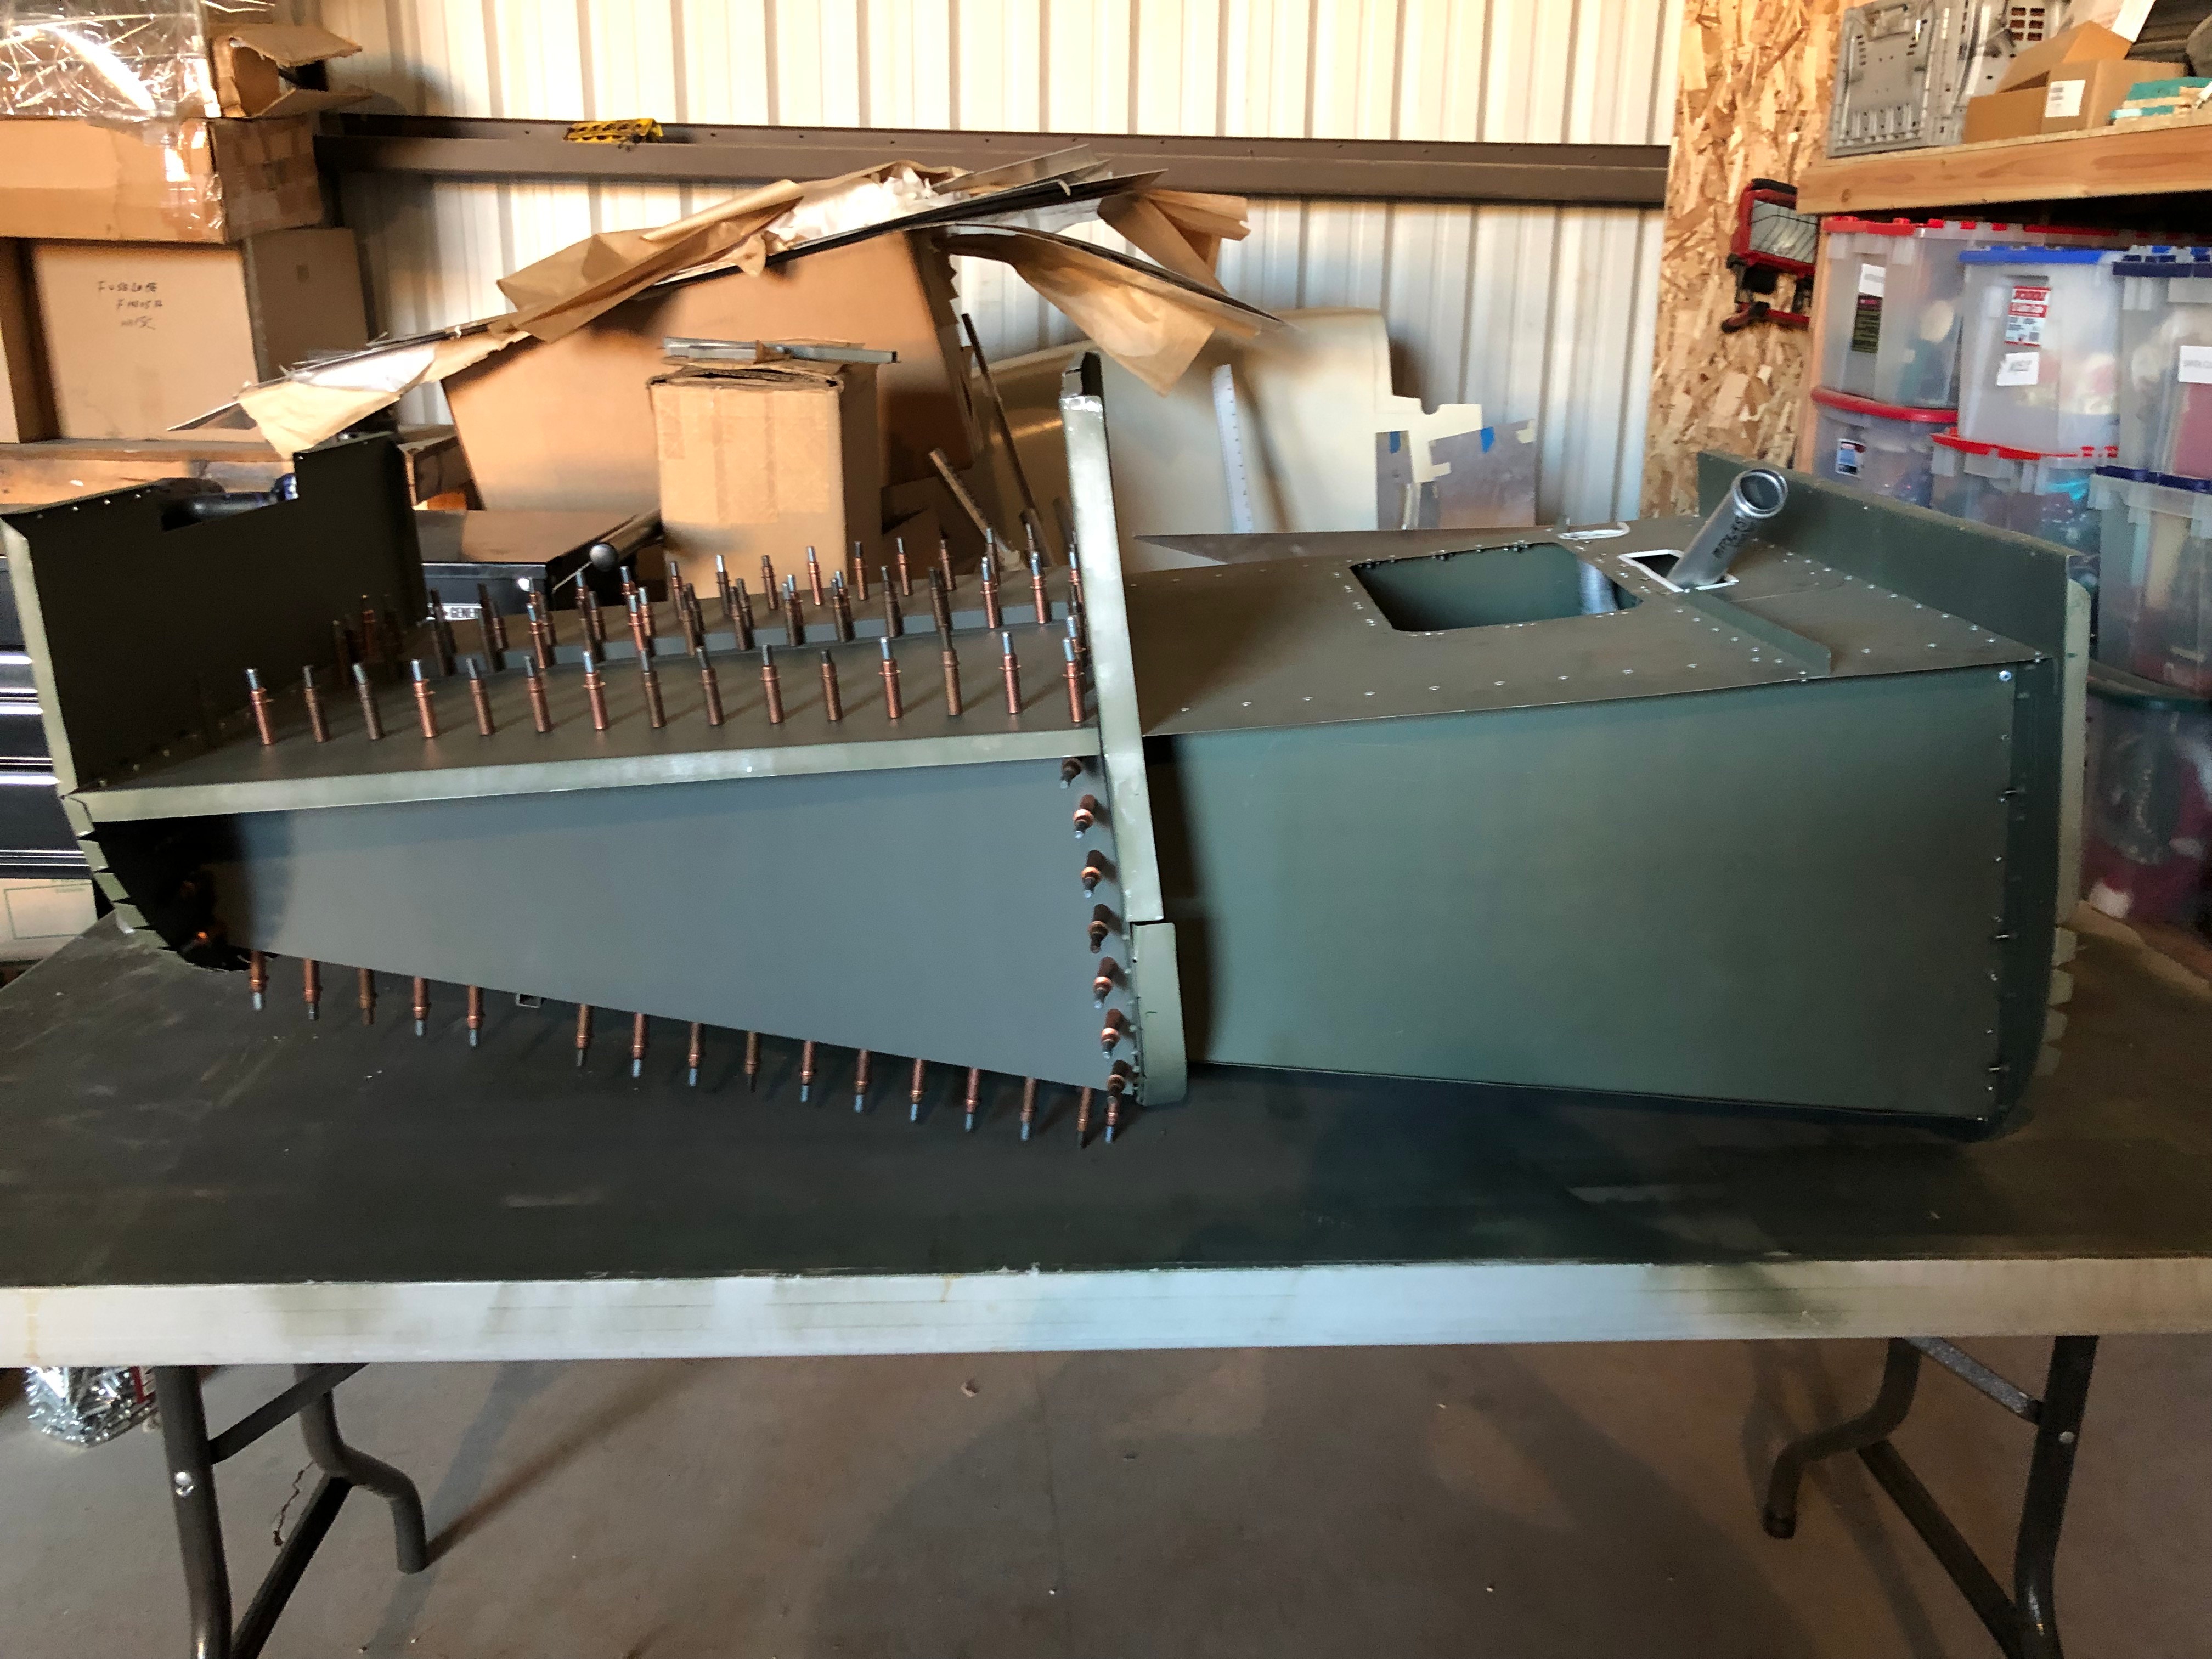
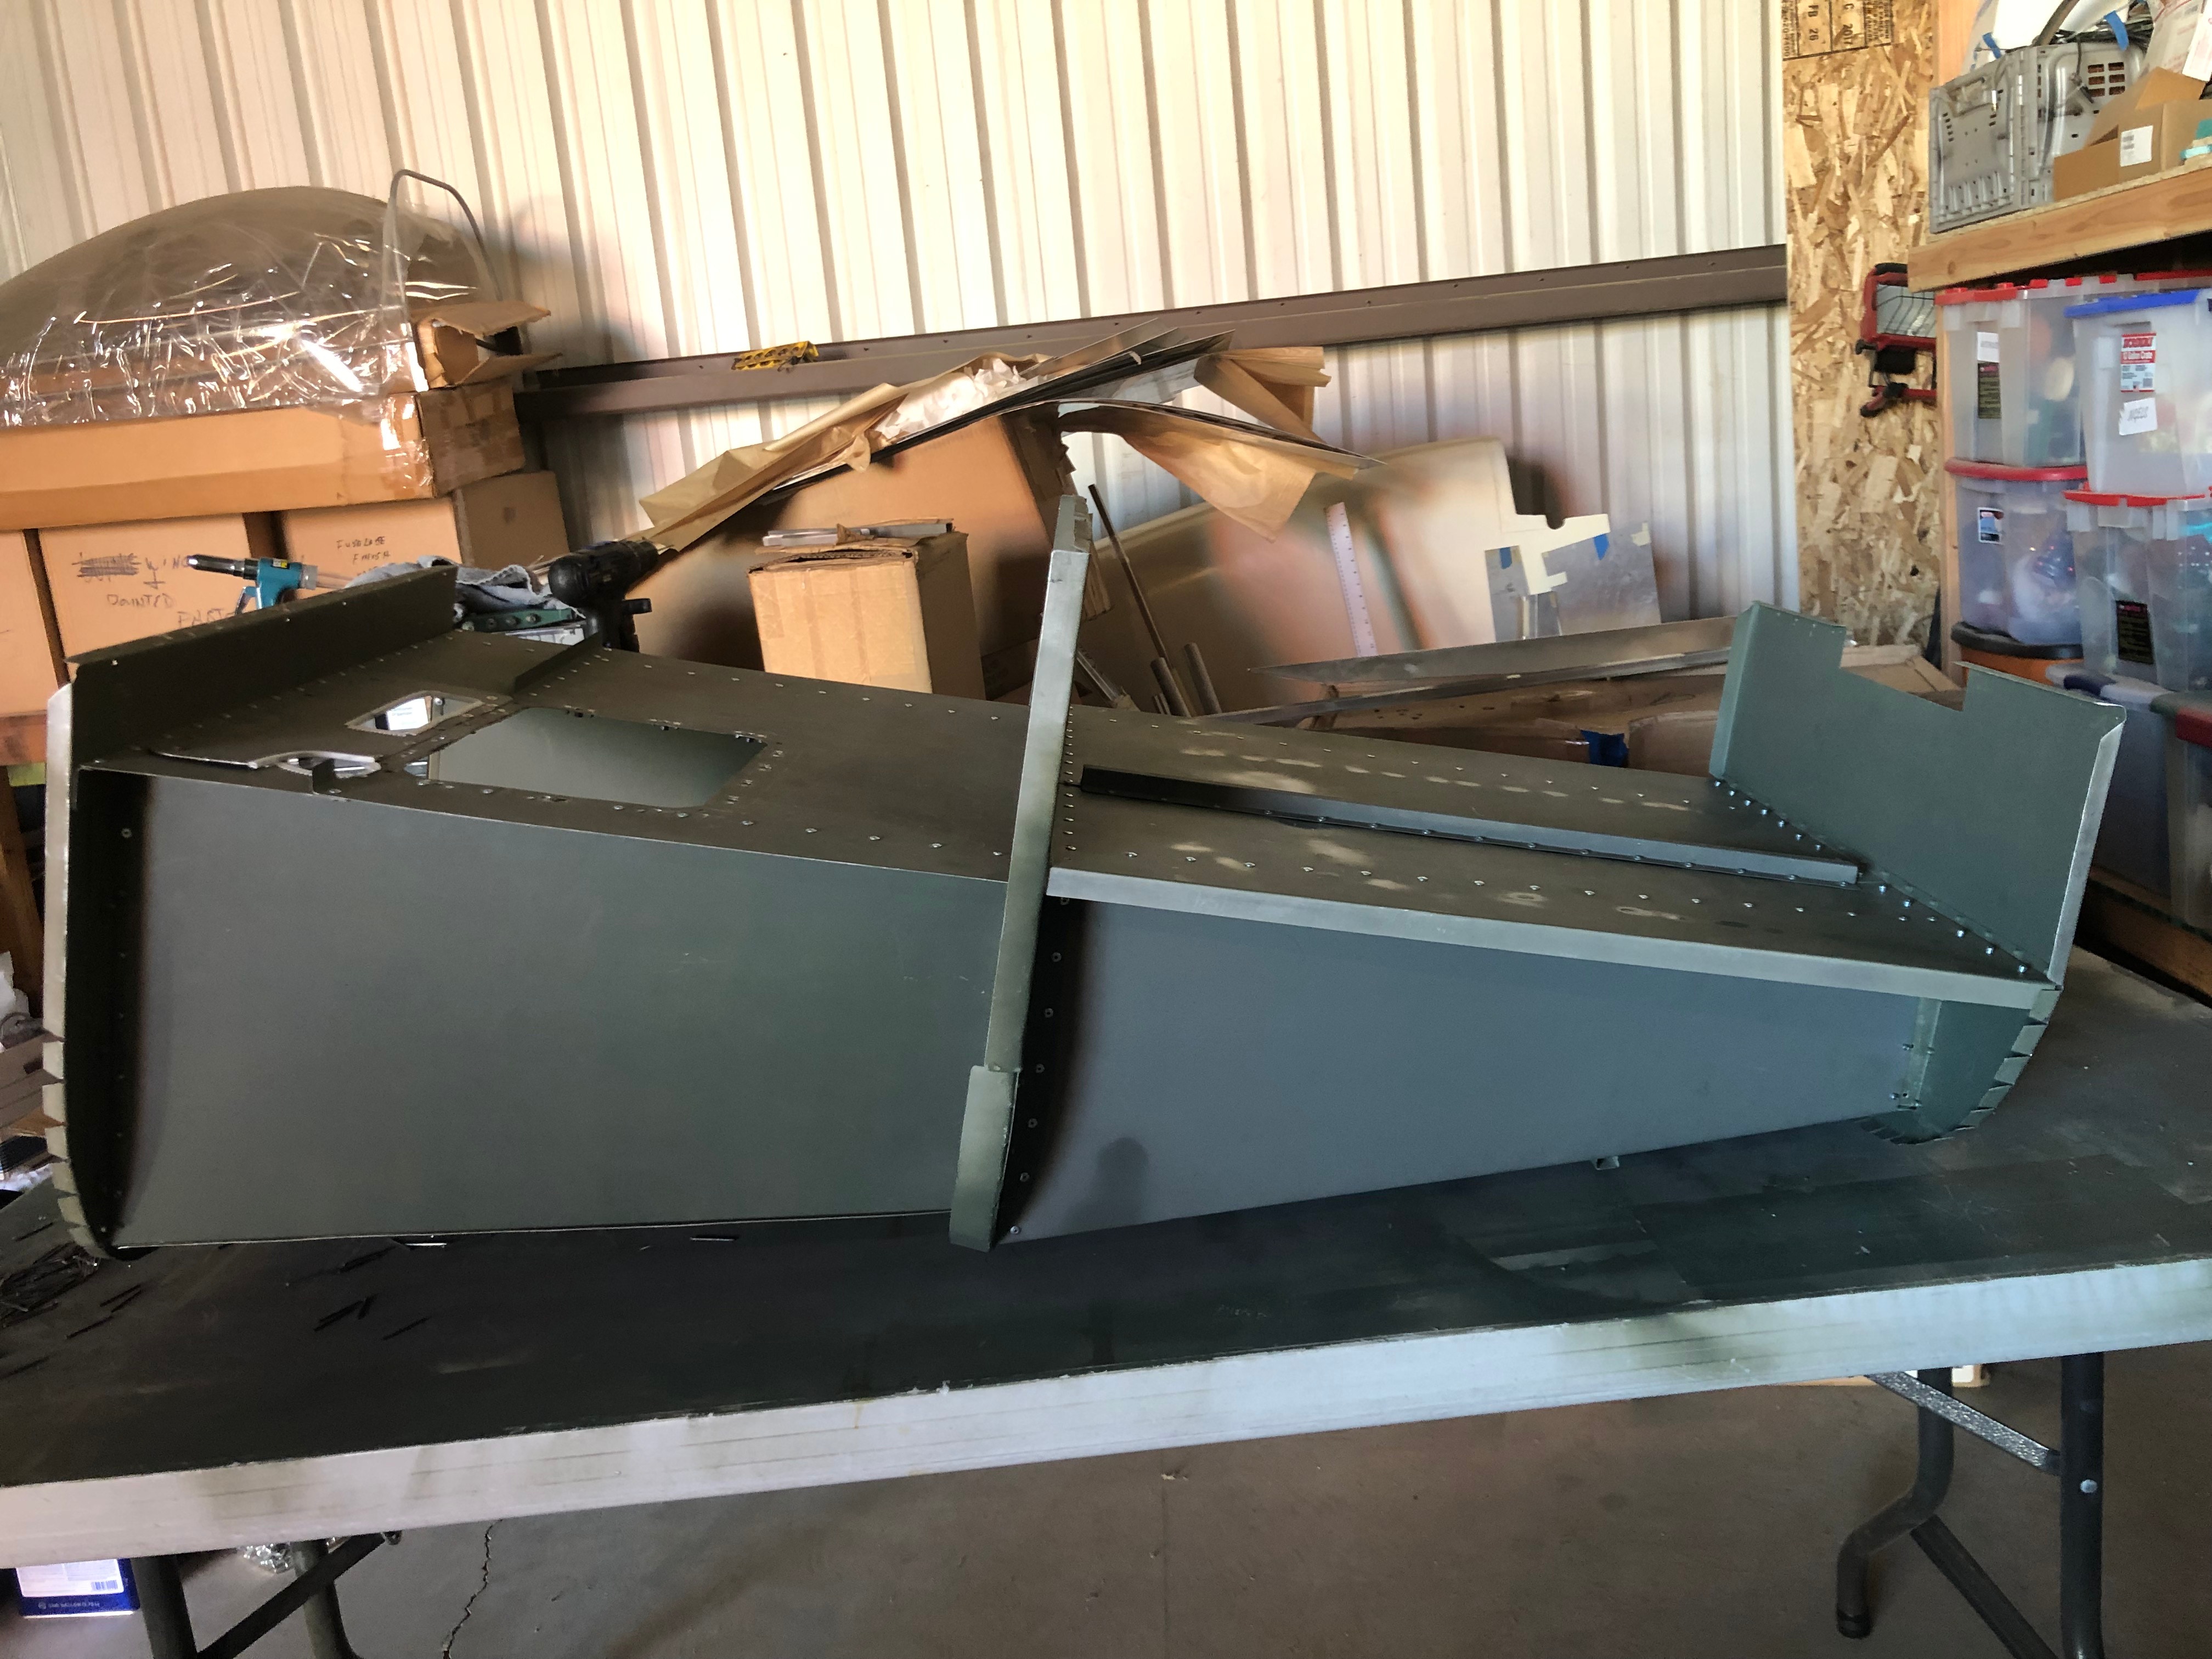
11/10/2018 - 4.5 hrs -
Completing the Plenum enclosure from Bulhead #9 to #10.
Final drilled and ready for riveting.
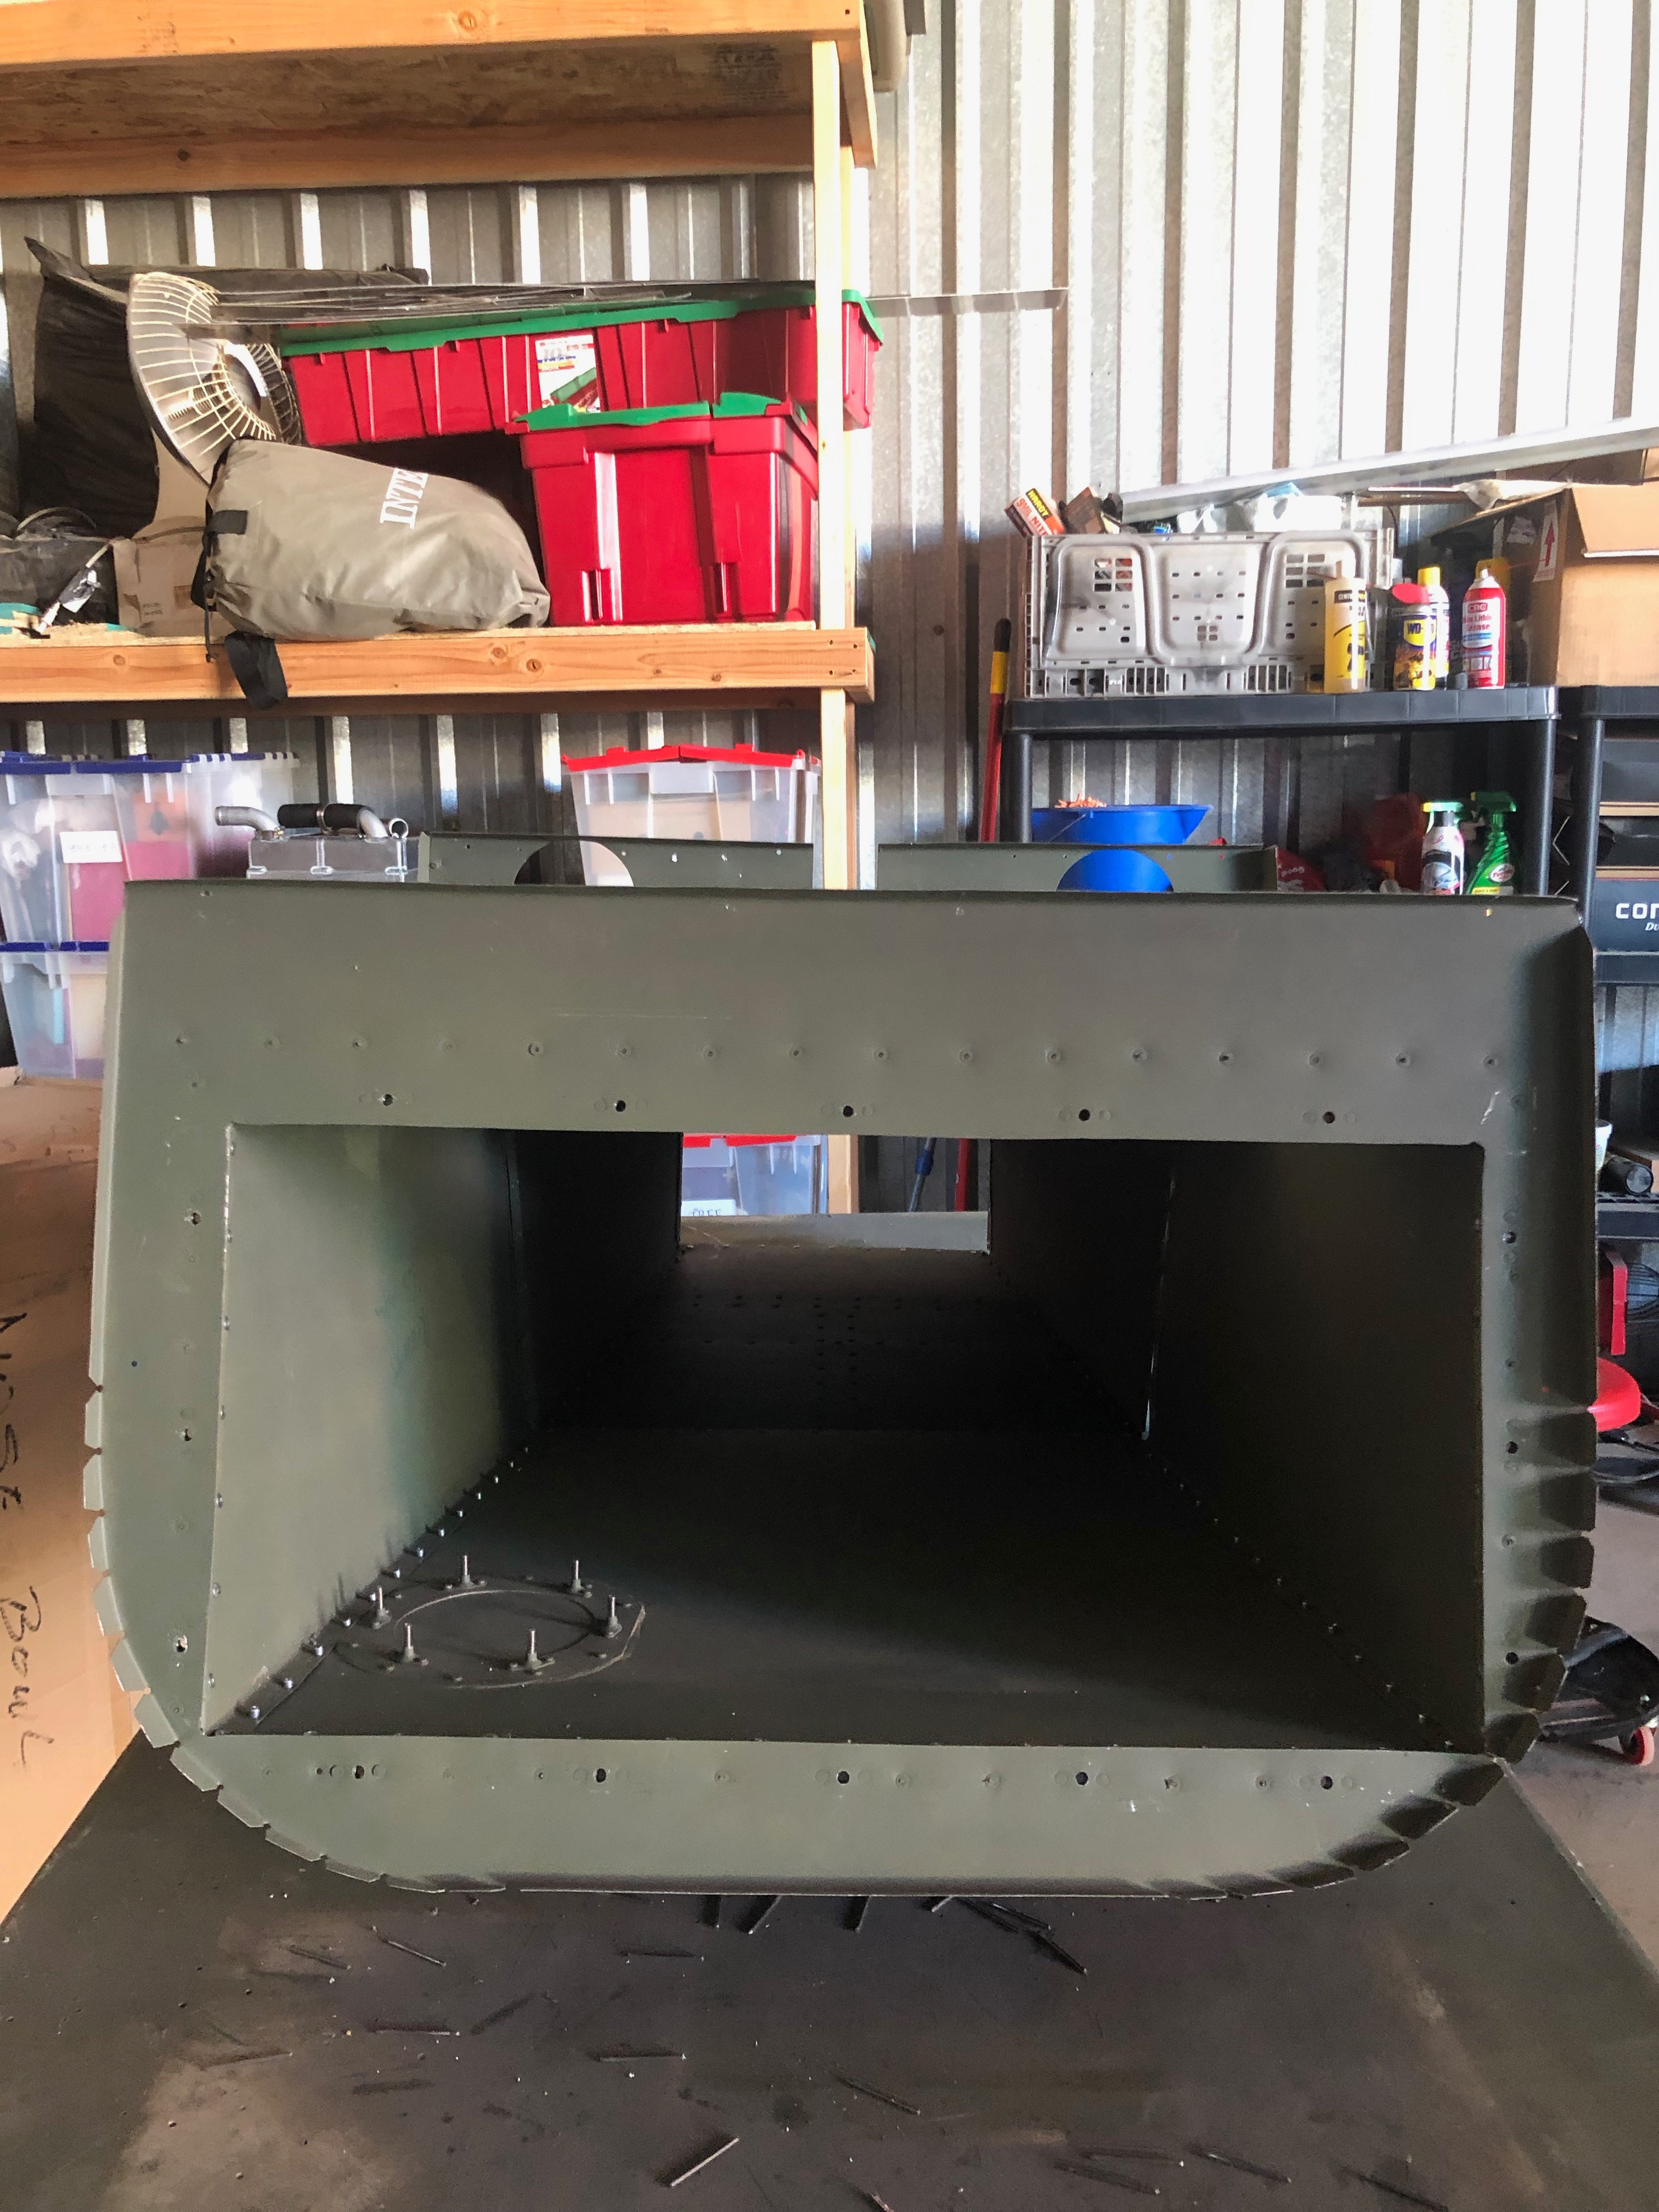
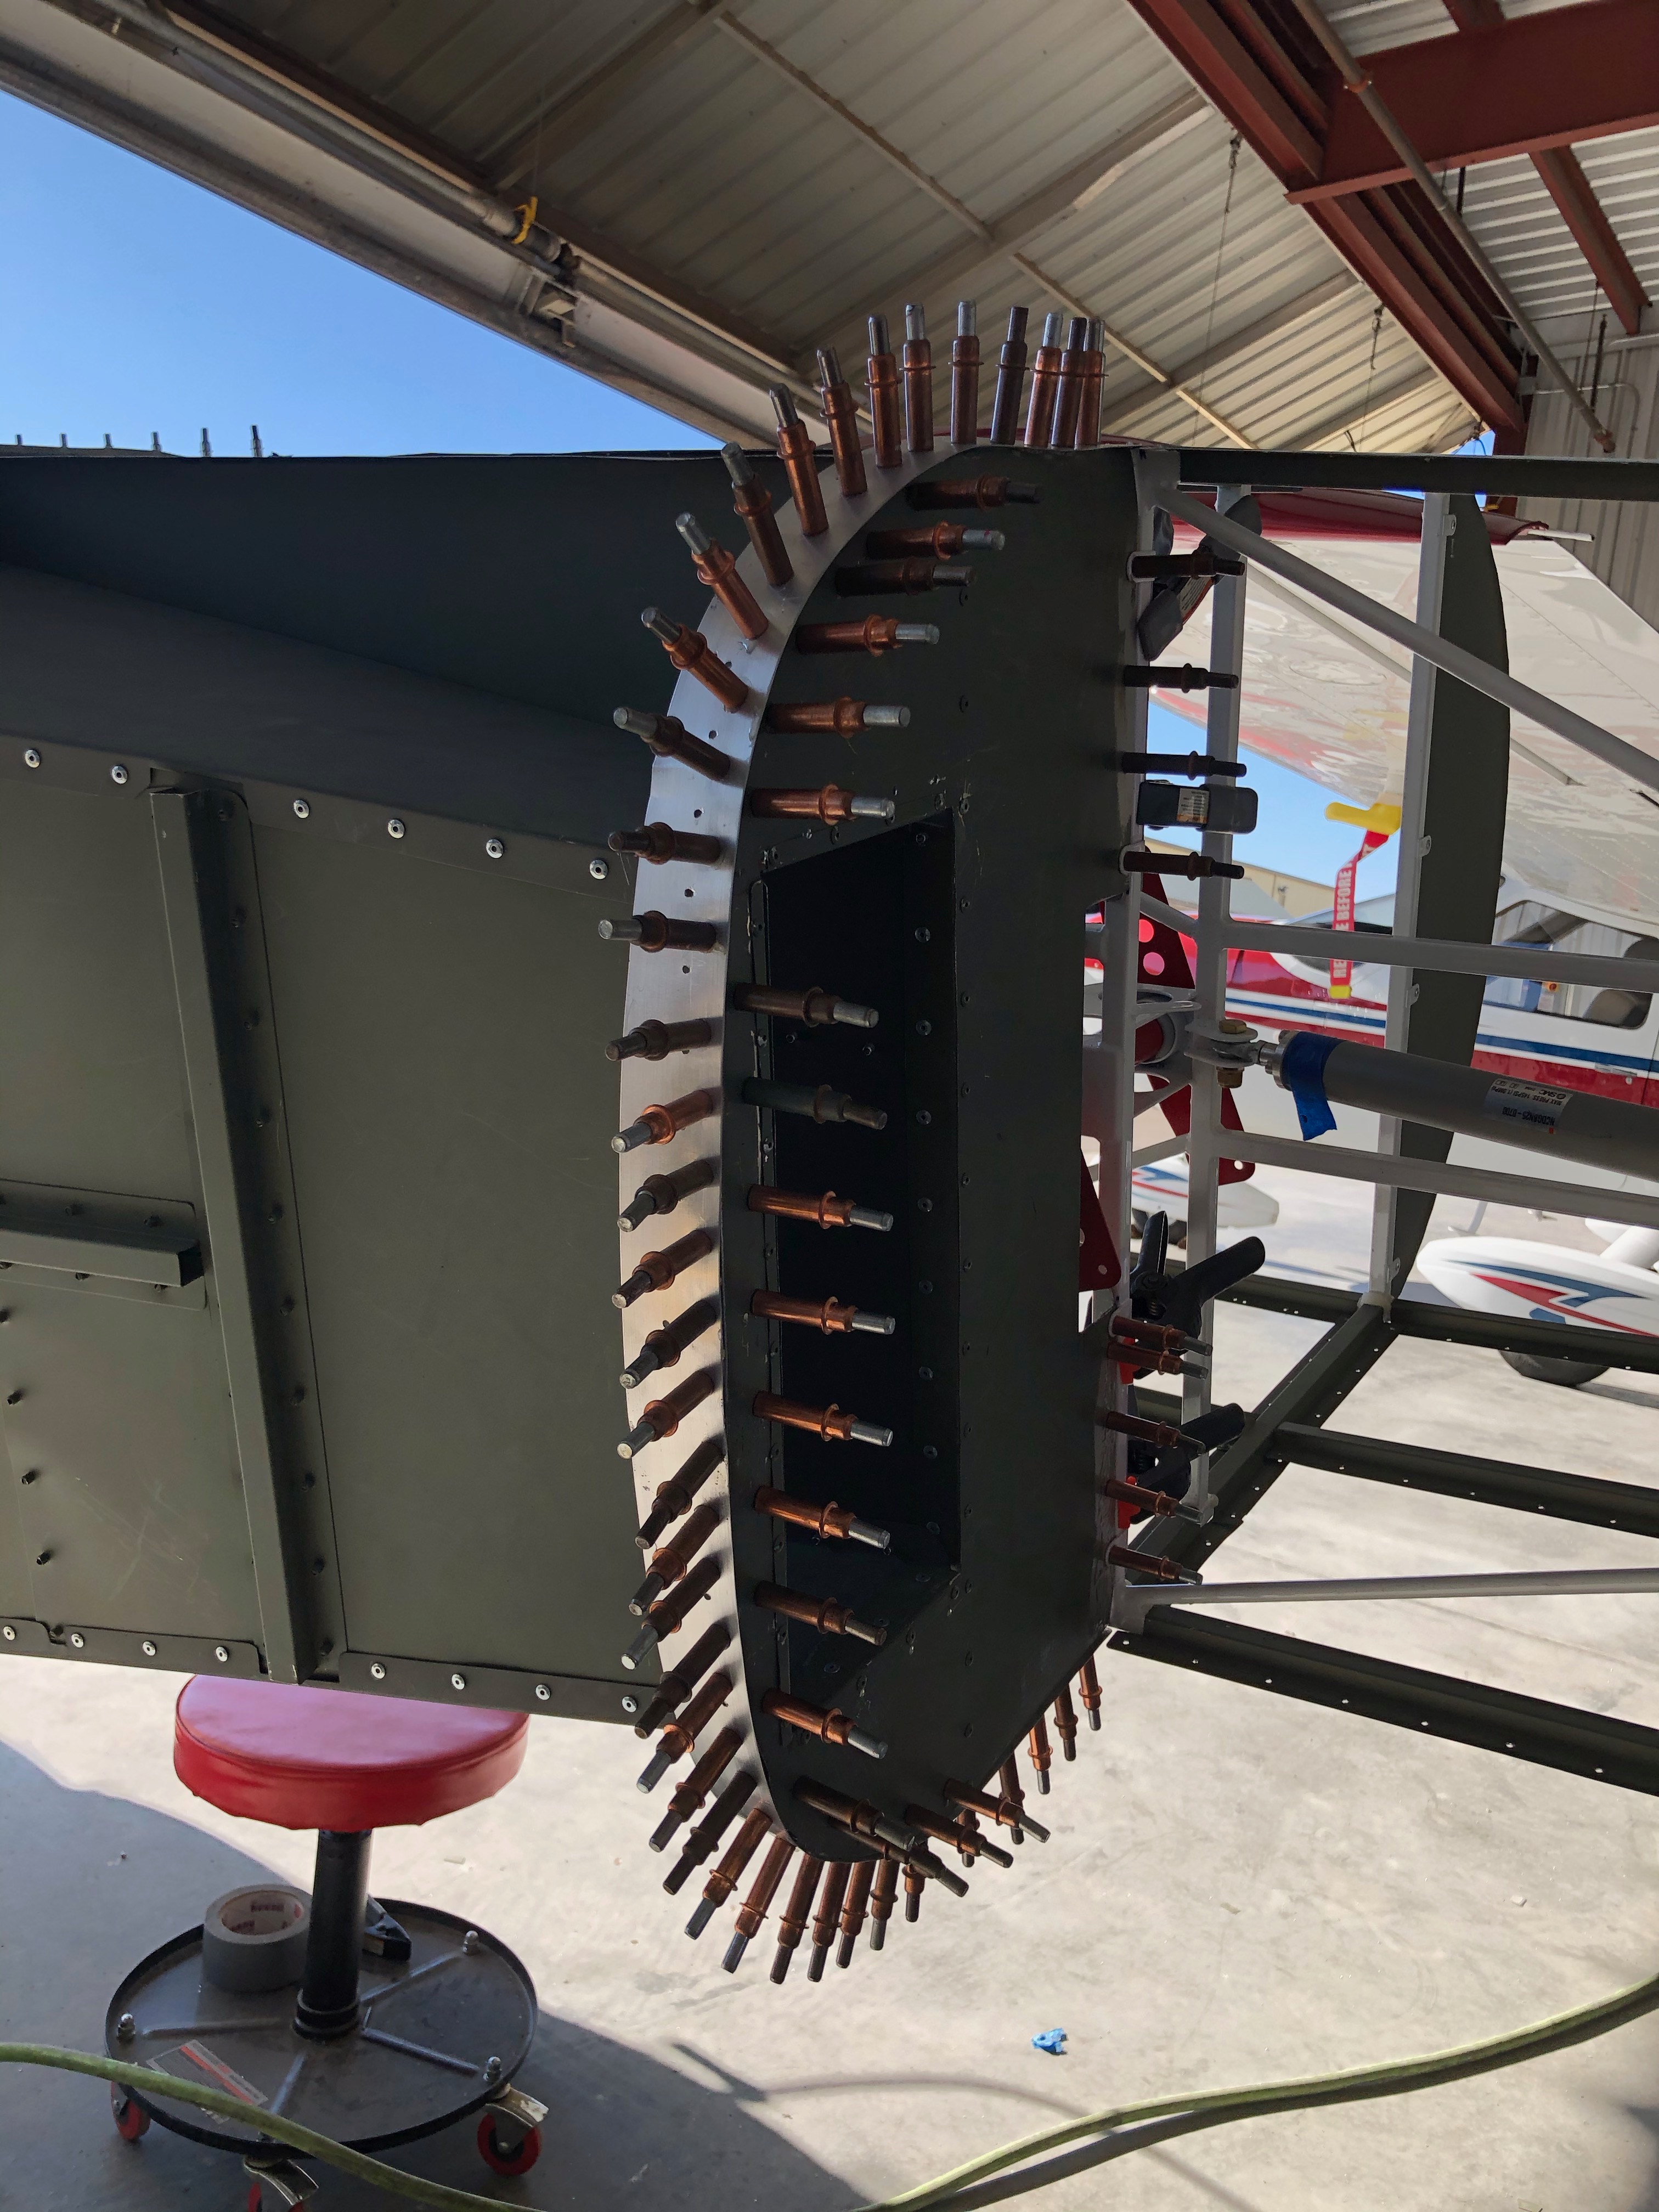
11/10/2018 - Front view of plenum with radiator mounted.
11/10/2018 -
Another view from the Left side.
11/10/2018 -
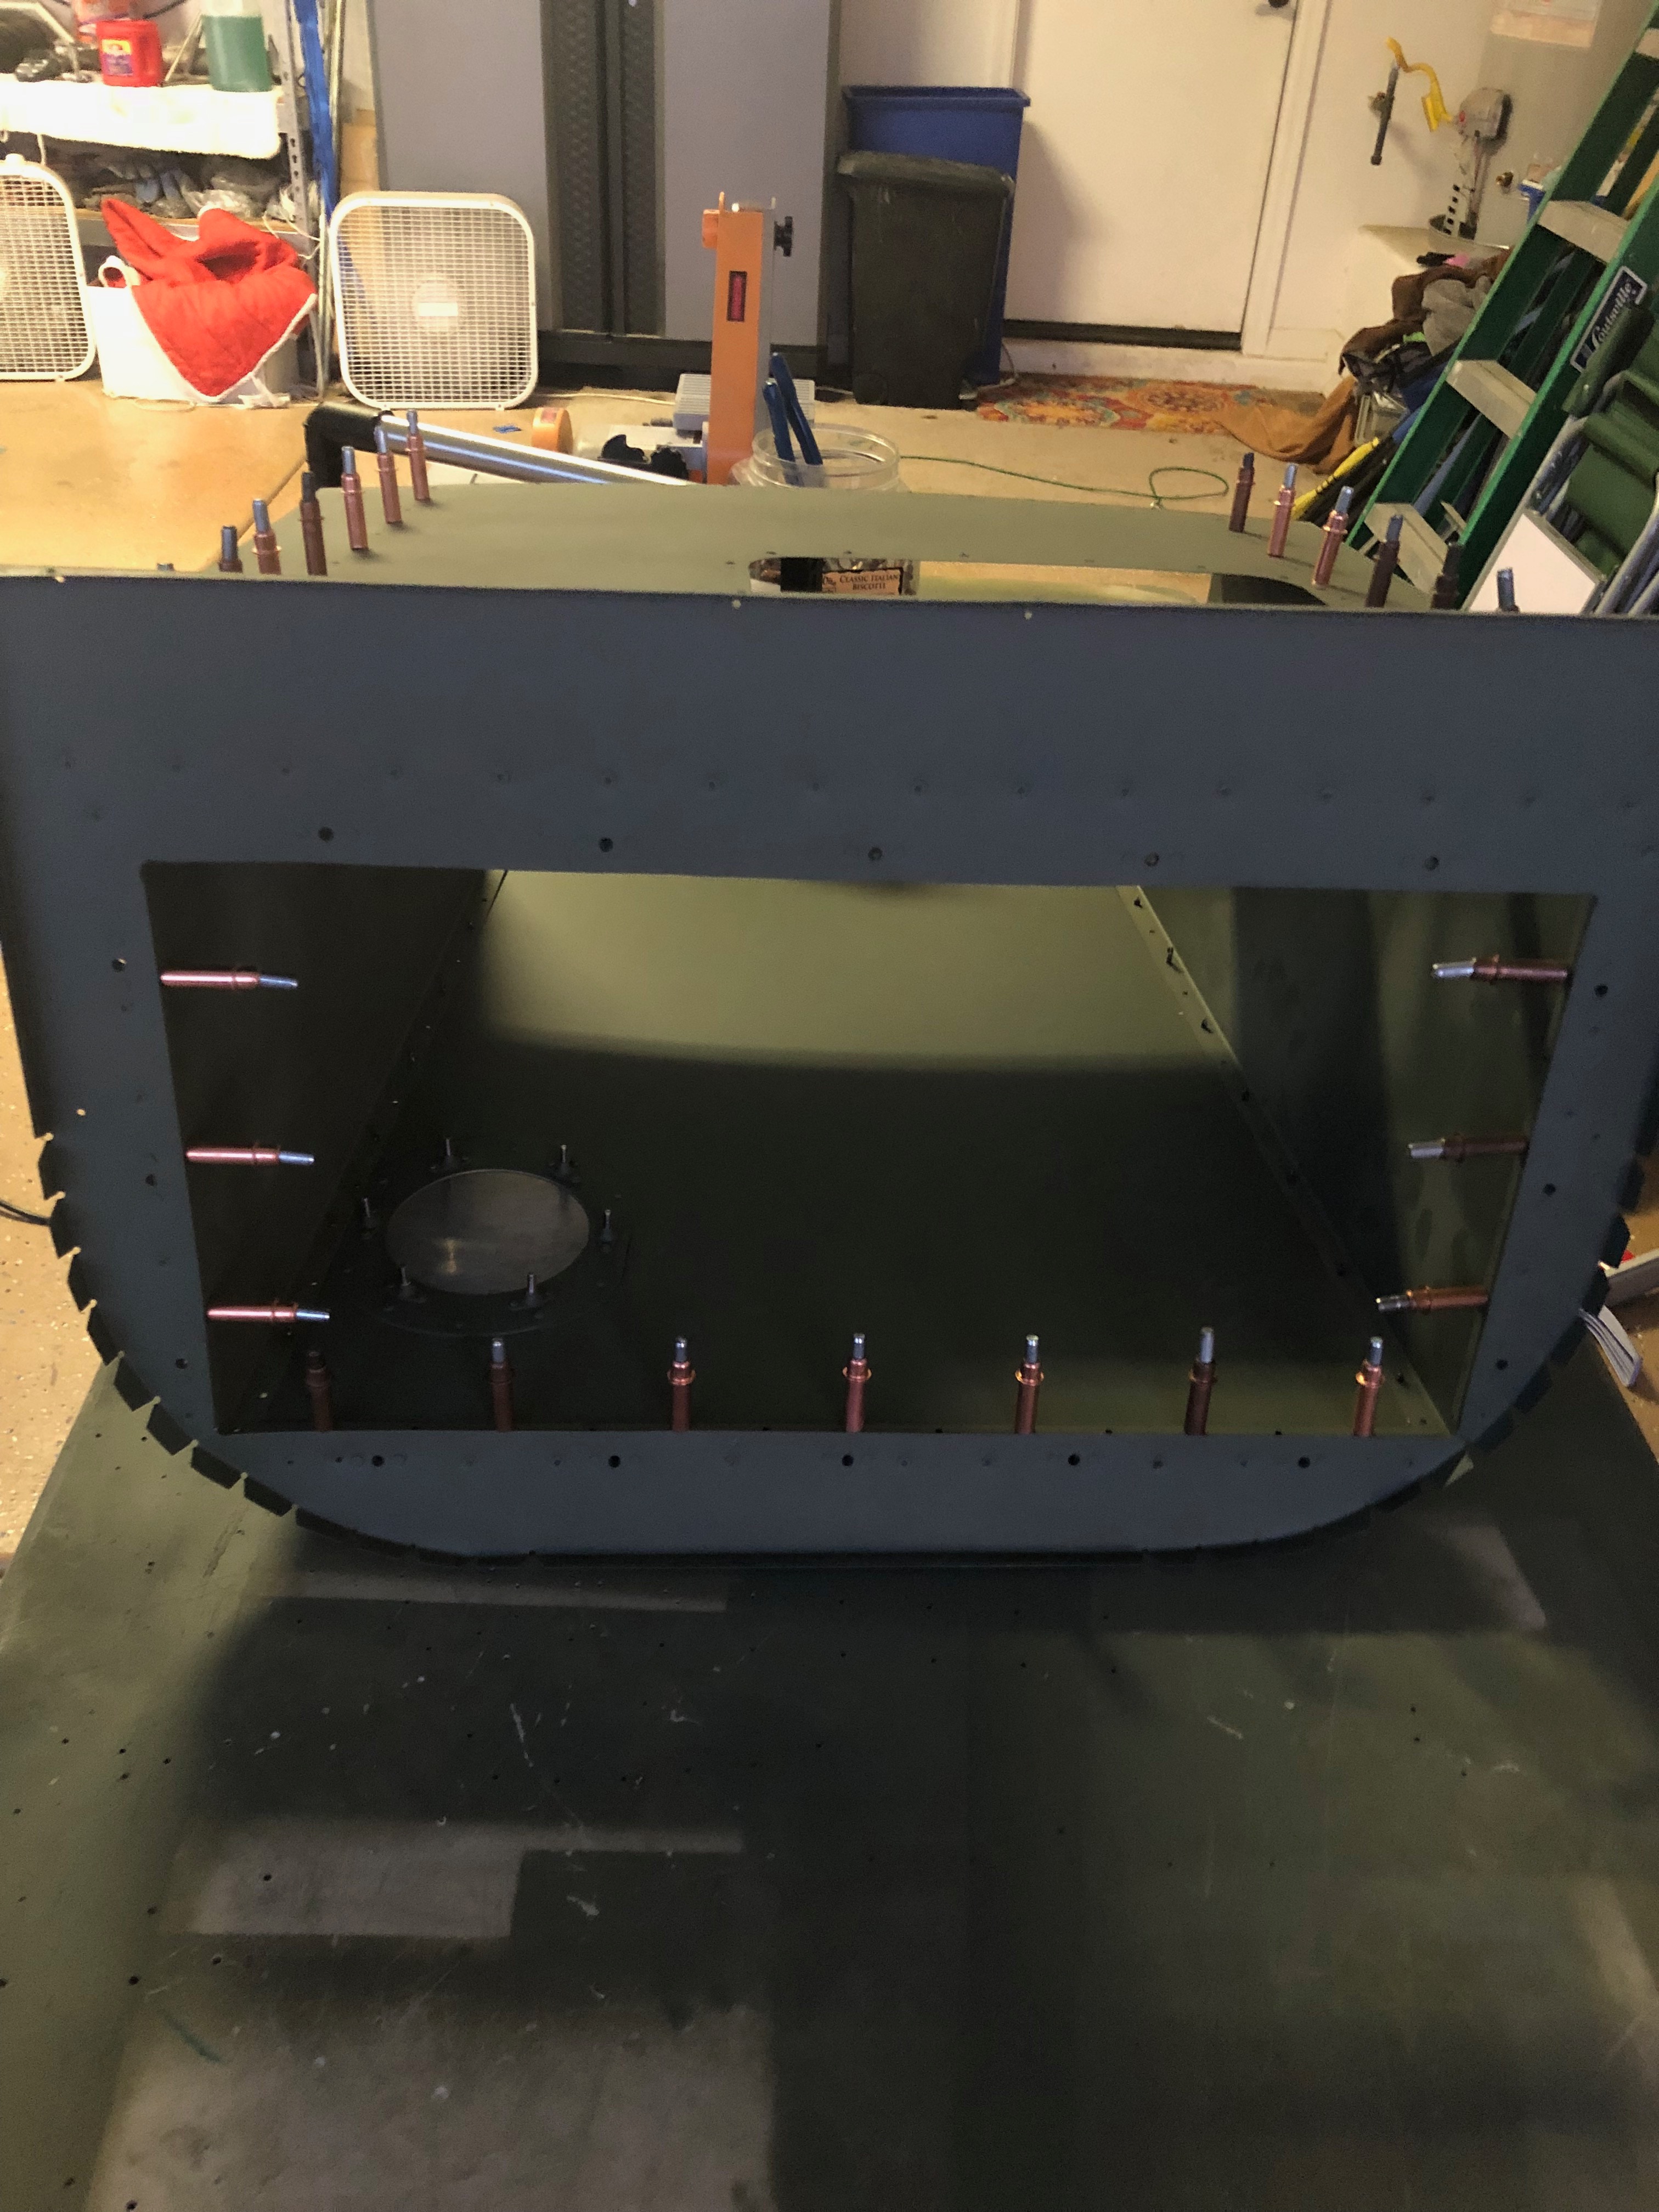
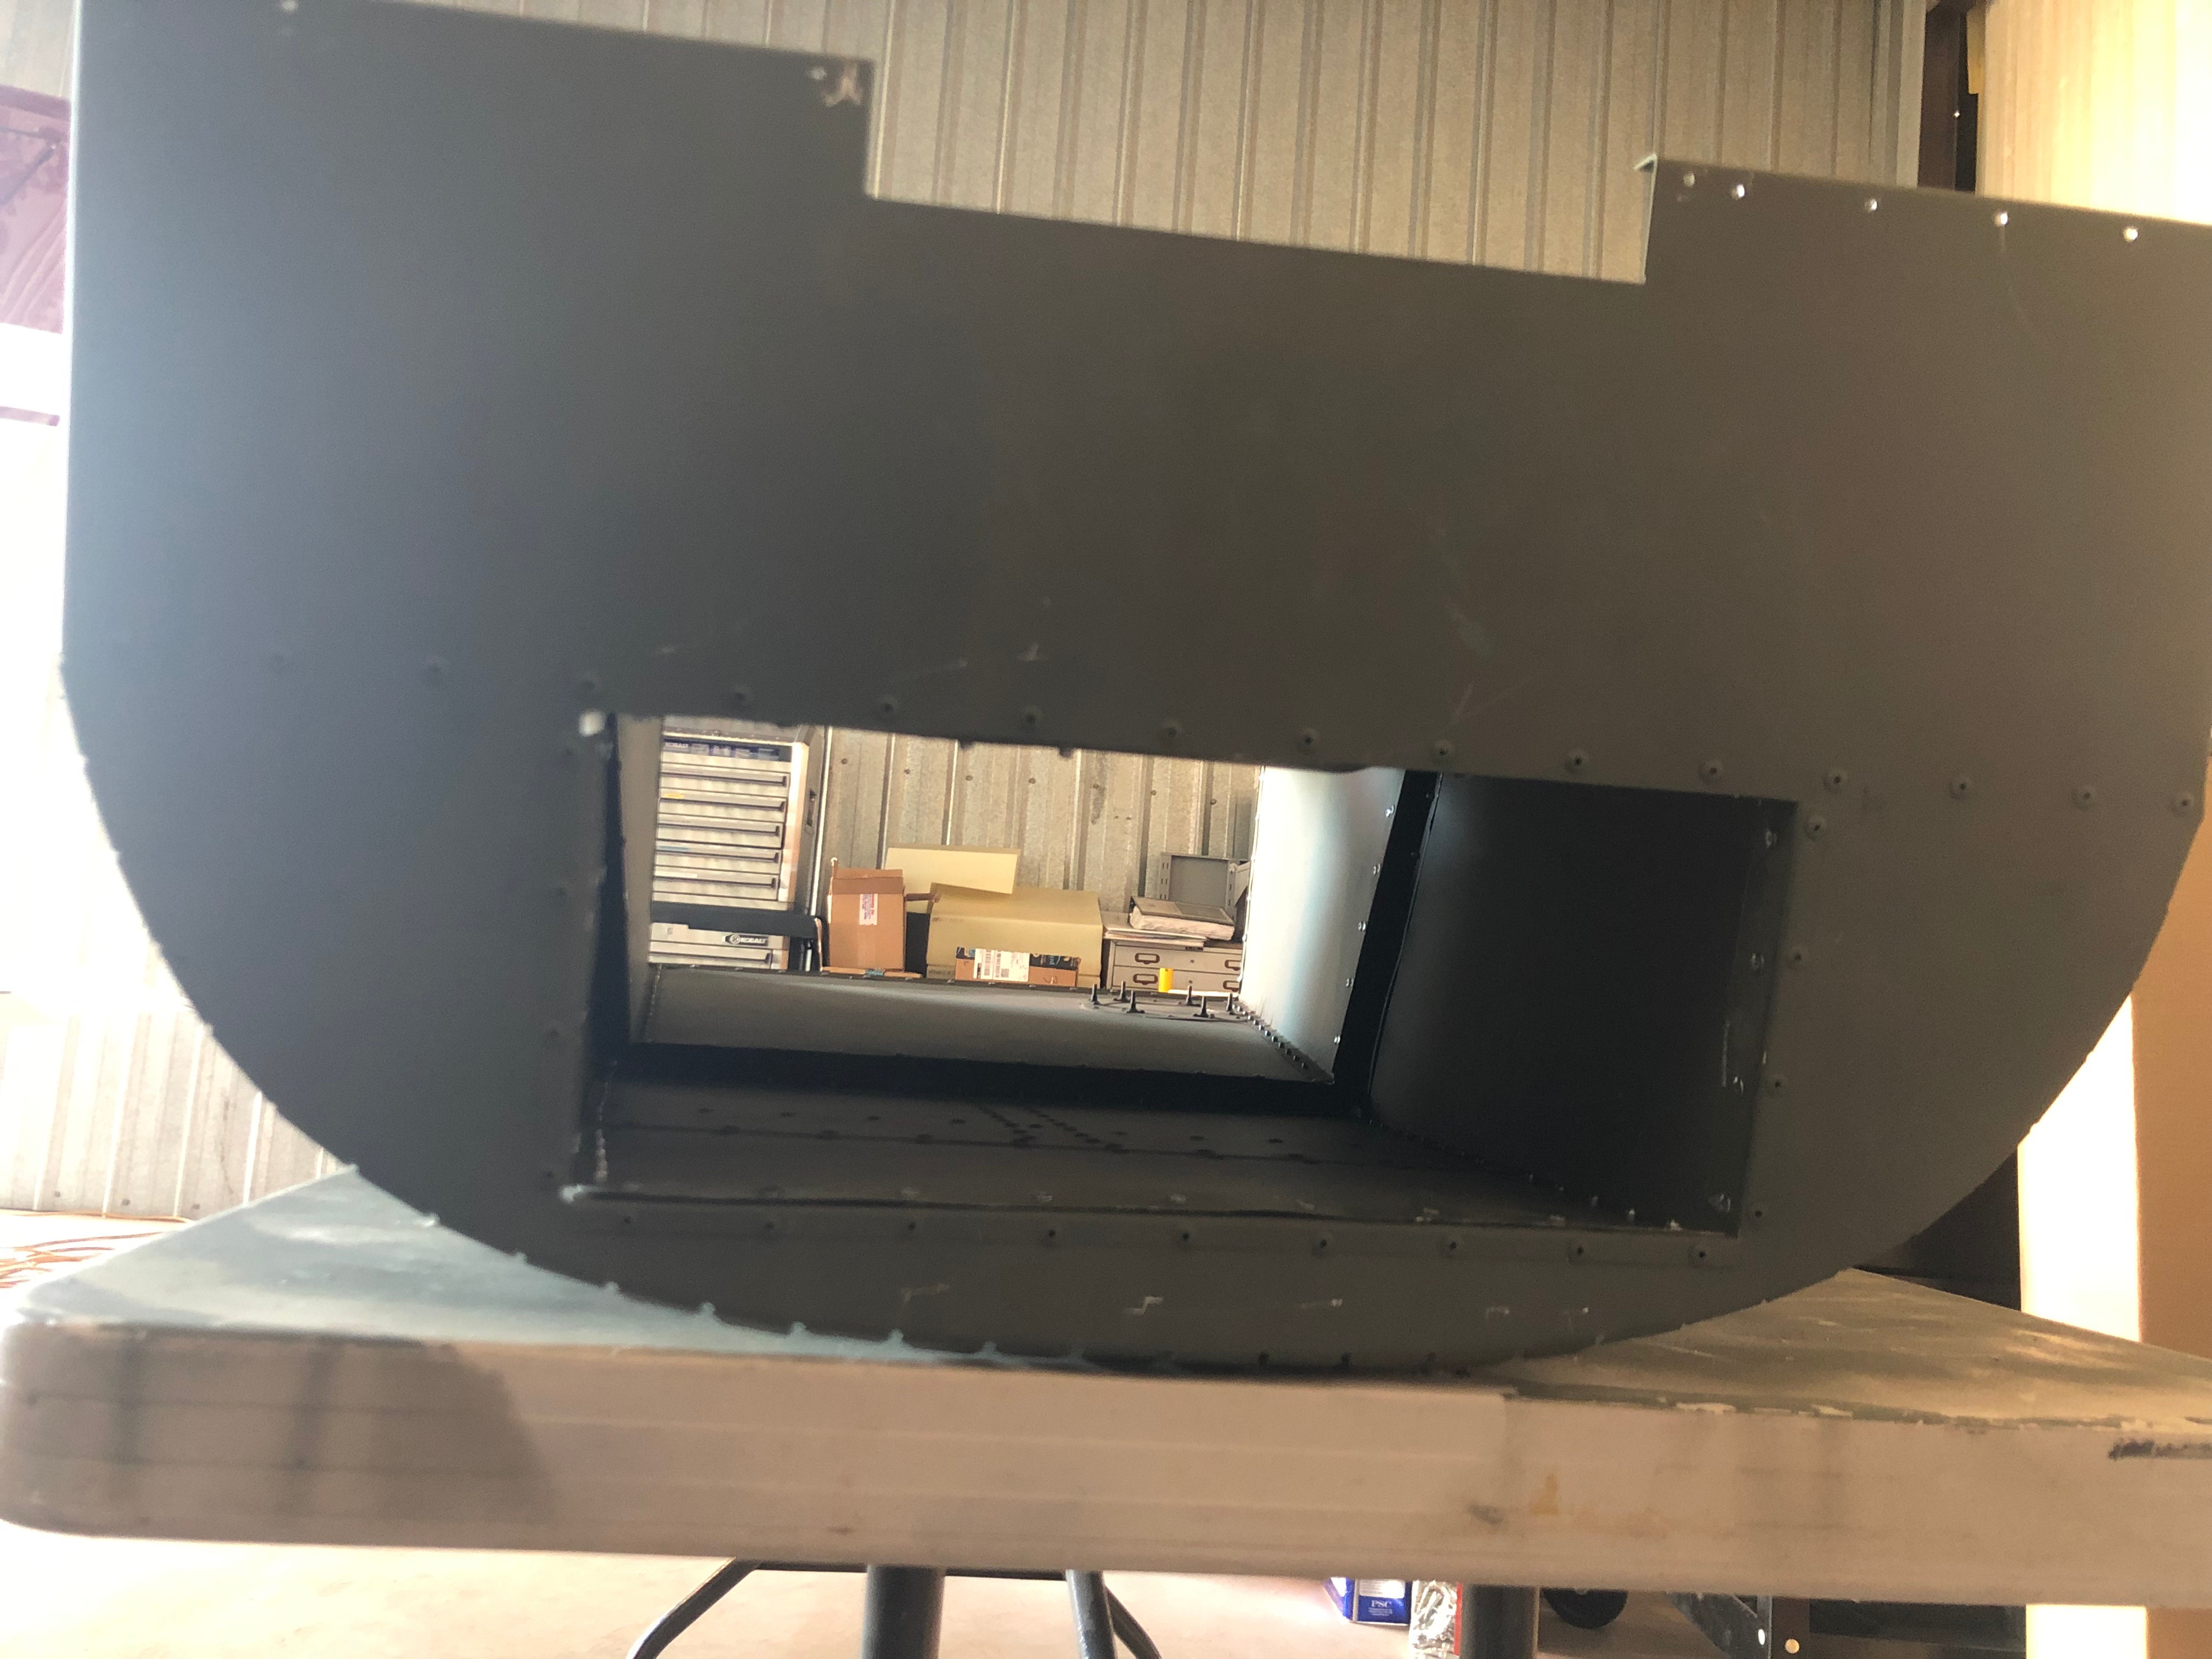
view from Aft end of the Plenum where the exhaust door will start.
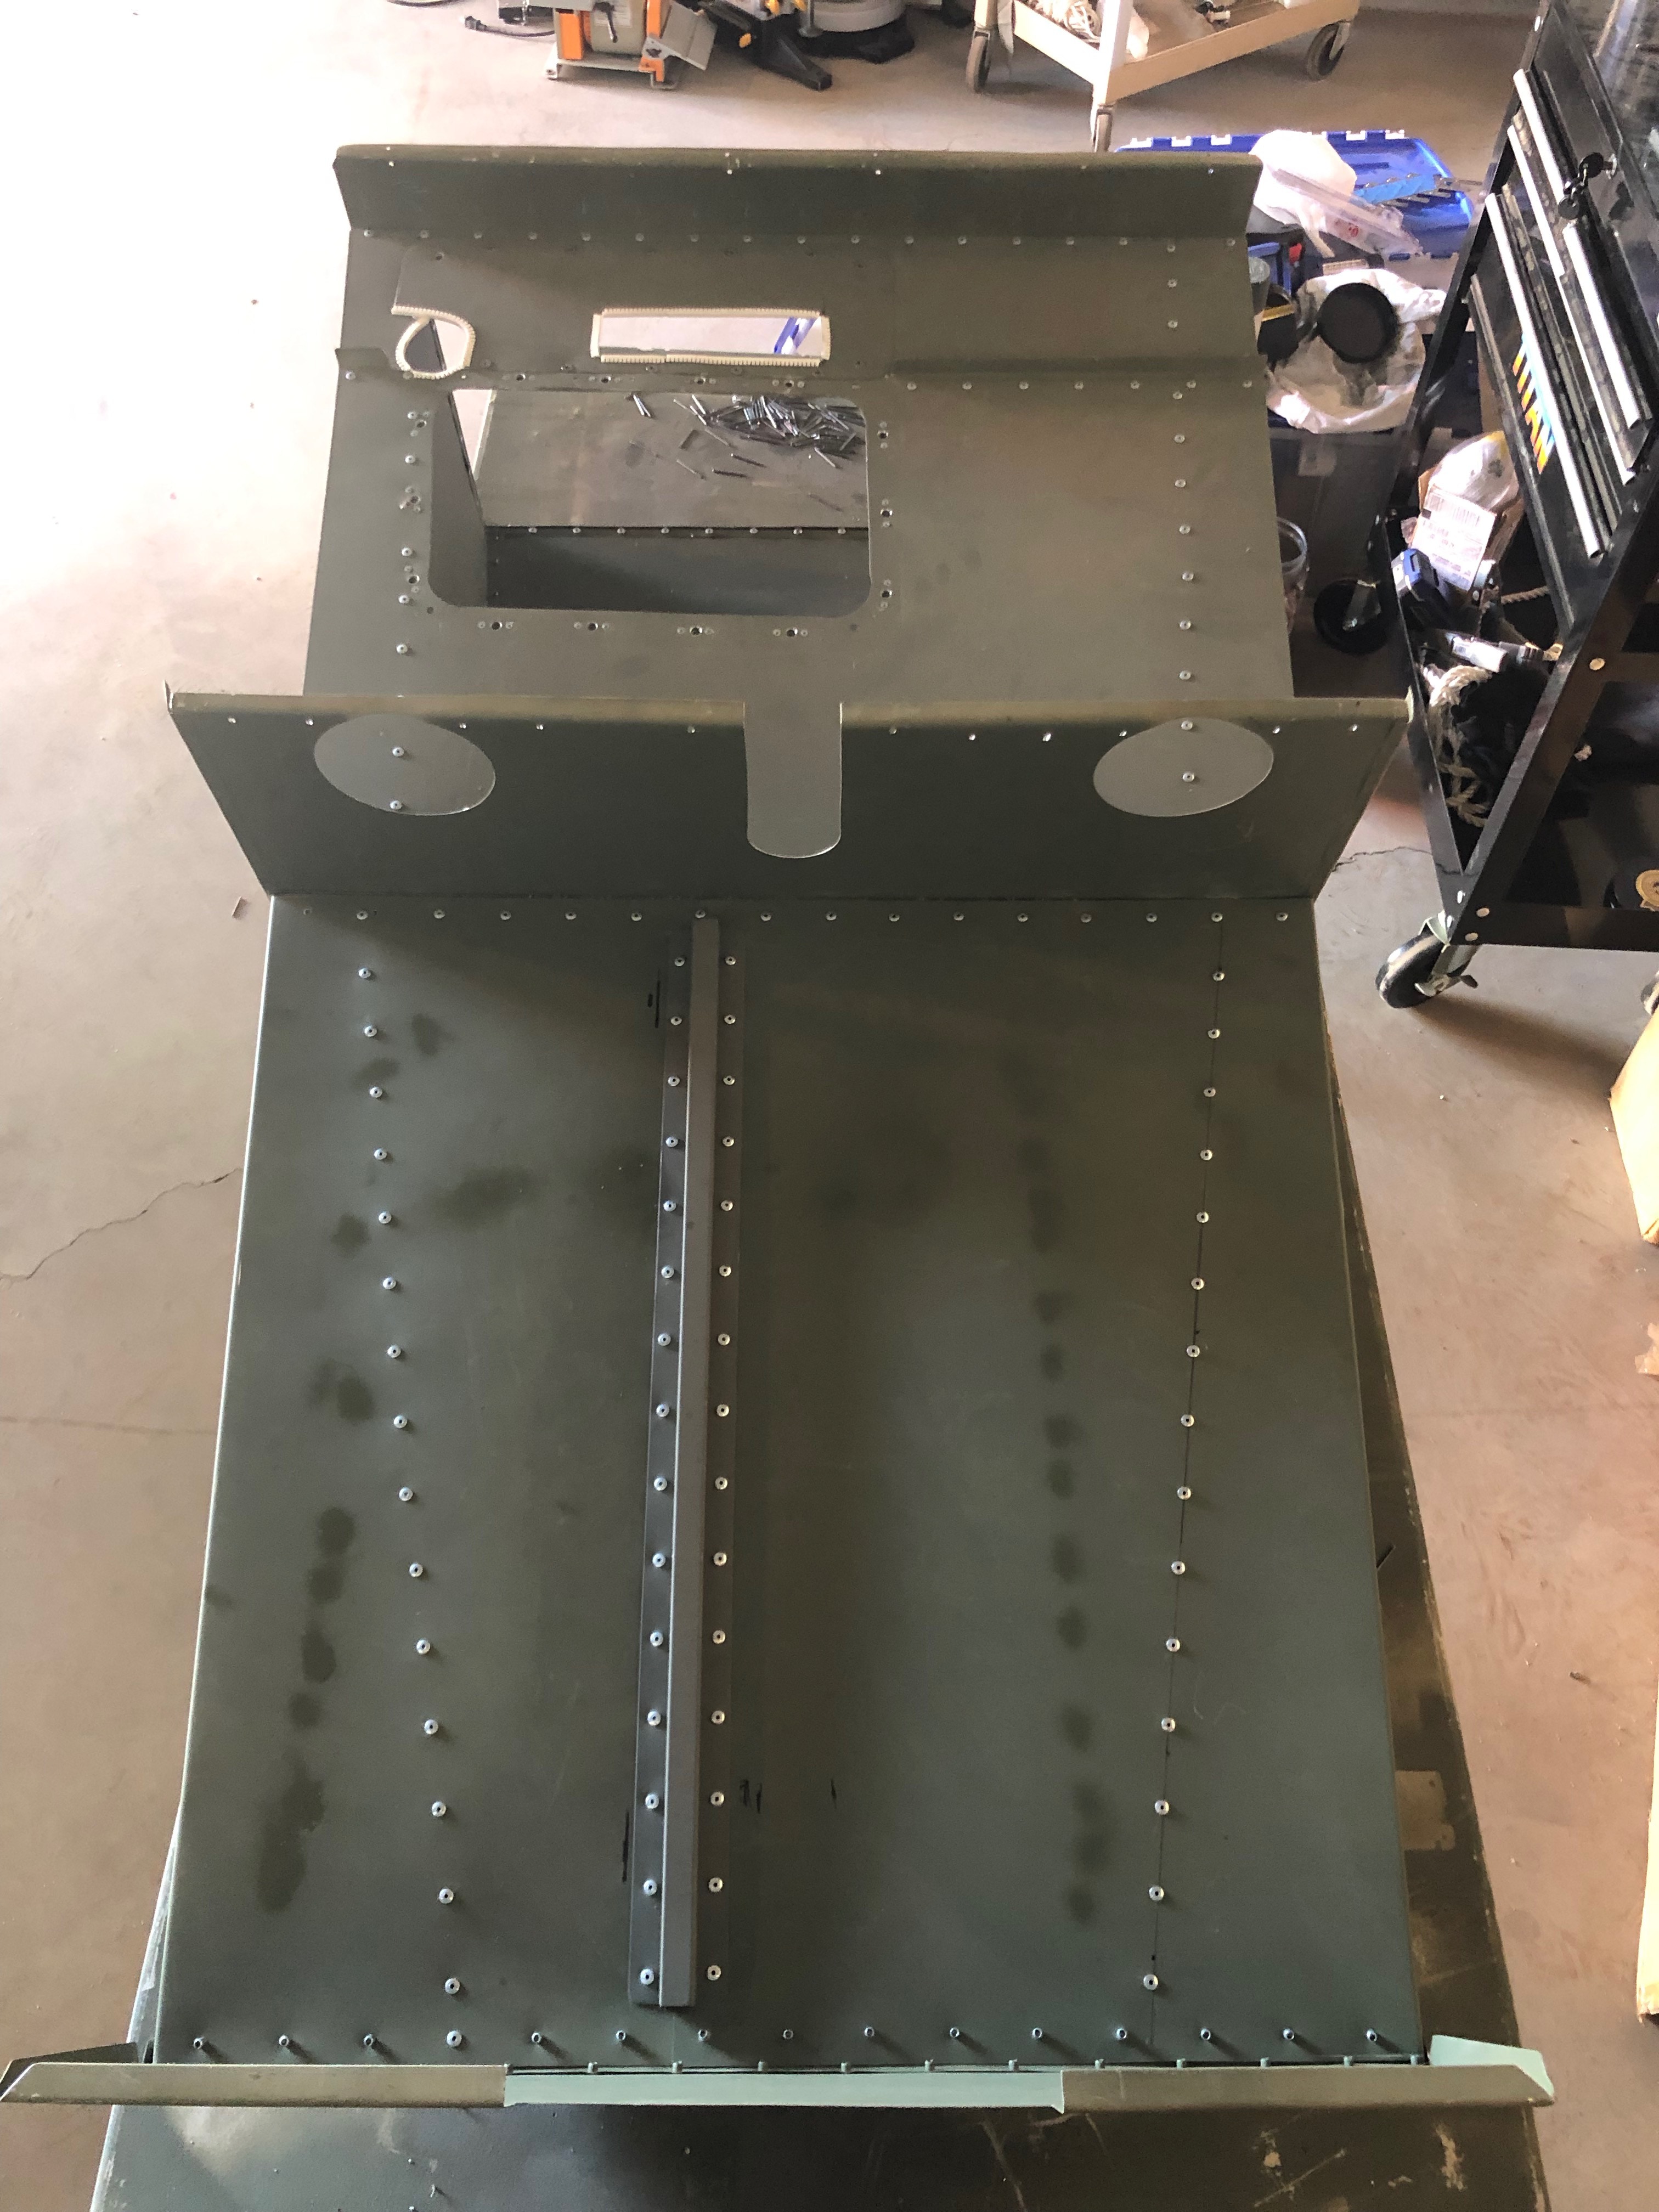
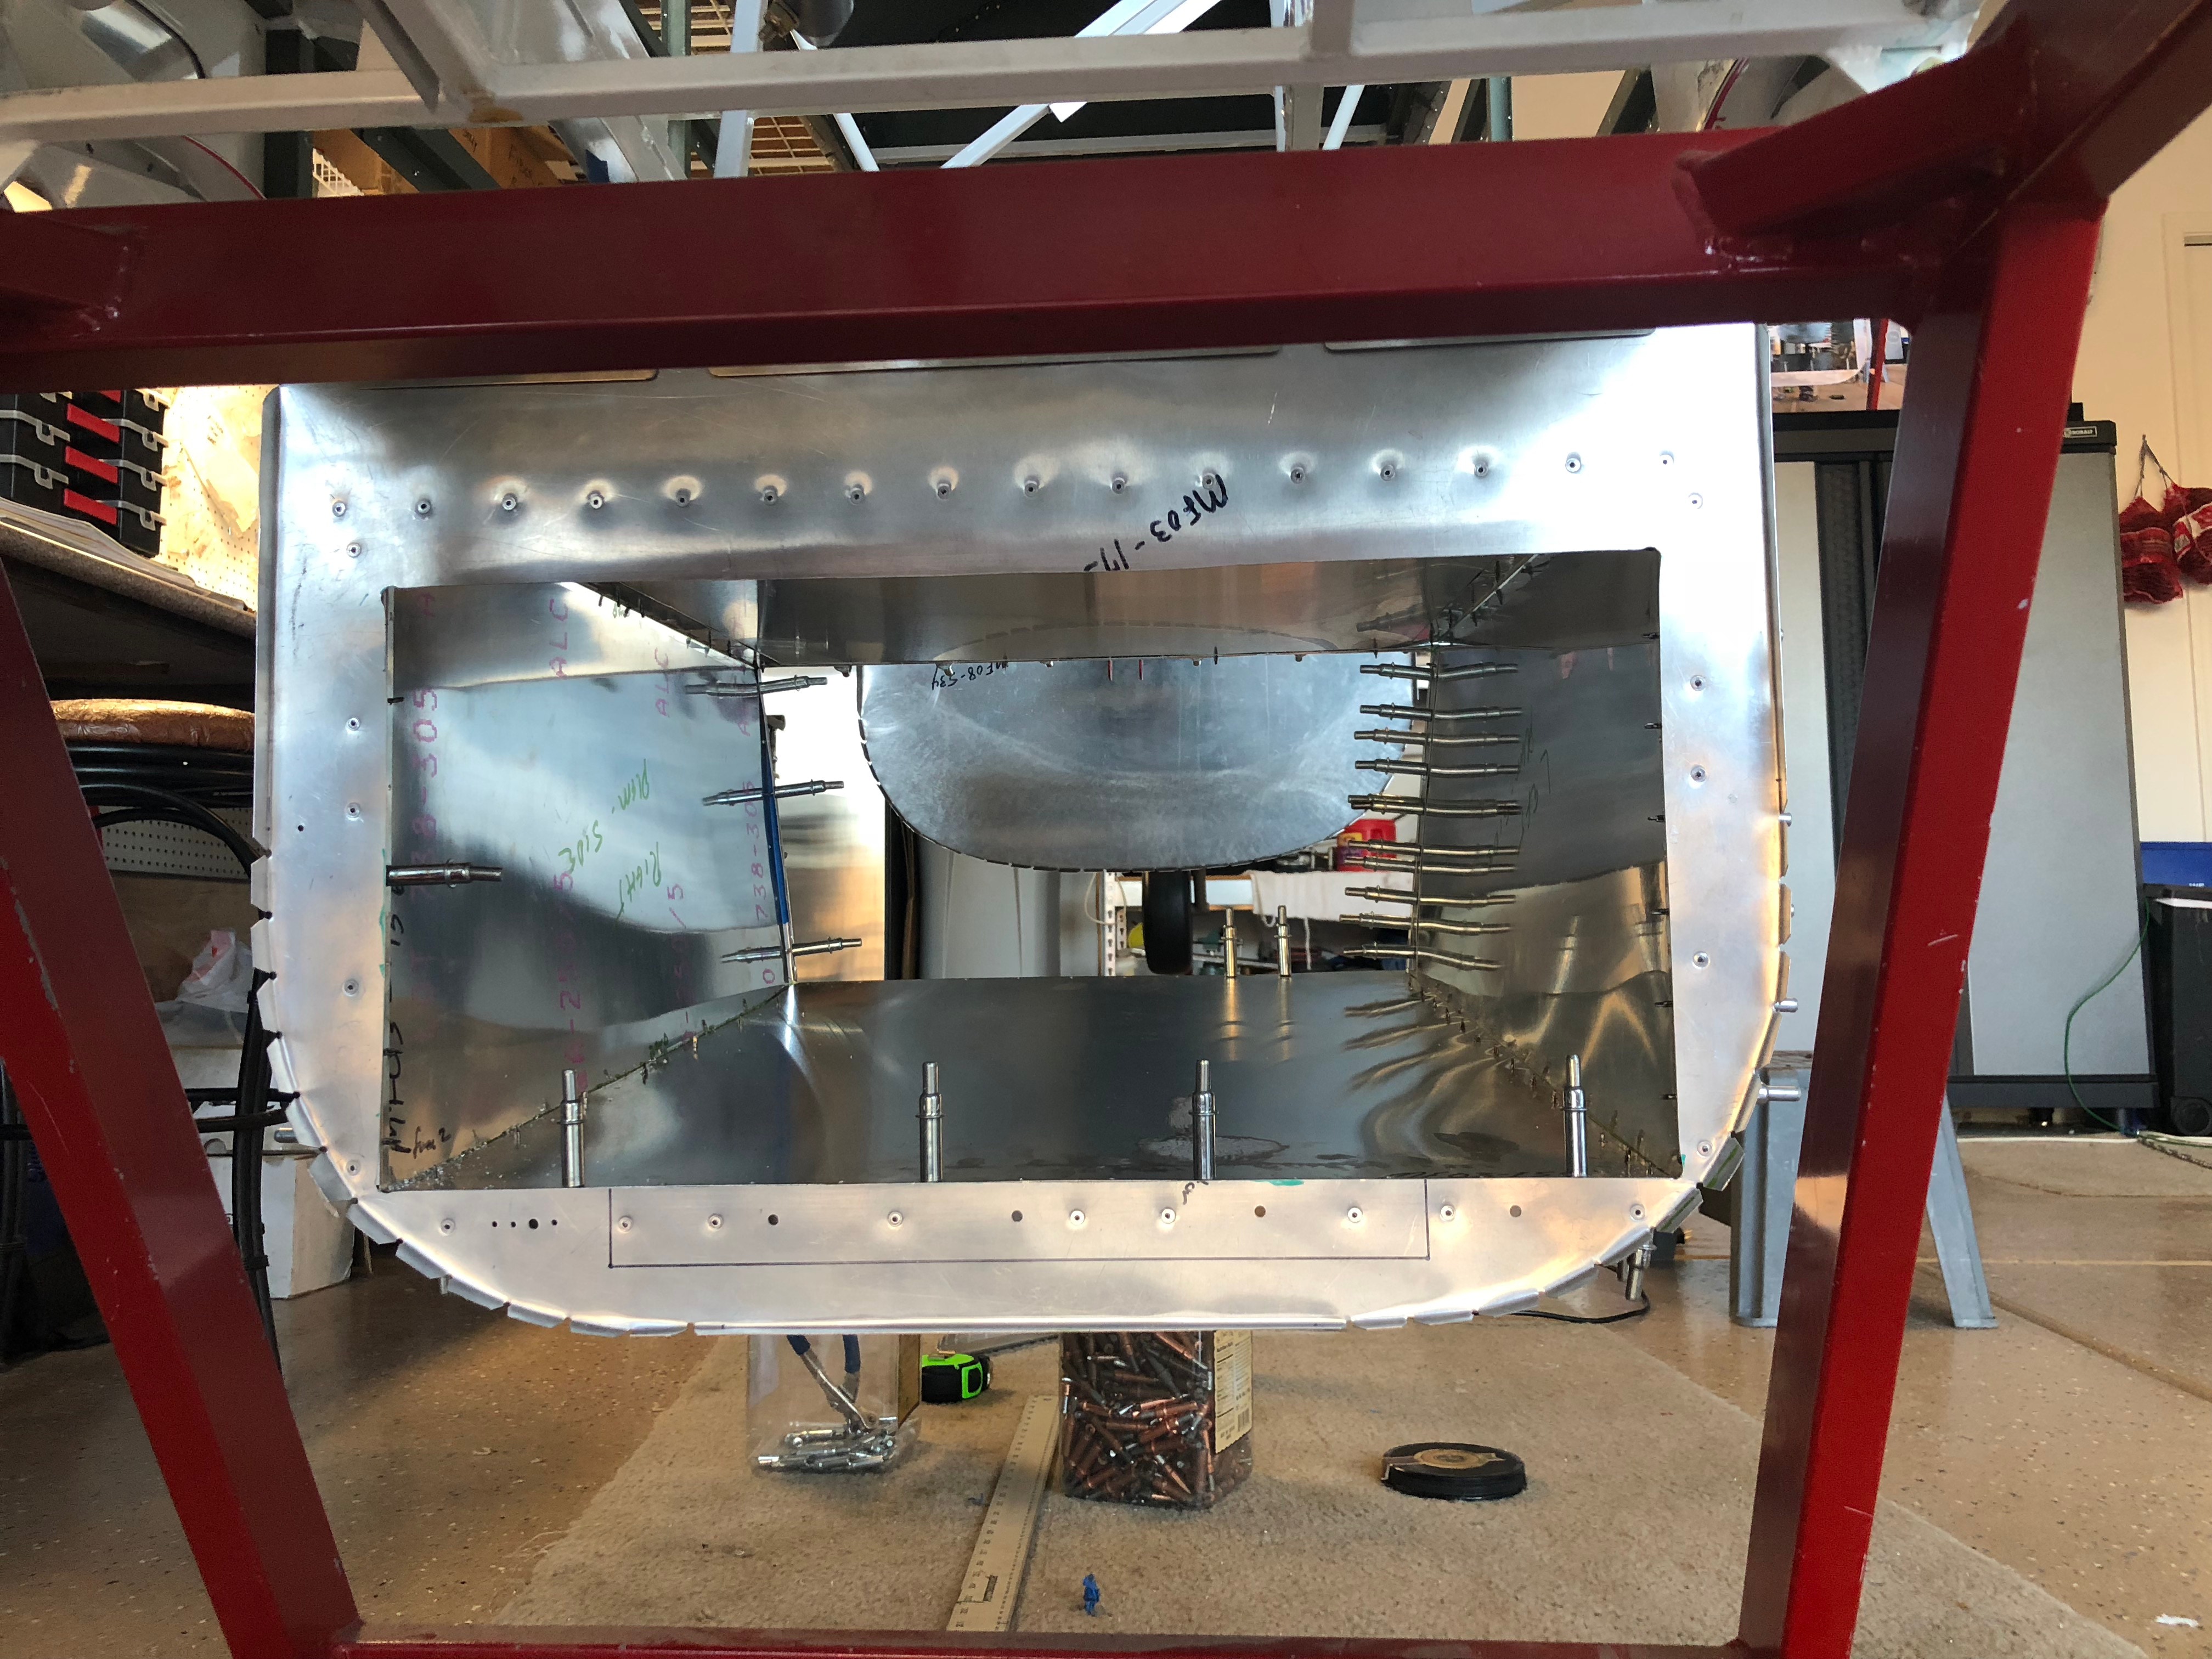
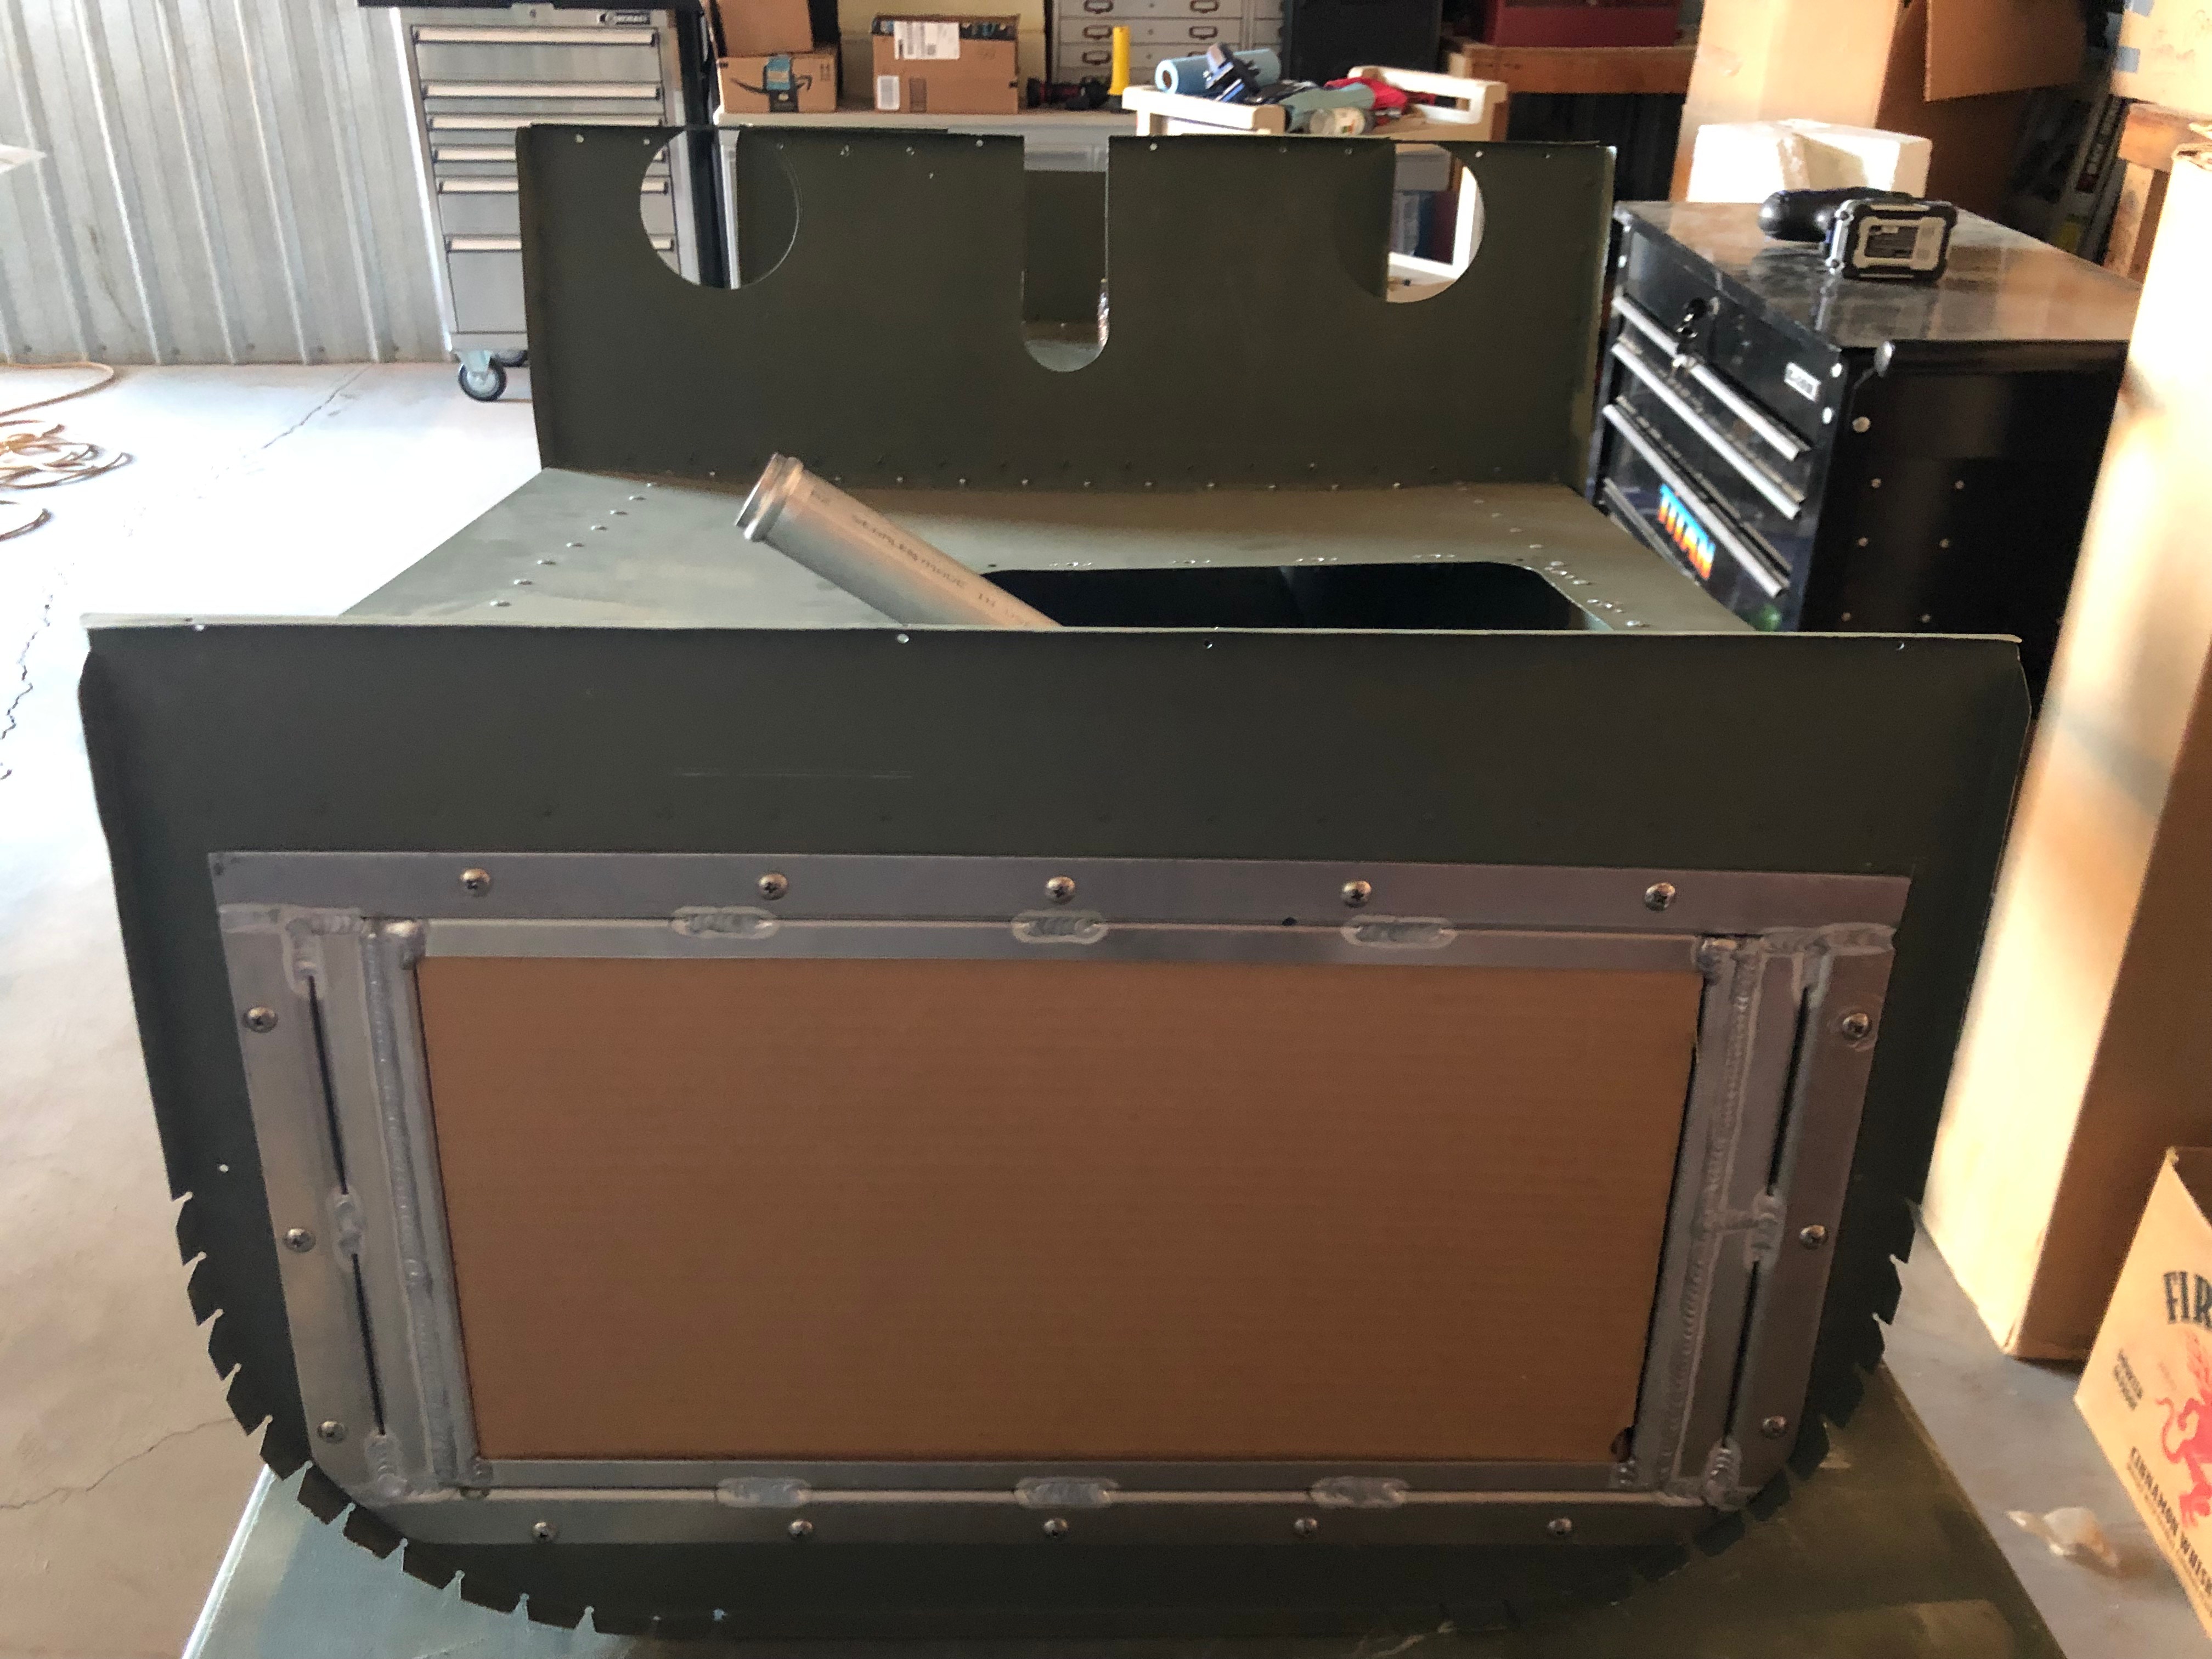
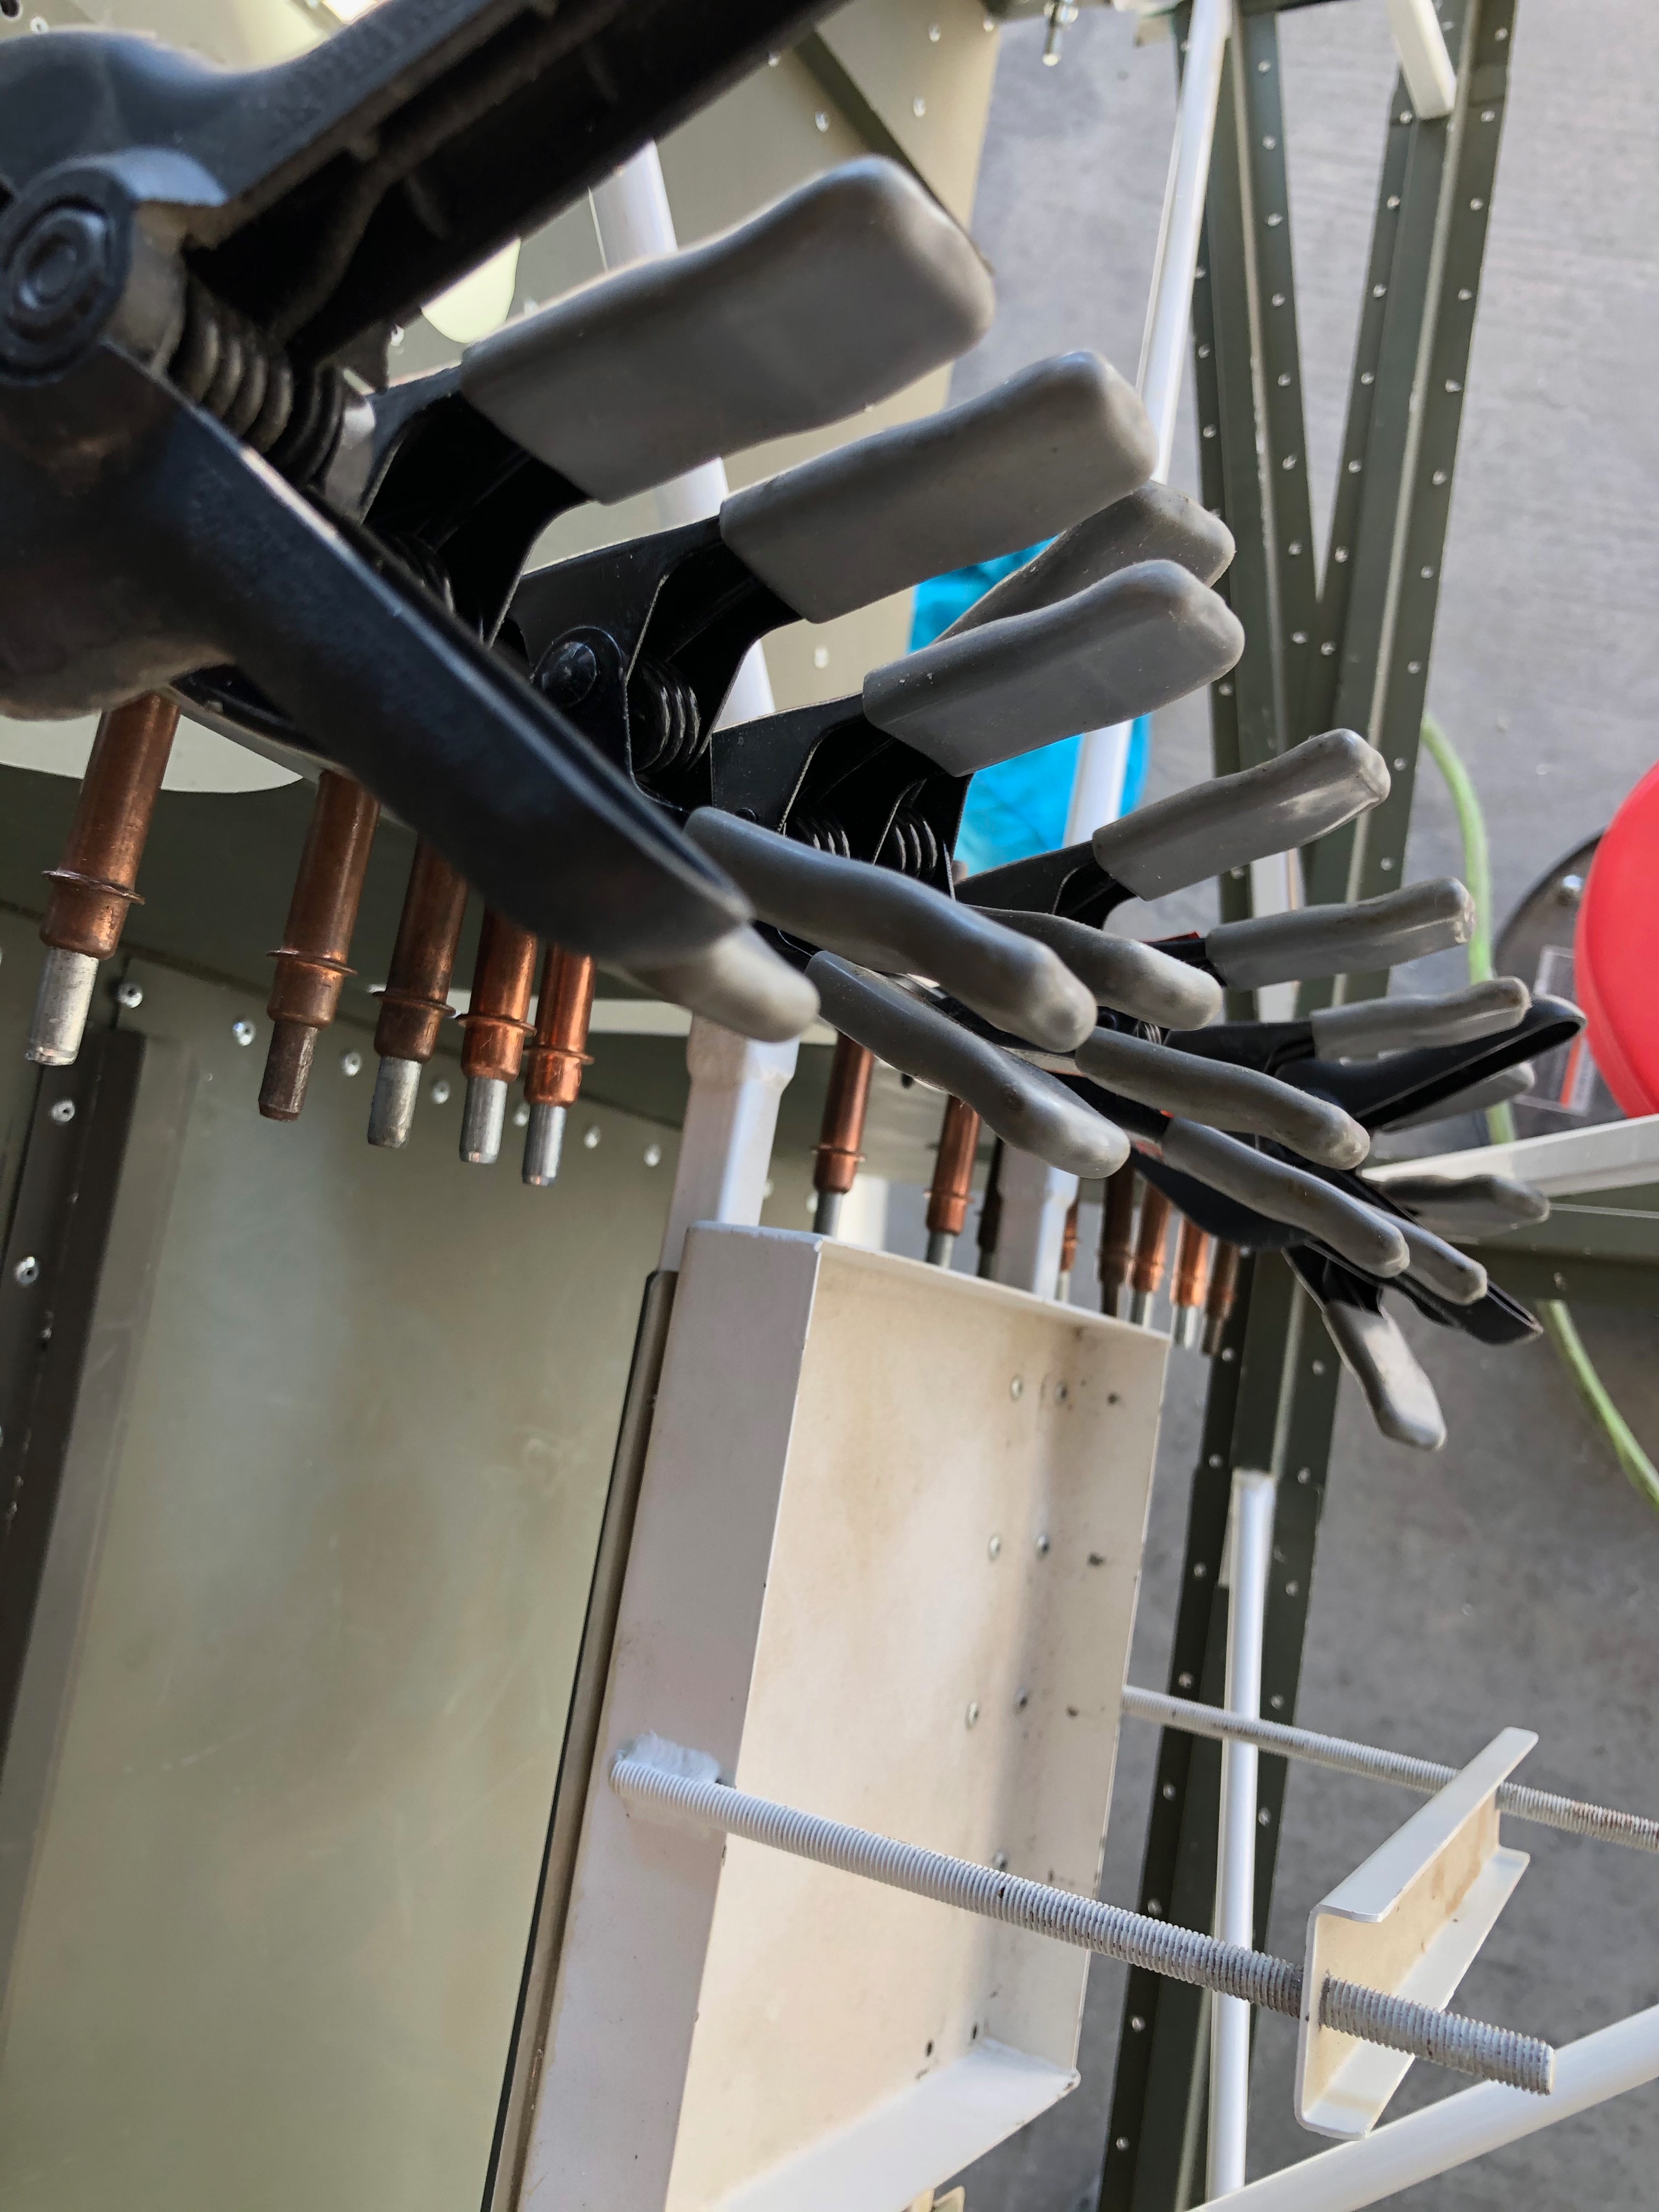
11/17/2018 - 4.5 hrs -
Plenum completed with Adhesive and Rivets.
11/17/2018 -
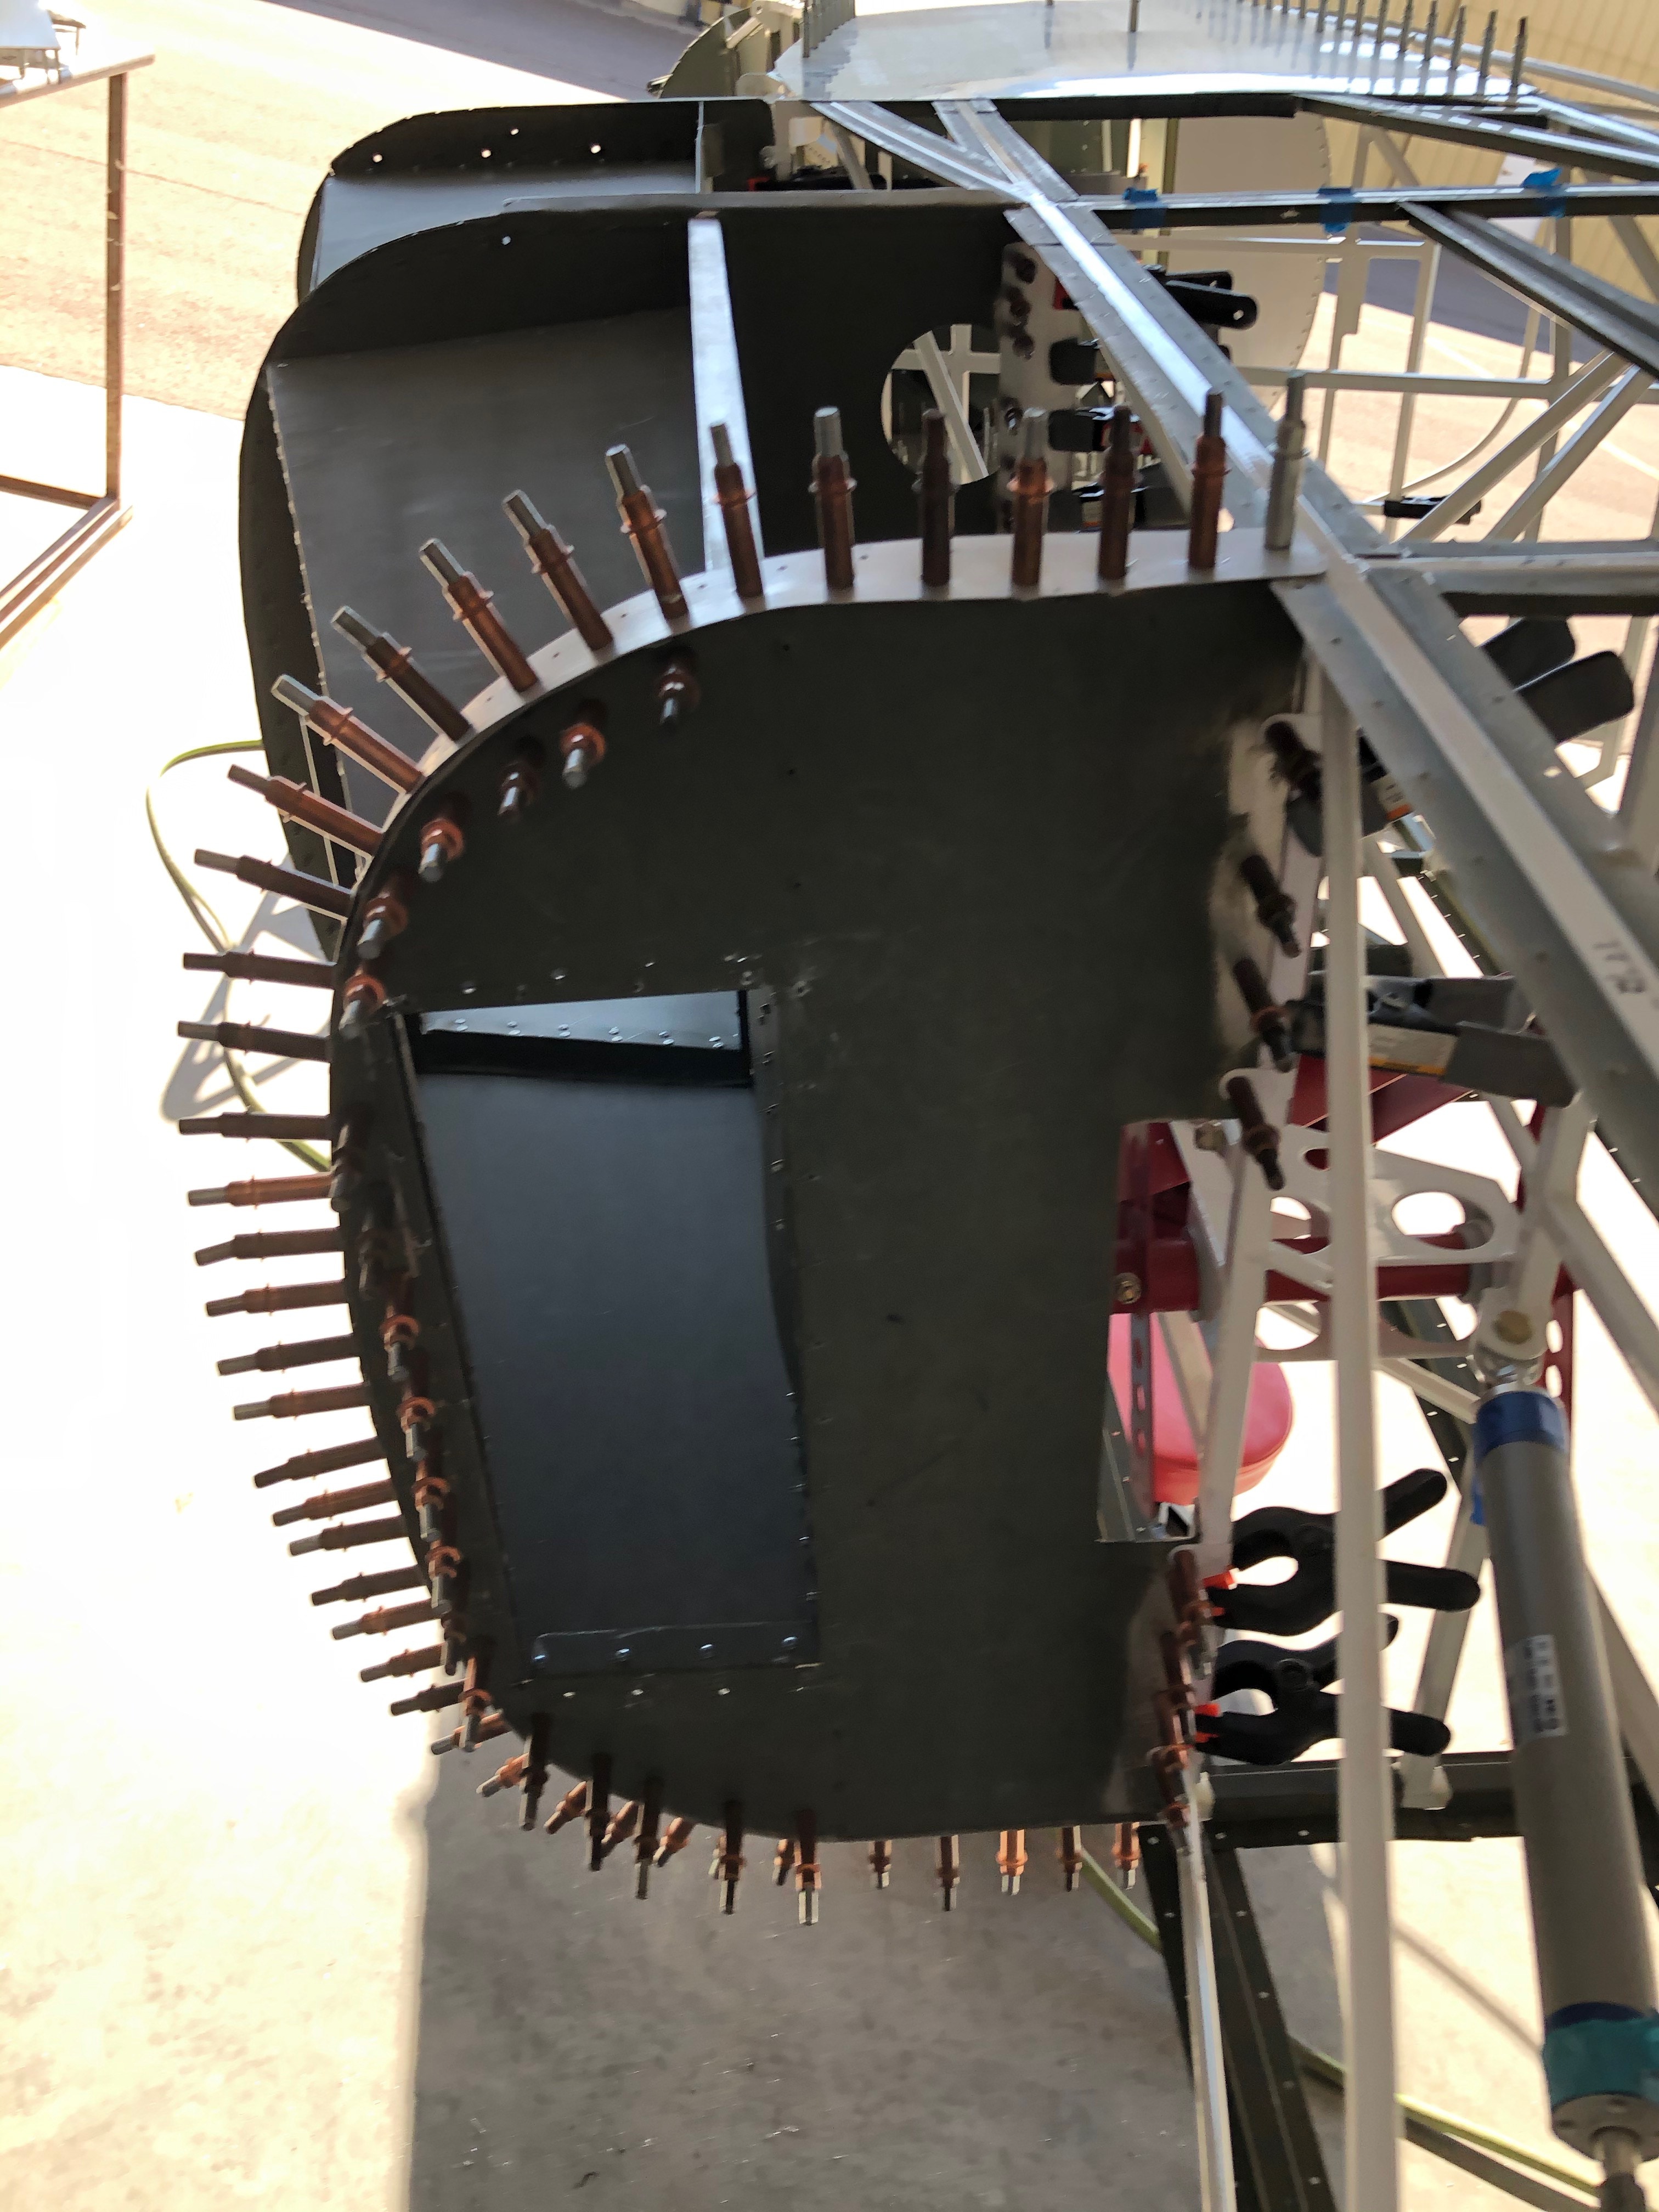
Plenum Top view
11/17/2018 -
Front view of completed Plenum
11/17/2018 -
AFT view of completed Plenum
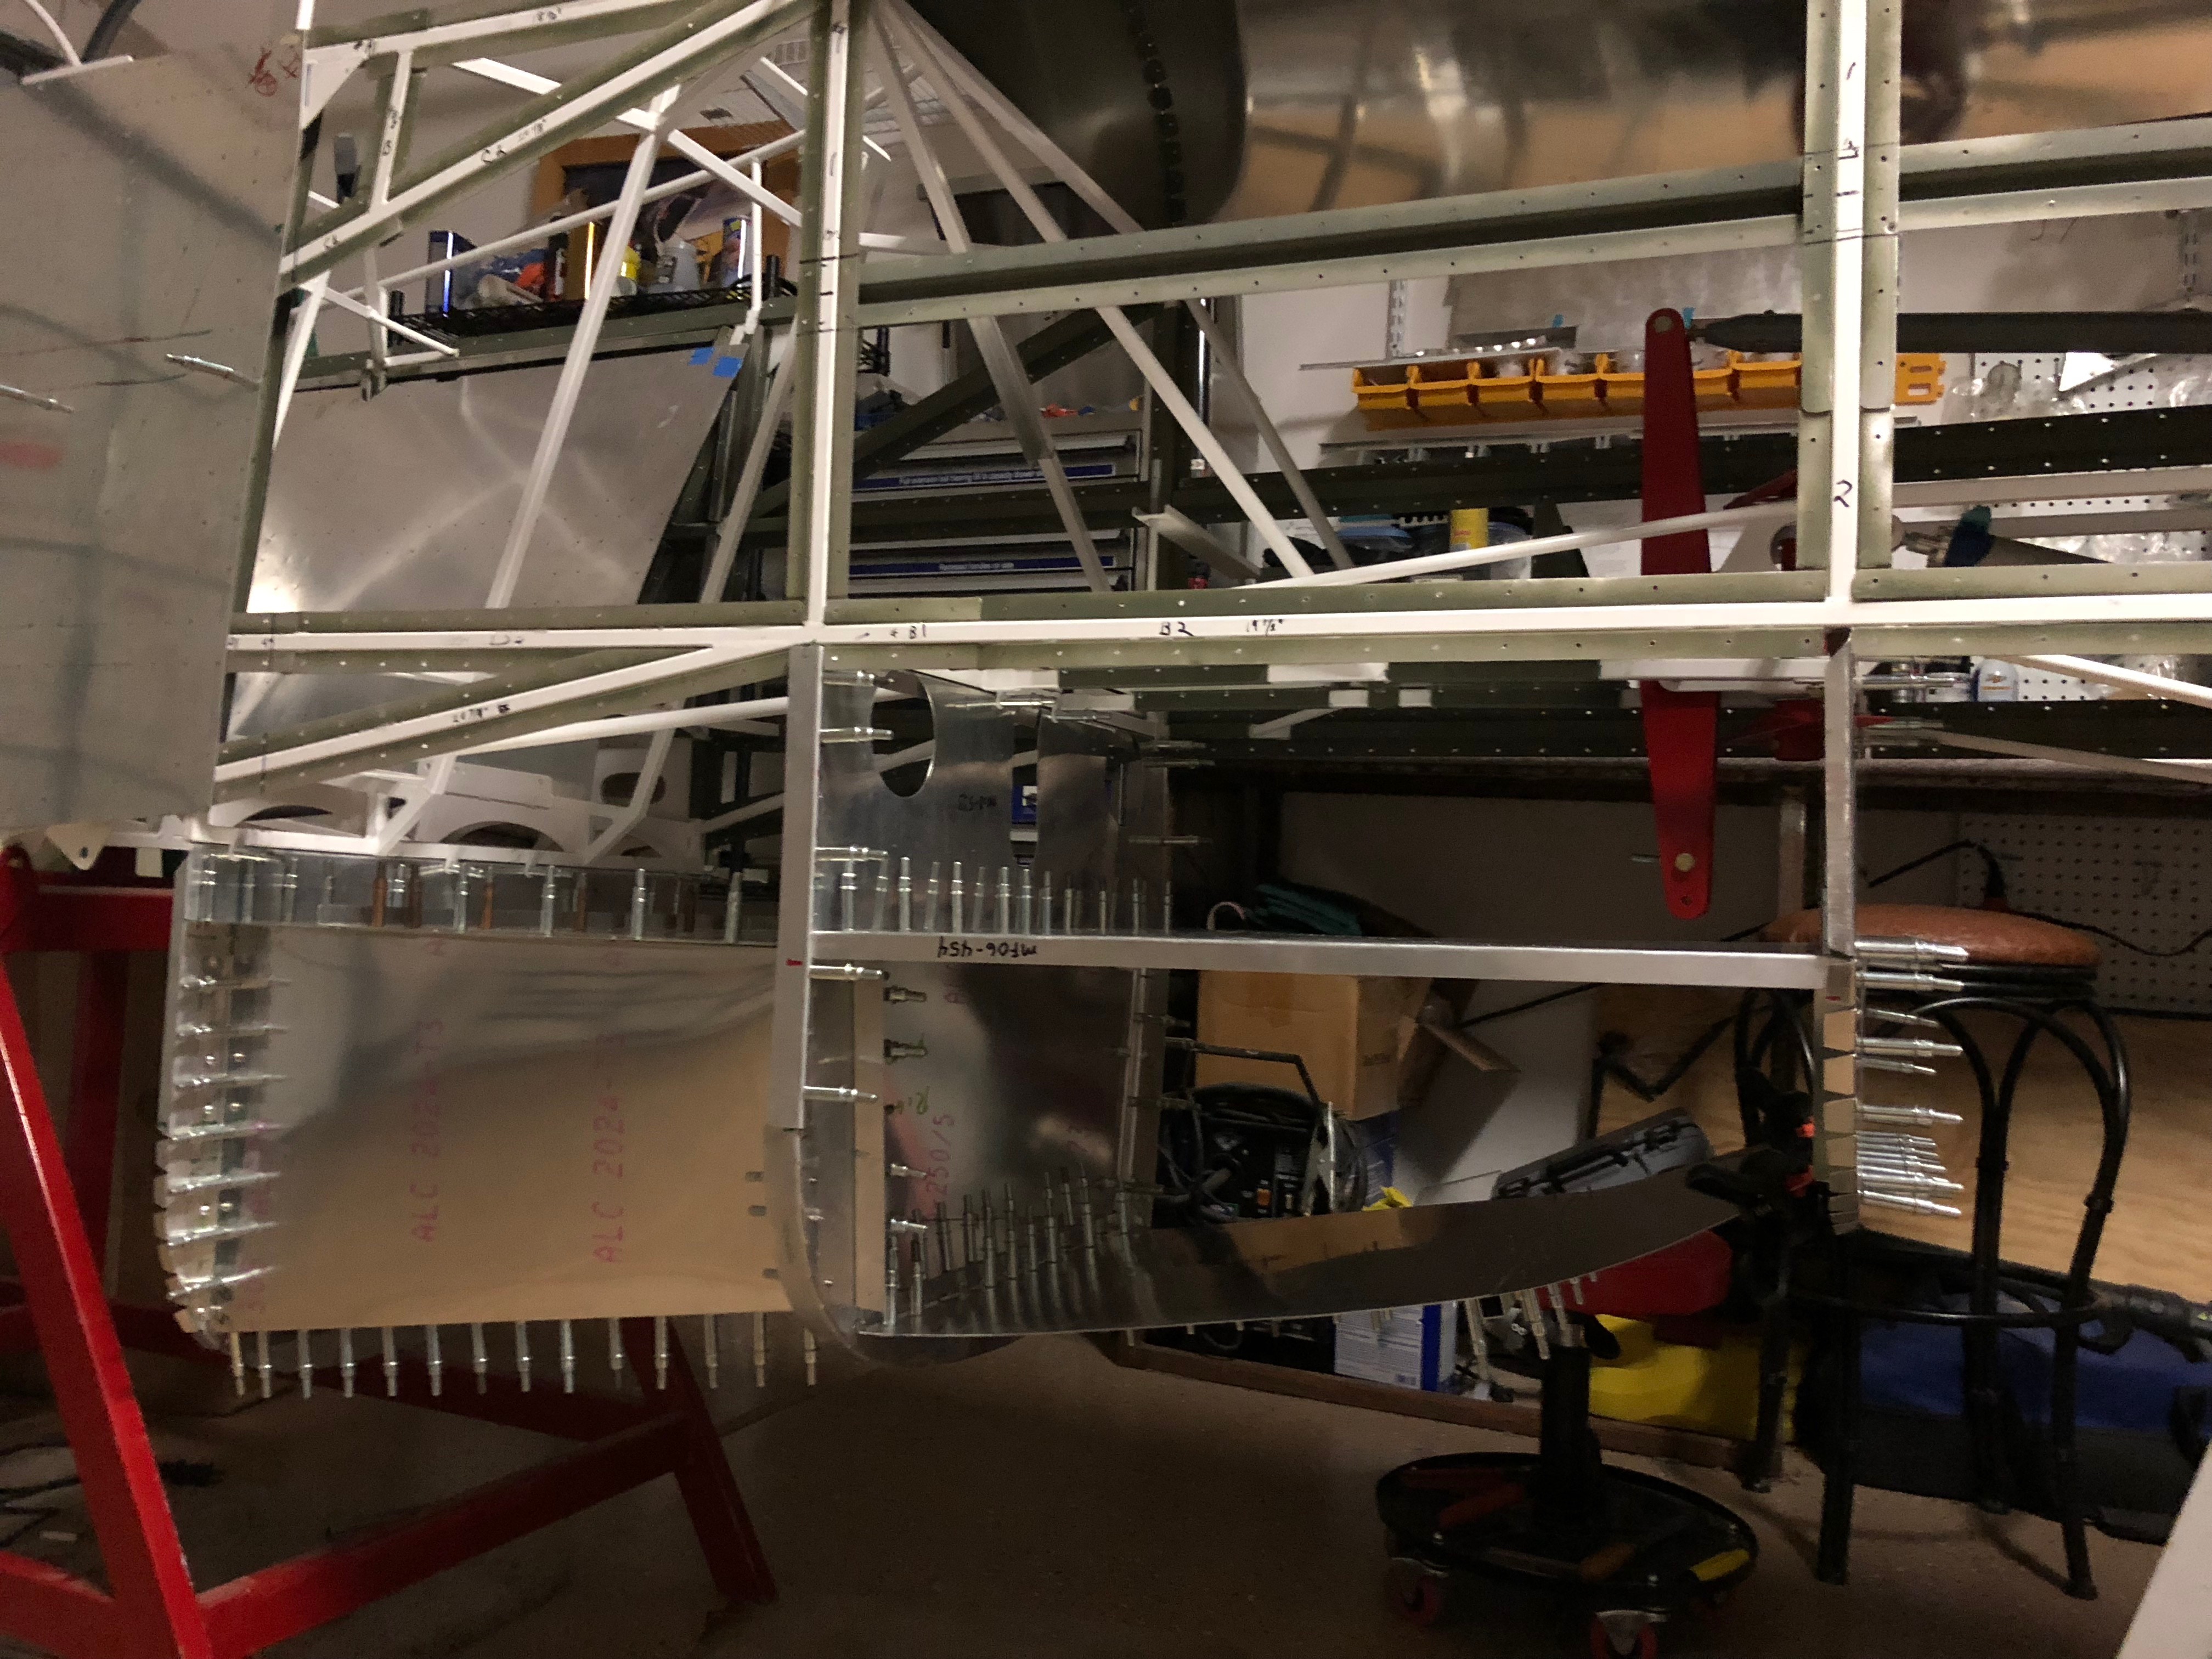
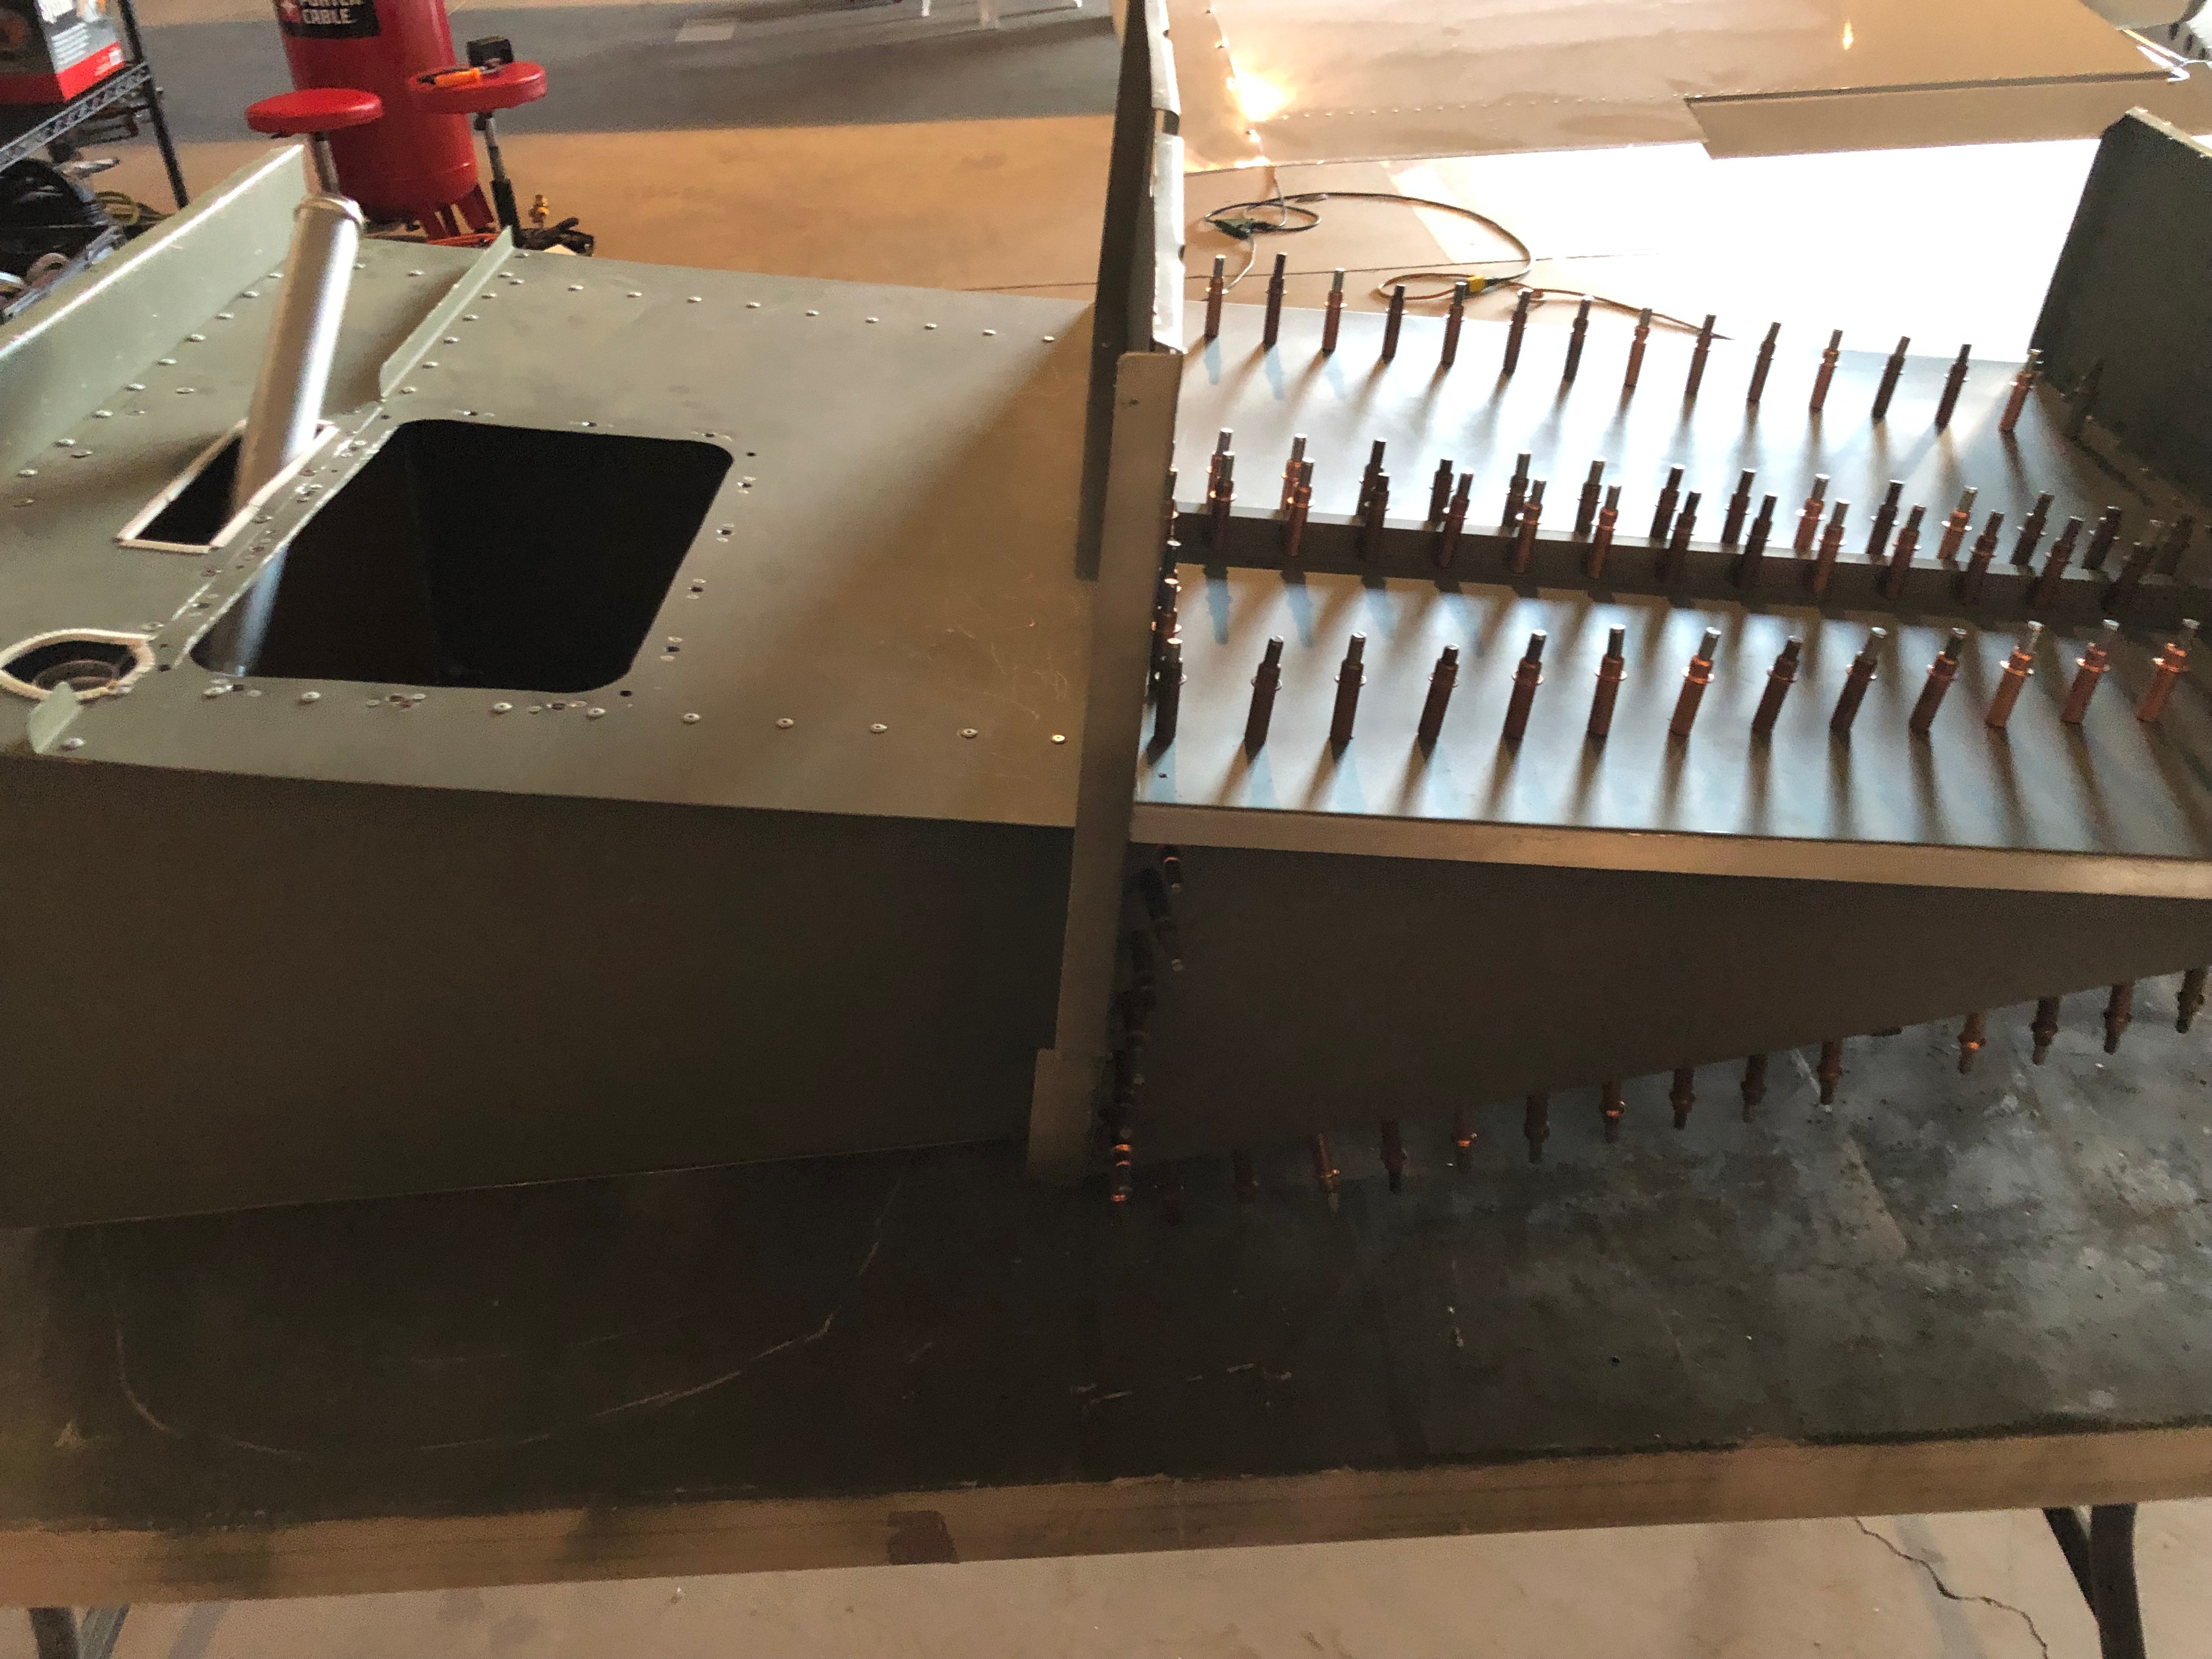
2/8/2020 - 5 hrs -
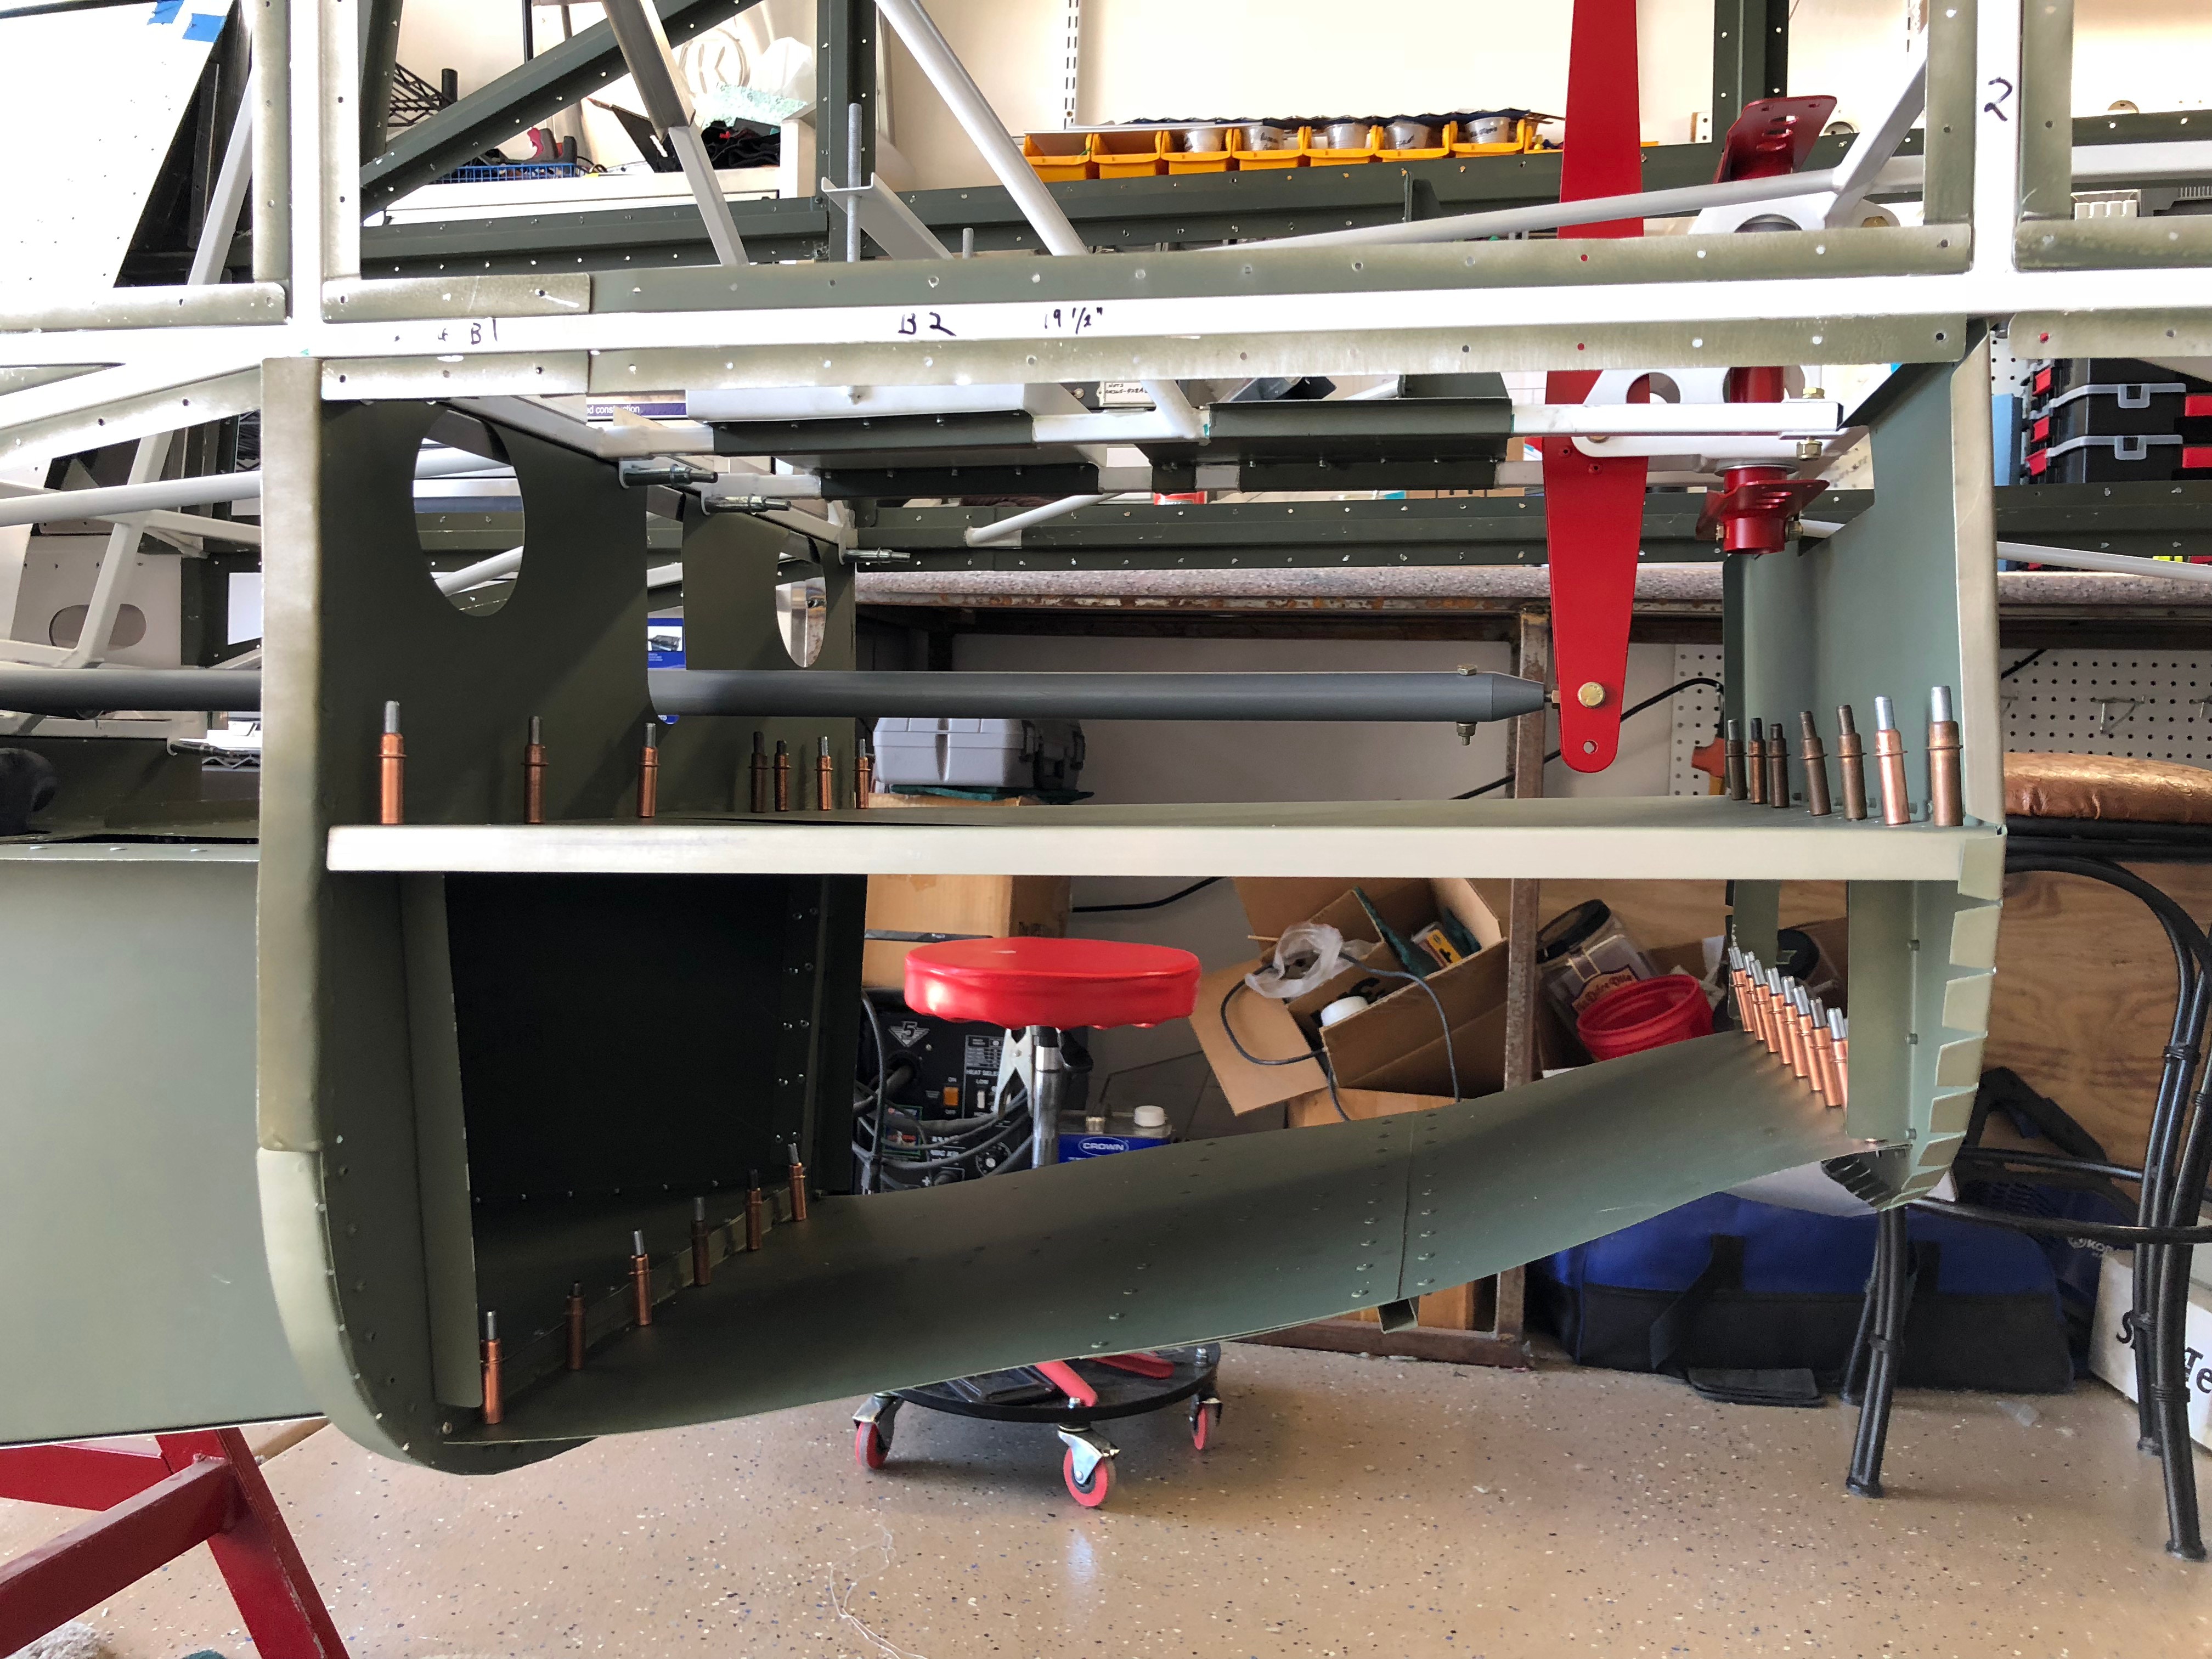
Decided to do the final install of the the plenum to the lower bulk heads and install a flange doubler at bulk head #10.
2/8/2010 -
Another view
Because the belly was too tight of a fit due the stiffness of the completed plenum, I needed to shorten the hight of Bulk head #10.
Since I couldn’t raise it up any more I cut off the flange tabs along the bottom and sides and attached a new flange doubler. this provided just enough to make the fiberglass belly fit.
2/8/2020 -
Final drilling and deburr of the hat section and bulk heads.
bonded with uralane adhesive and started riveting.
2/8/2020 -
Another view of the Flange Doubler