

FUSELAGE - Belly Section
Radiator Inspection Panel and Exhaust Door
In this section we will:
- Mark and cut out the Inspection Hole in the Fiberglass belly for the inspection panel.
- Make an Inspection panel mount with nut-plates out of .032 Aluminum and Matching Inspection Panel.
- Mark the location for the exhaust door on the BellyFit & install belly stringers
Date Started: 01/31/2018 Total Hours: 23 hrs
Status: In Progress
12/30/2019 1.5 hrs -
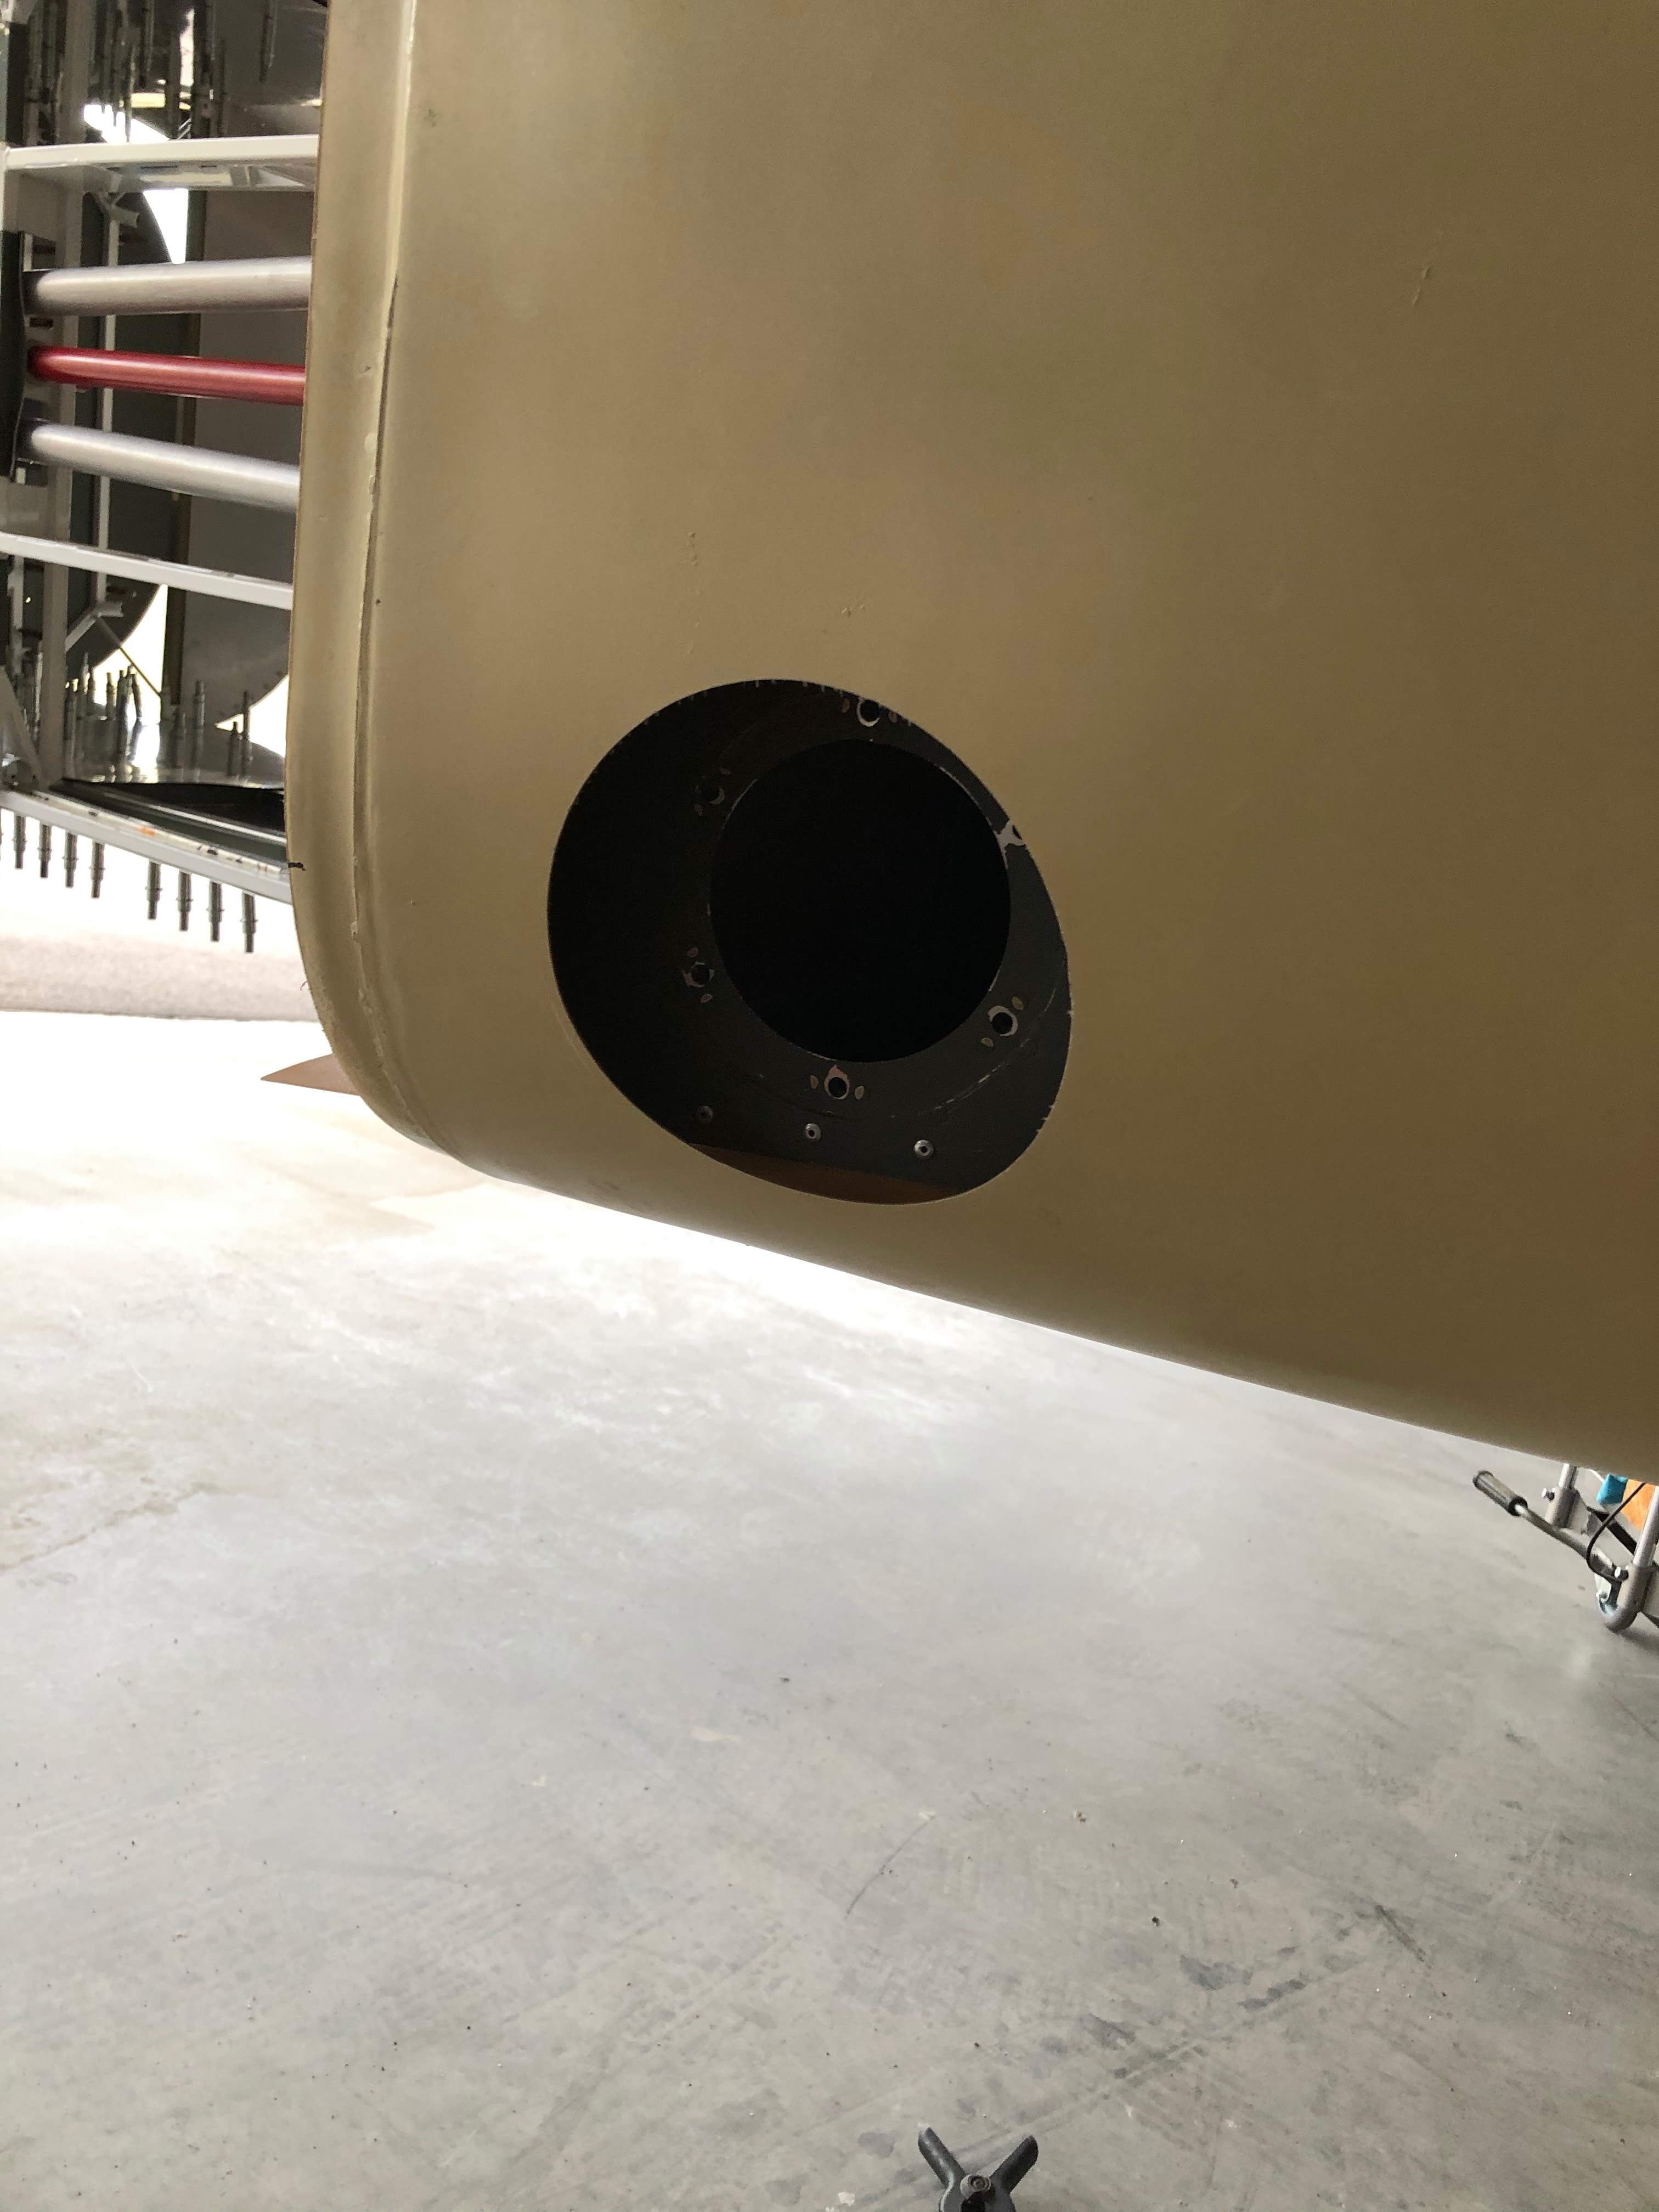
Mark Location for Inspection panel hole in fiberglass. Cut out 6 inch hole
12/30/2019 -
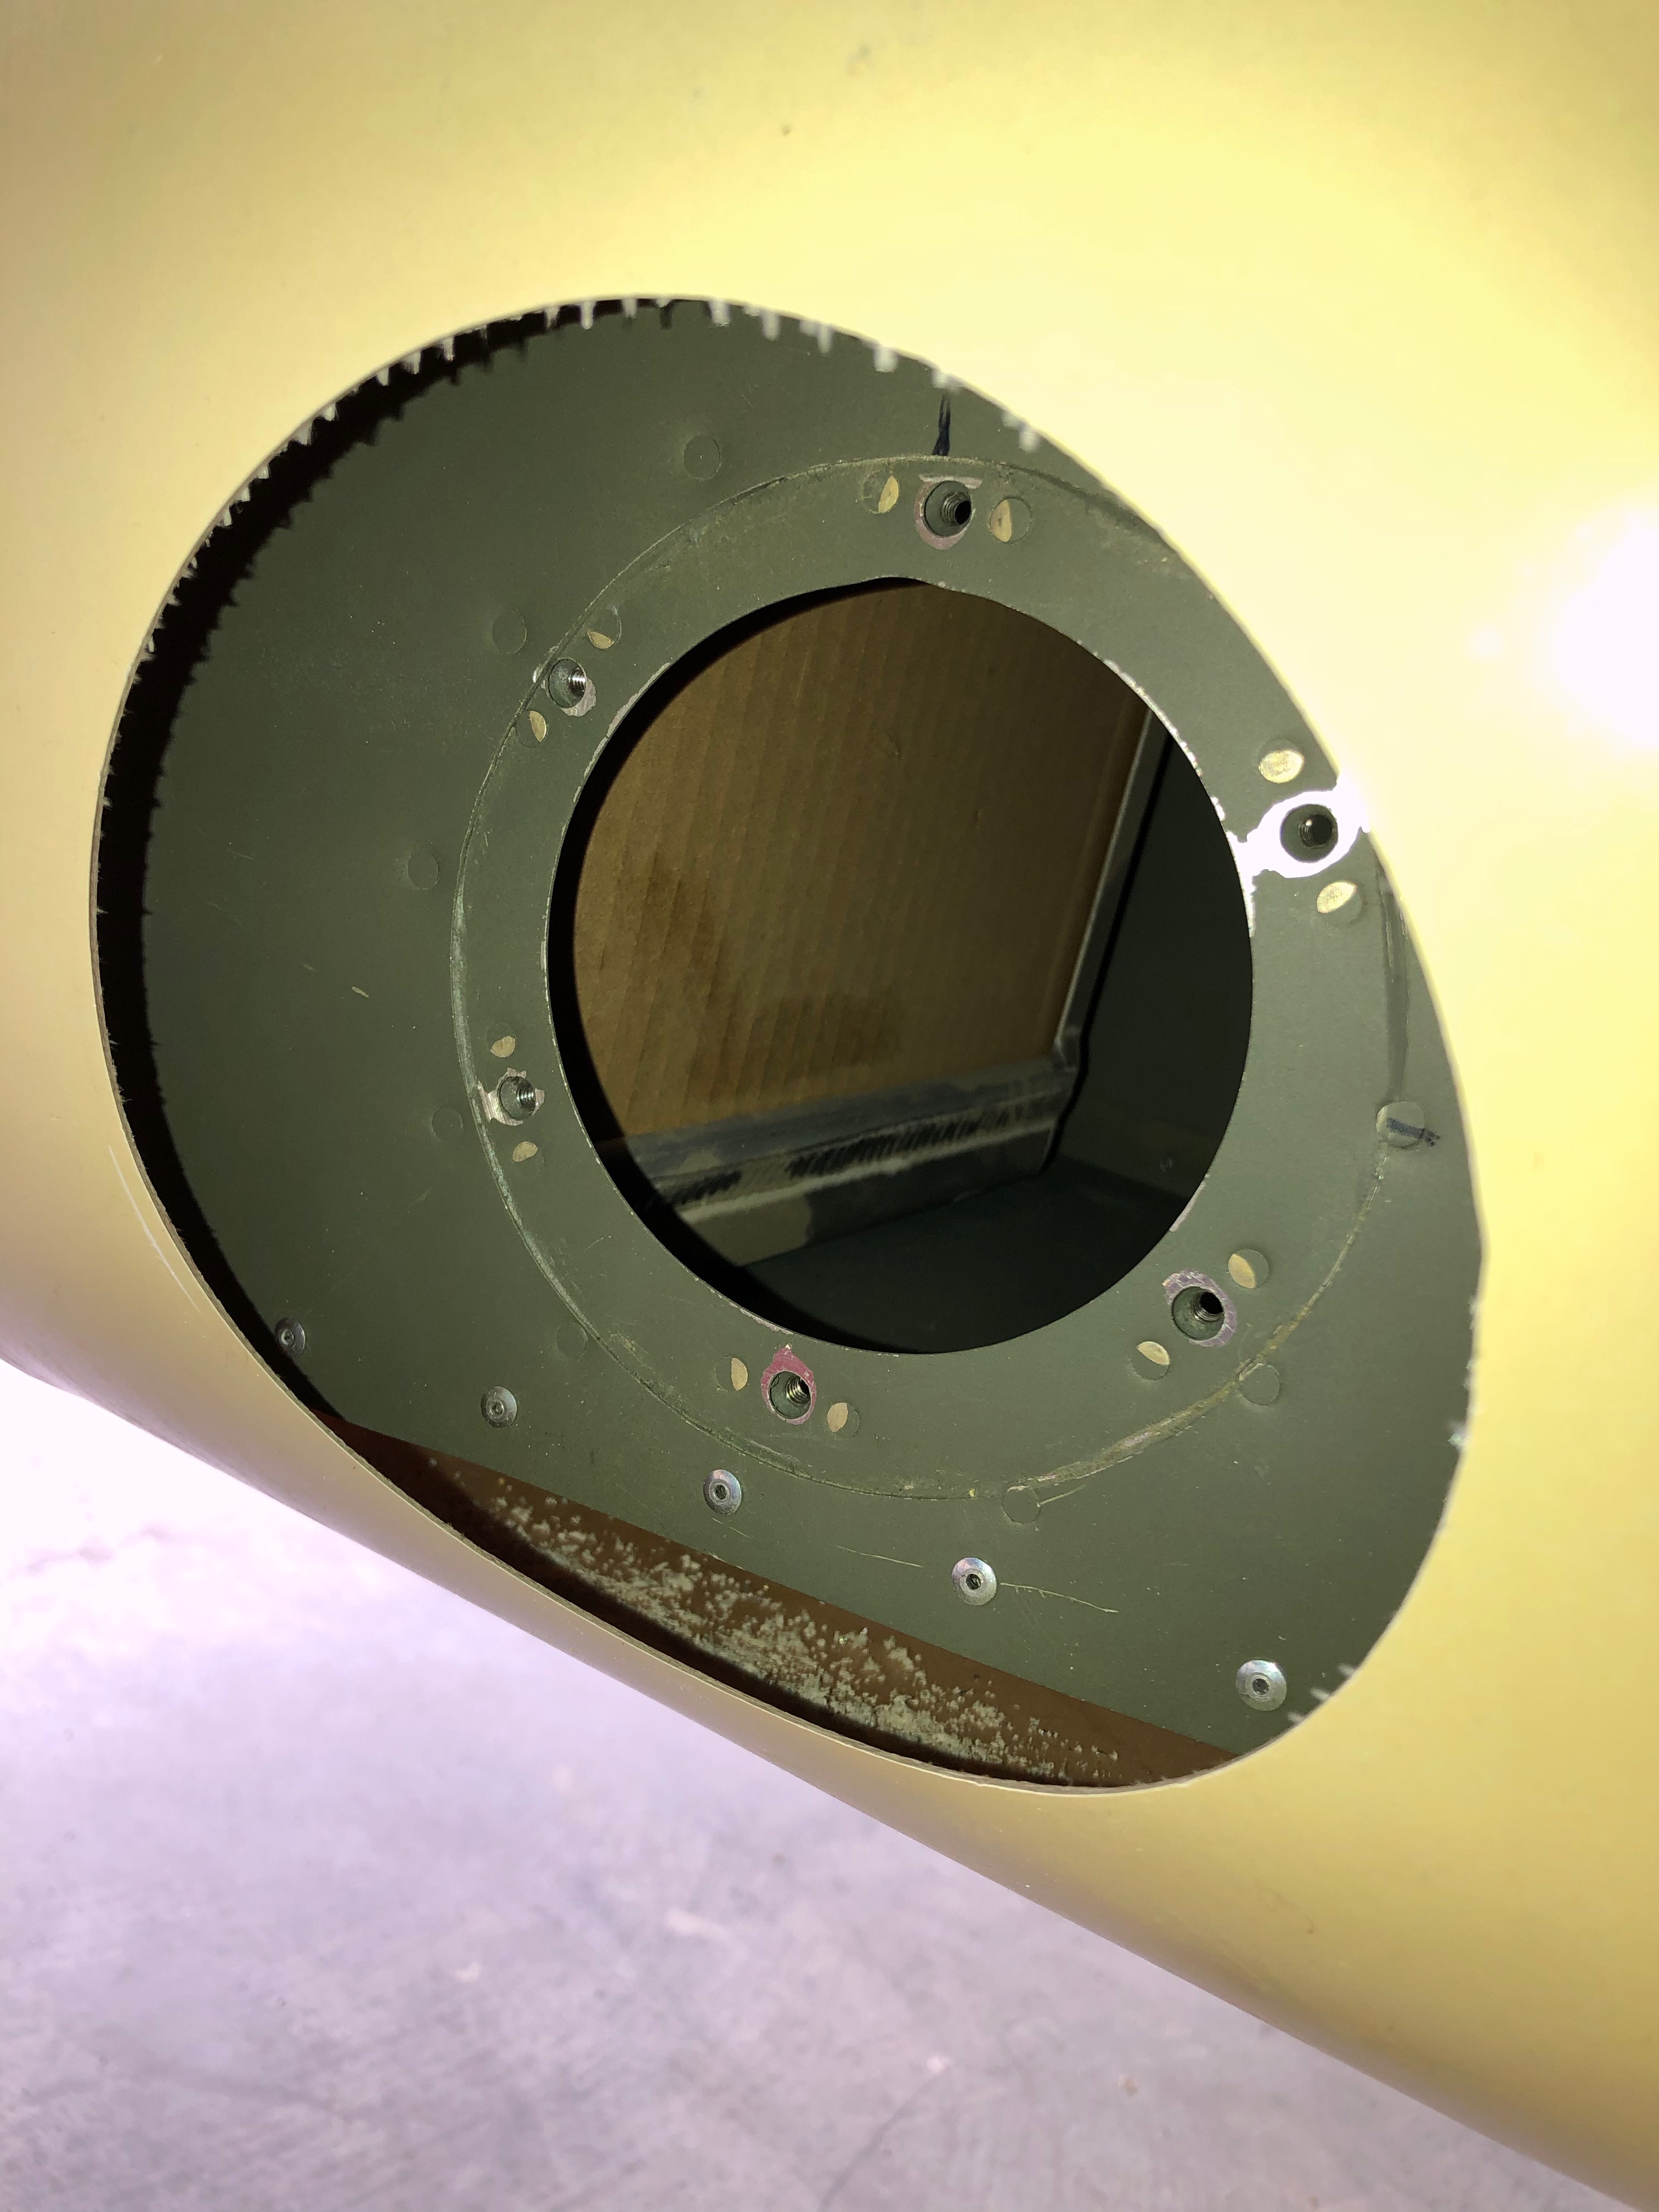
This view shows Inspection hole on the right front side of the fiberglass belly. This will provide access to the inner inspection panel to access the Radiator petcock if tHE RADIATOR NEEDS TO BE DRAINED.
12/30/2019 1 hr -
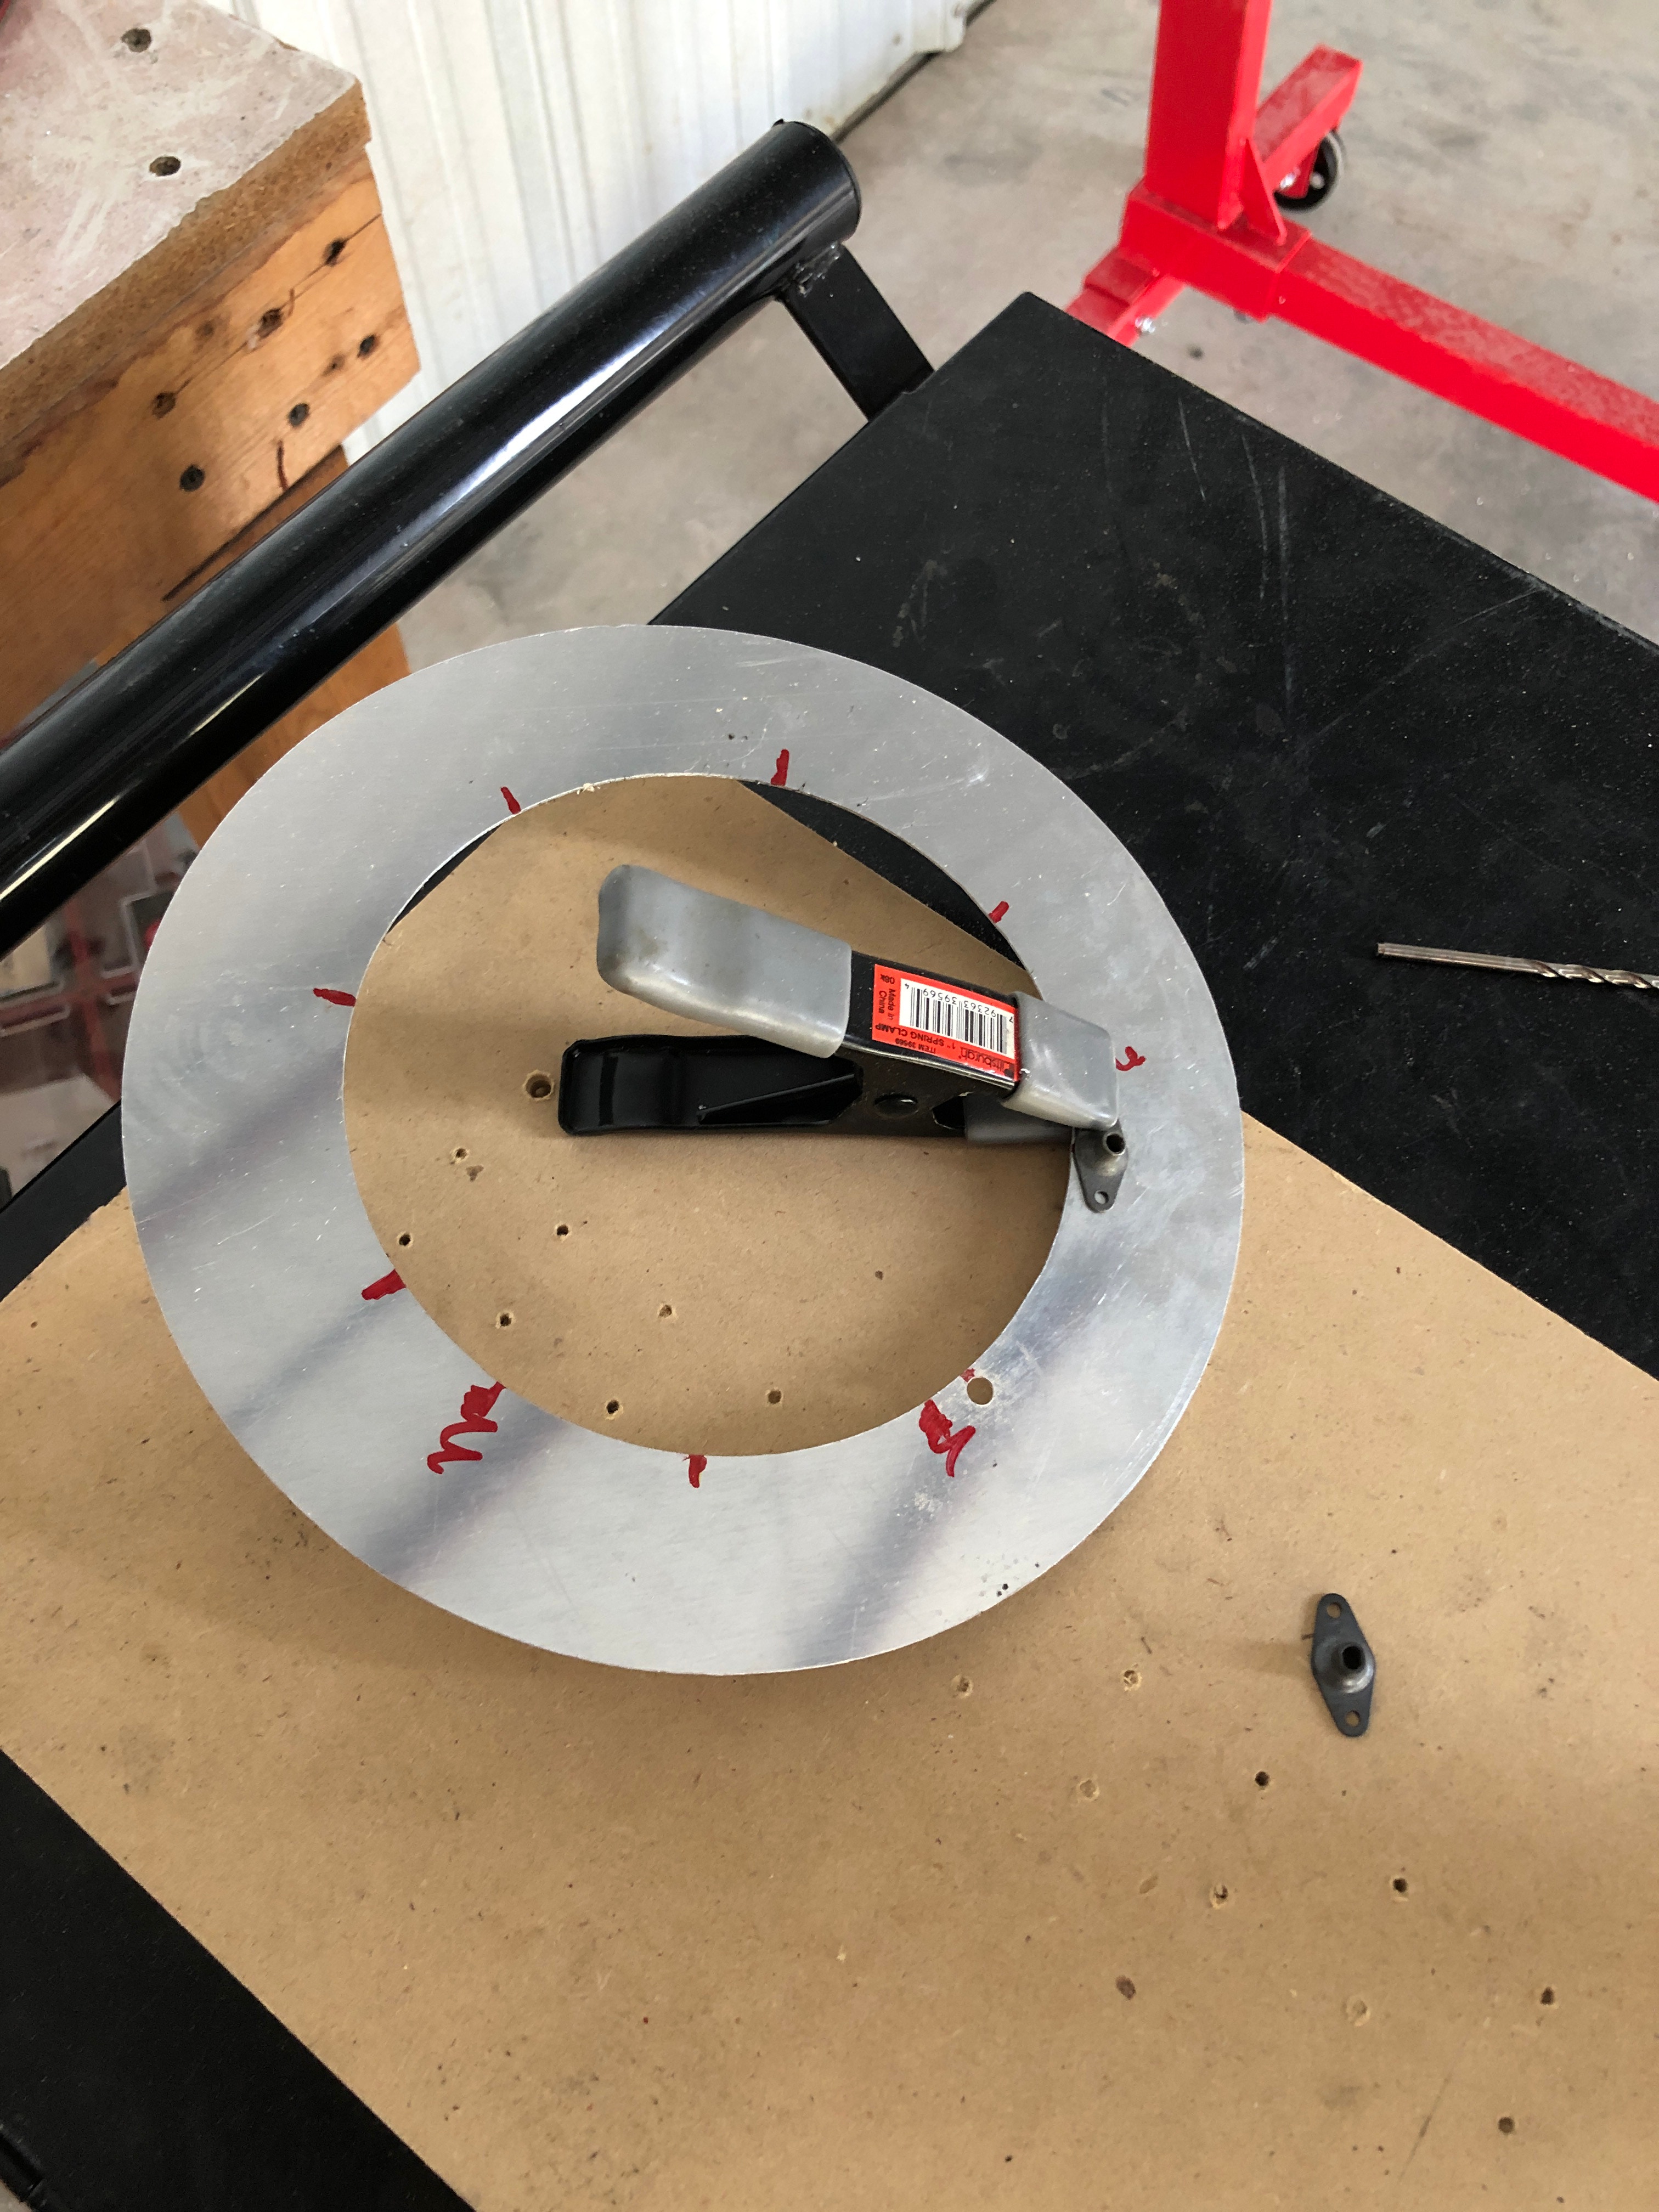
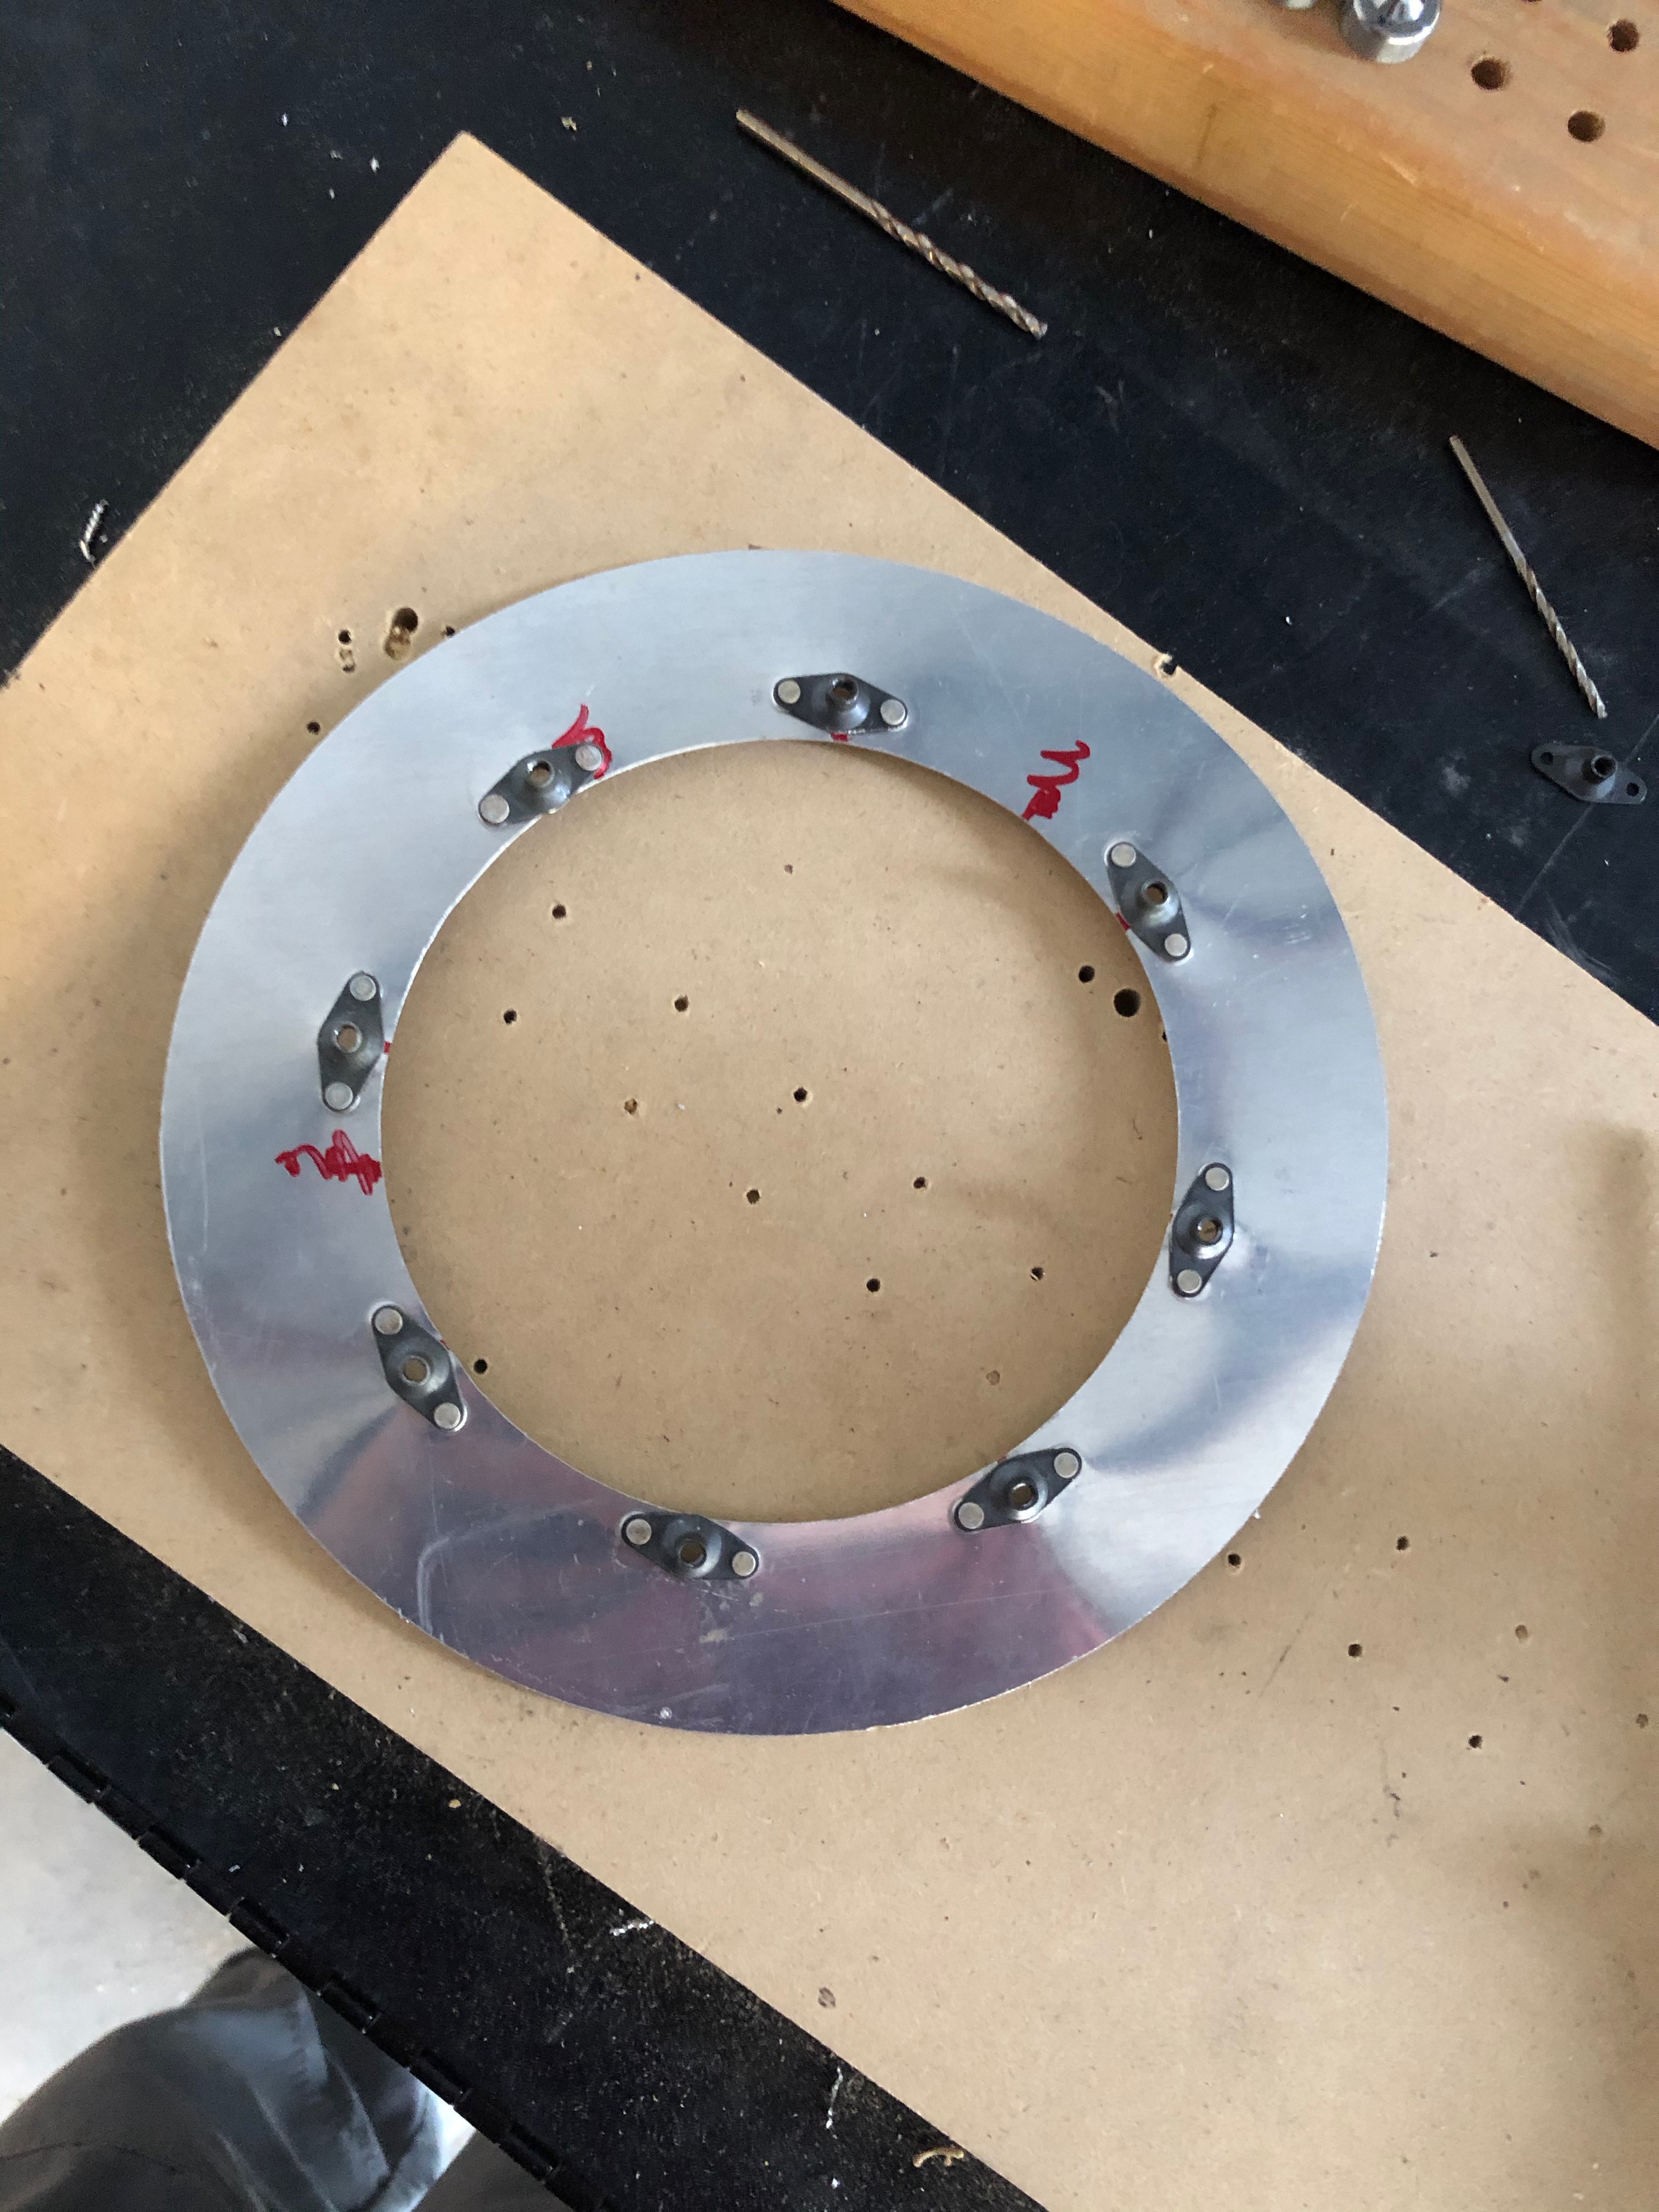
MADE THE INSPECTION HOLE MOUNTING FLANGE THAT WILL GET RIVETED TO THE BELLY
12/30/2019 1 hr -
ATTACHED NUT-PLATES TO THE MOUNTING FLANGE.
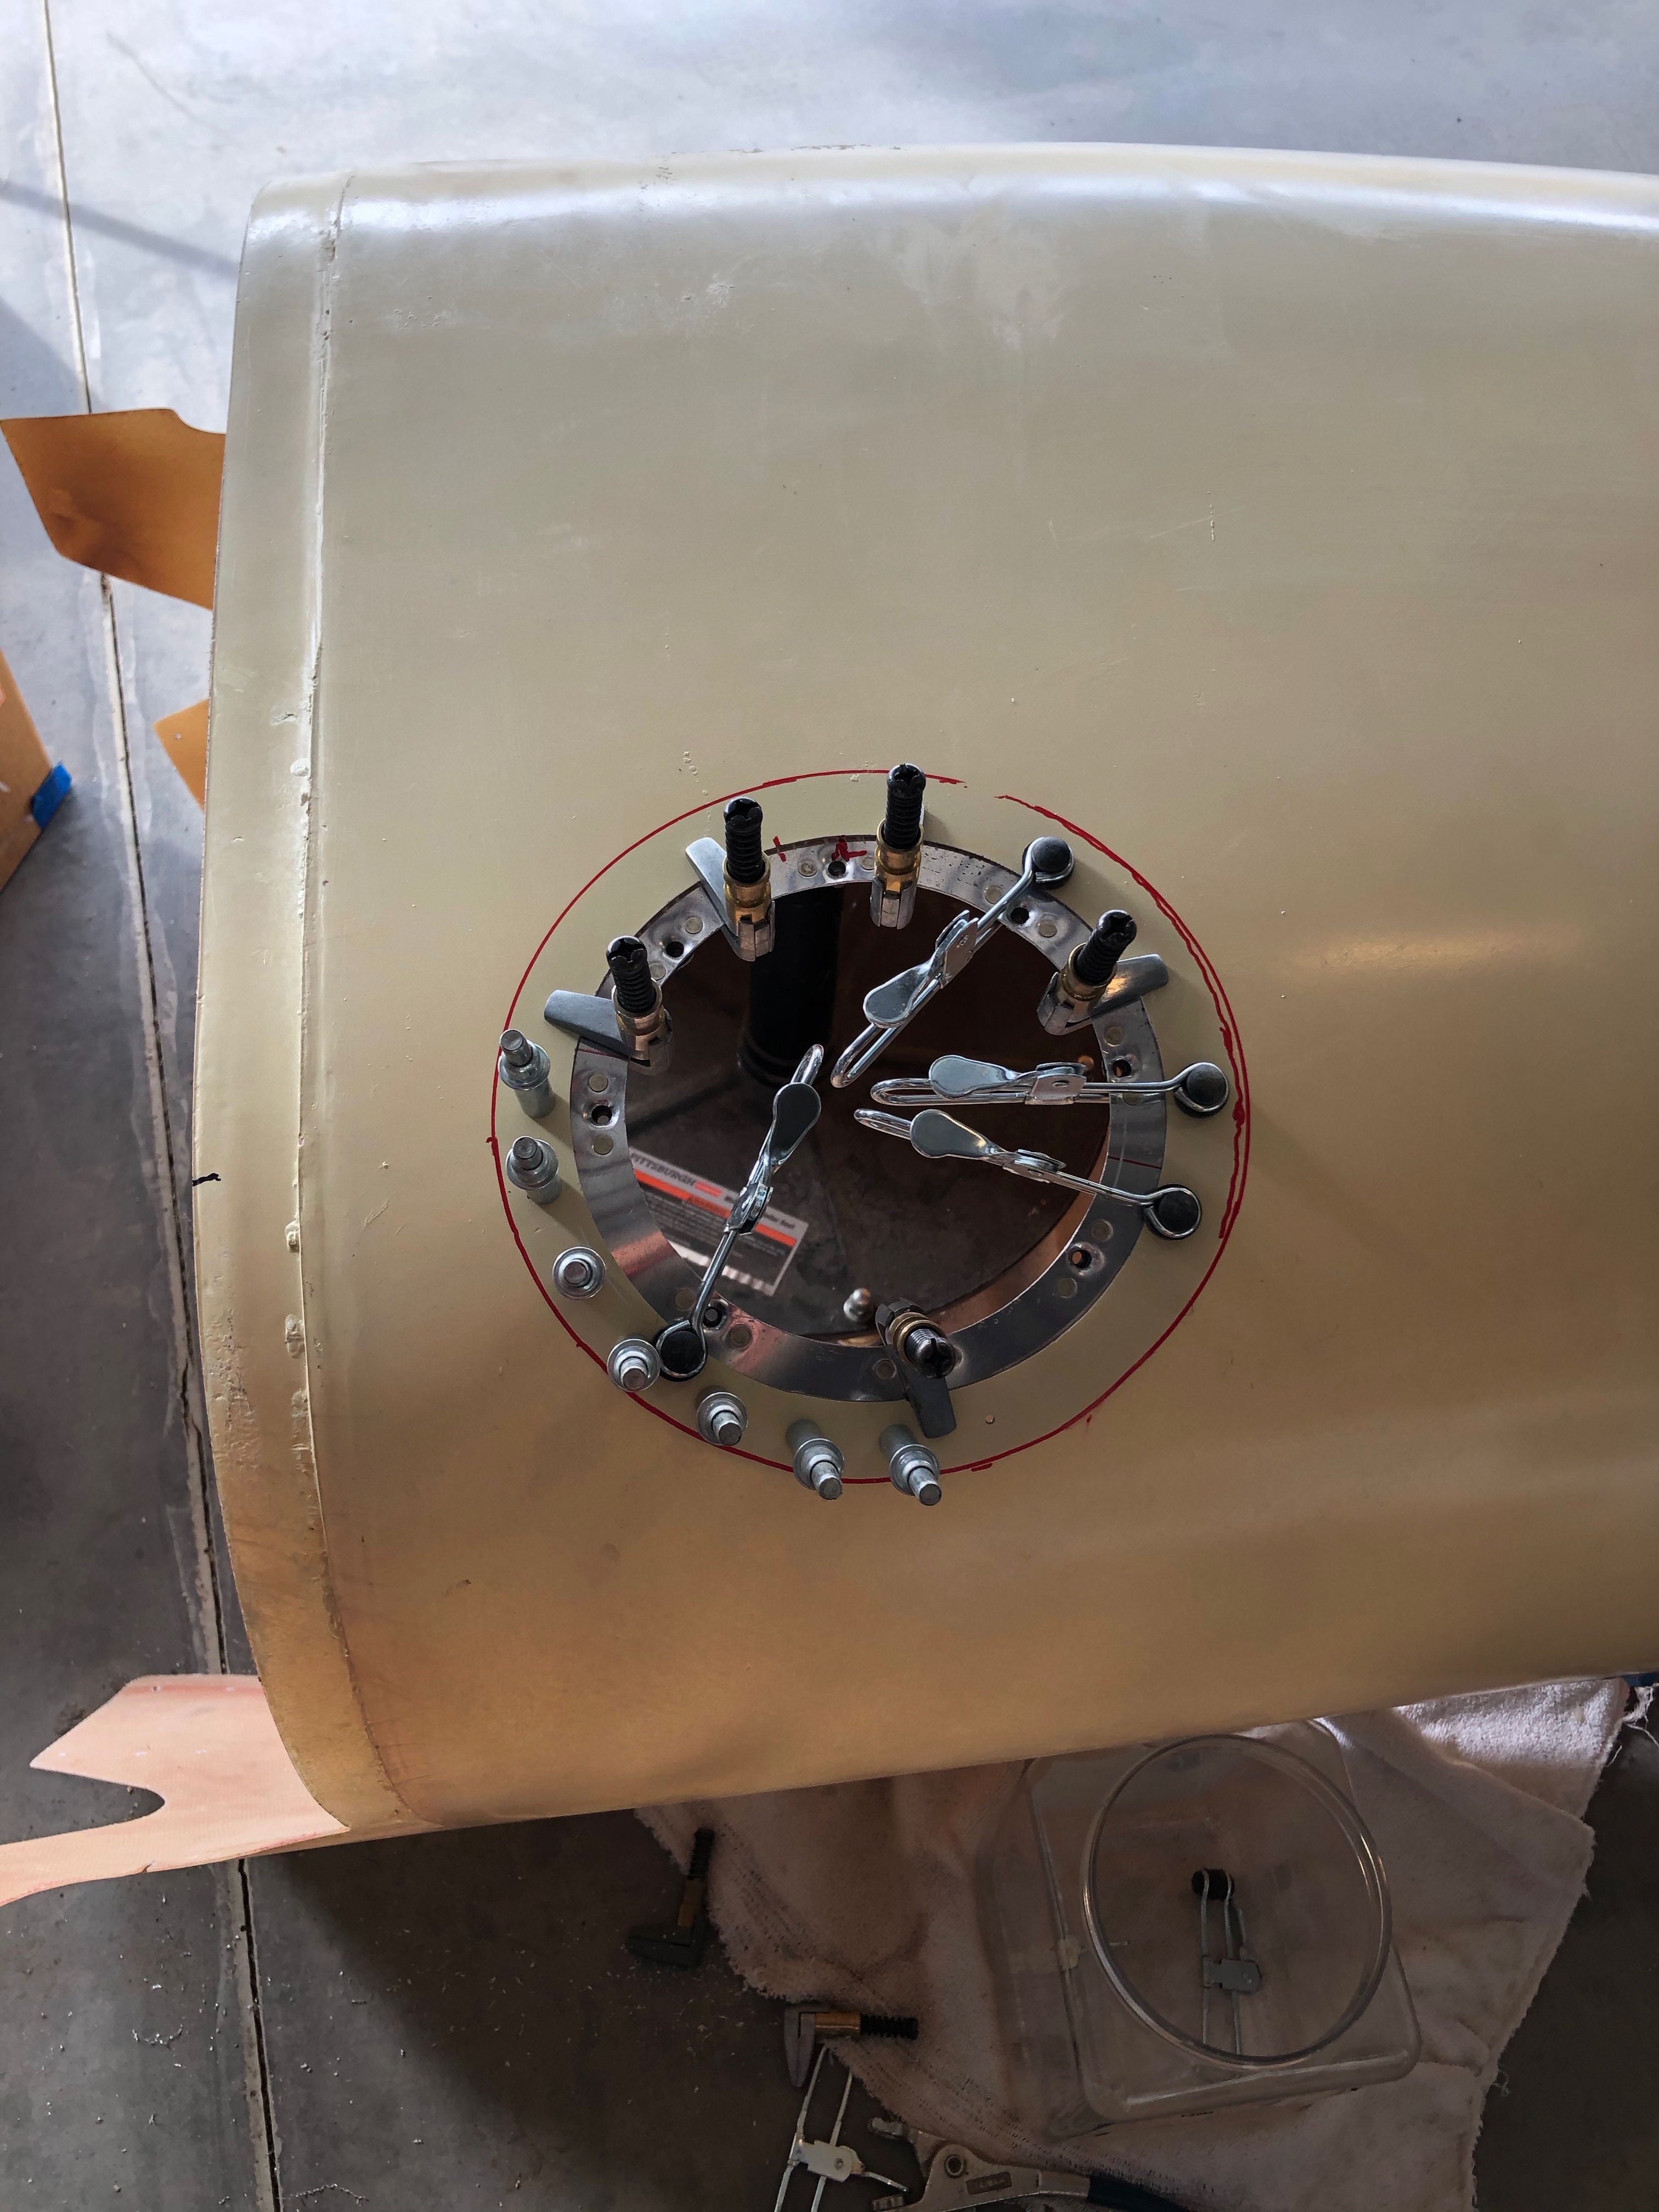
12/31/2019 .5 hrs -
Place the Mouting flange to the Belly inspection hole.
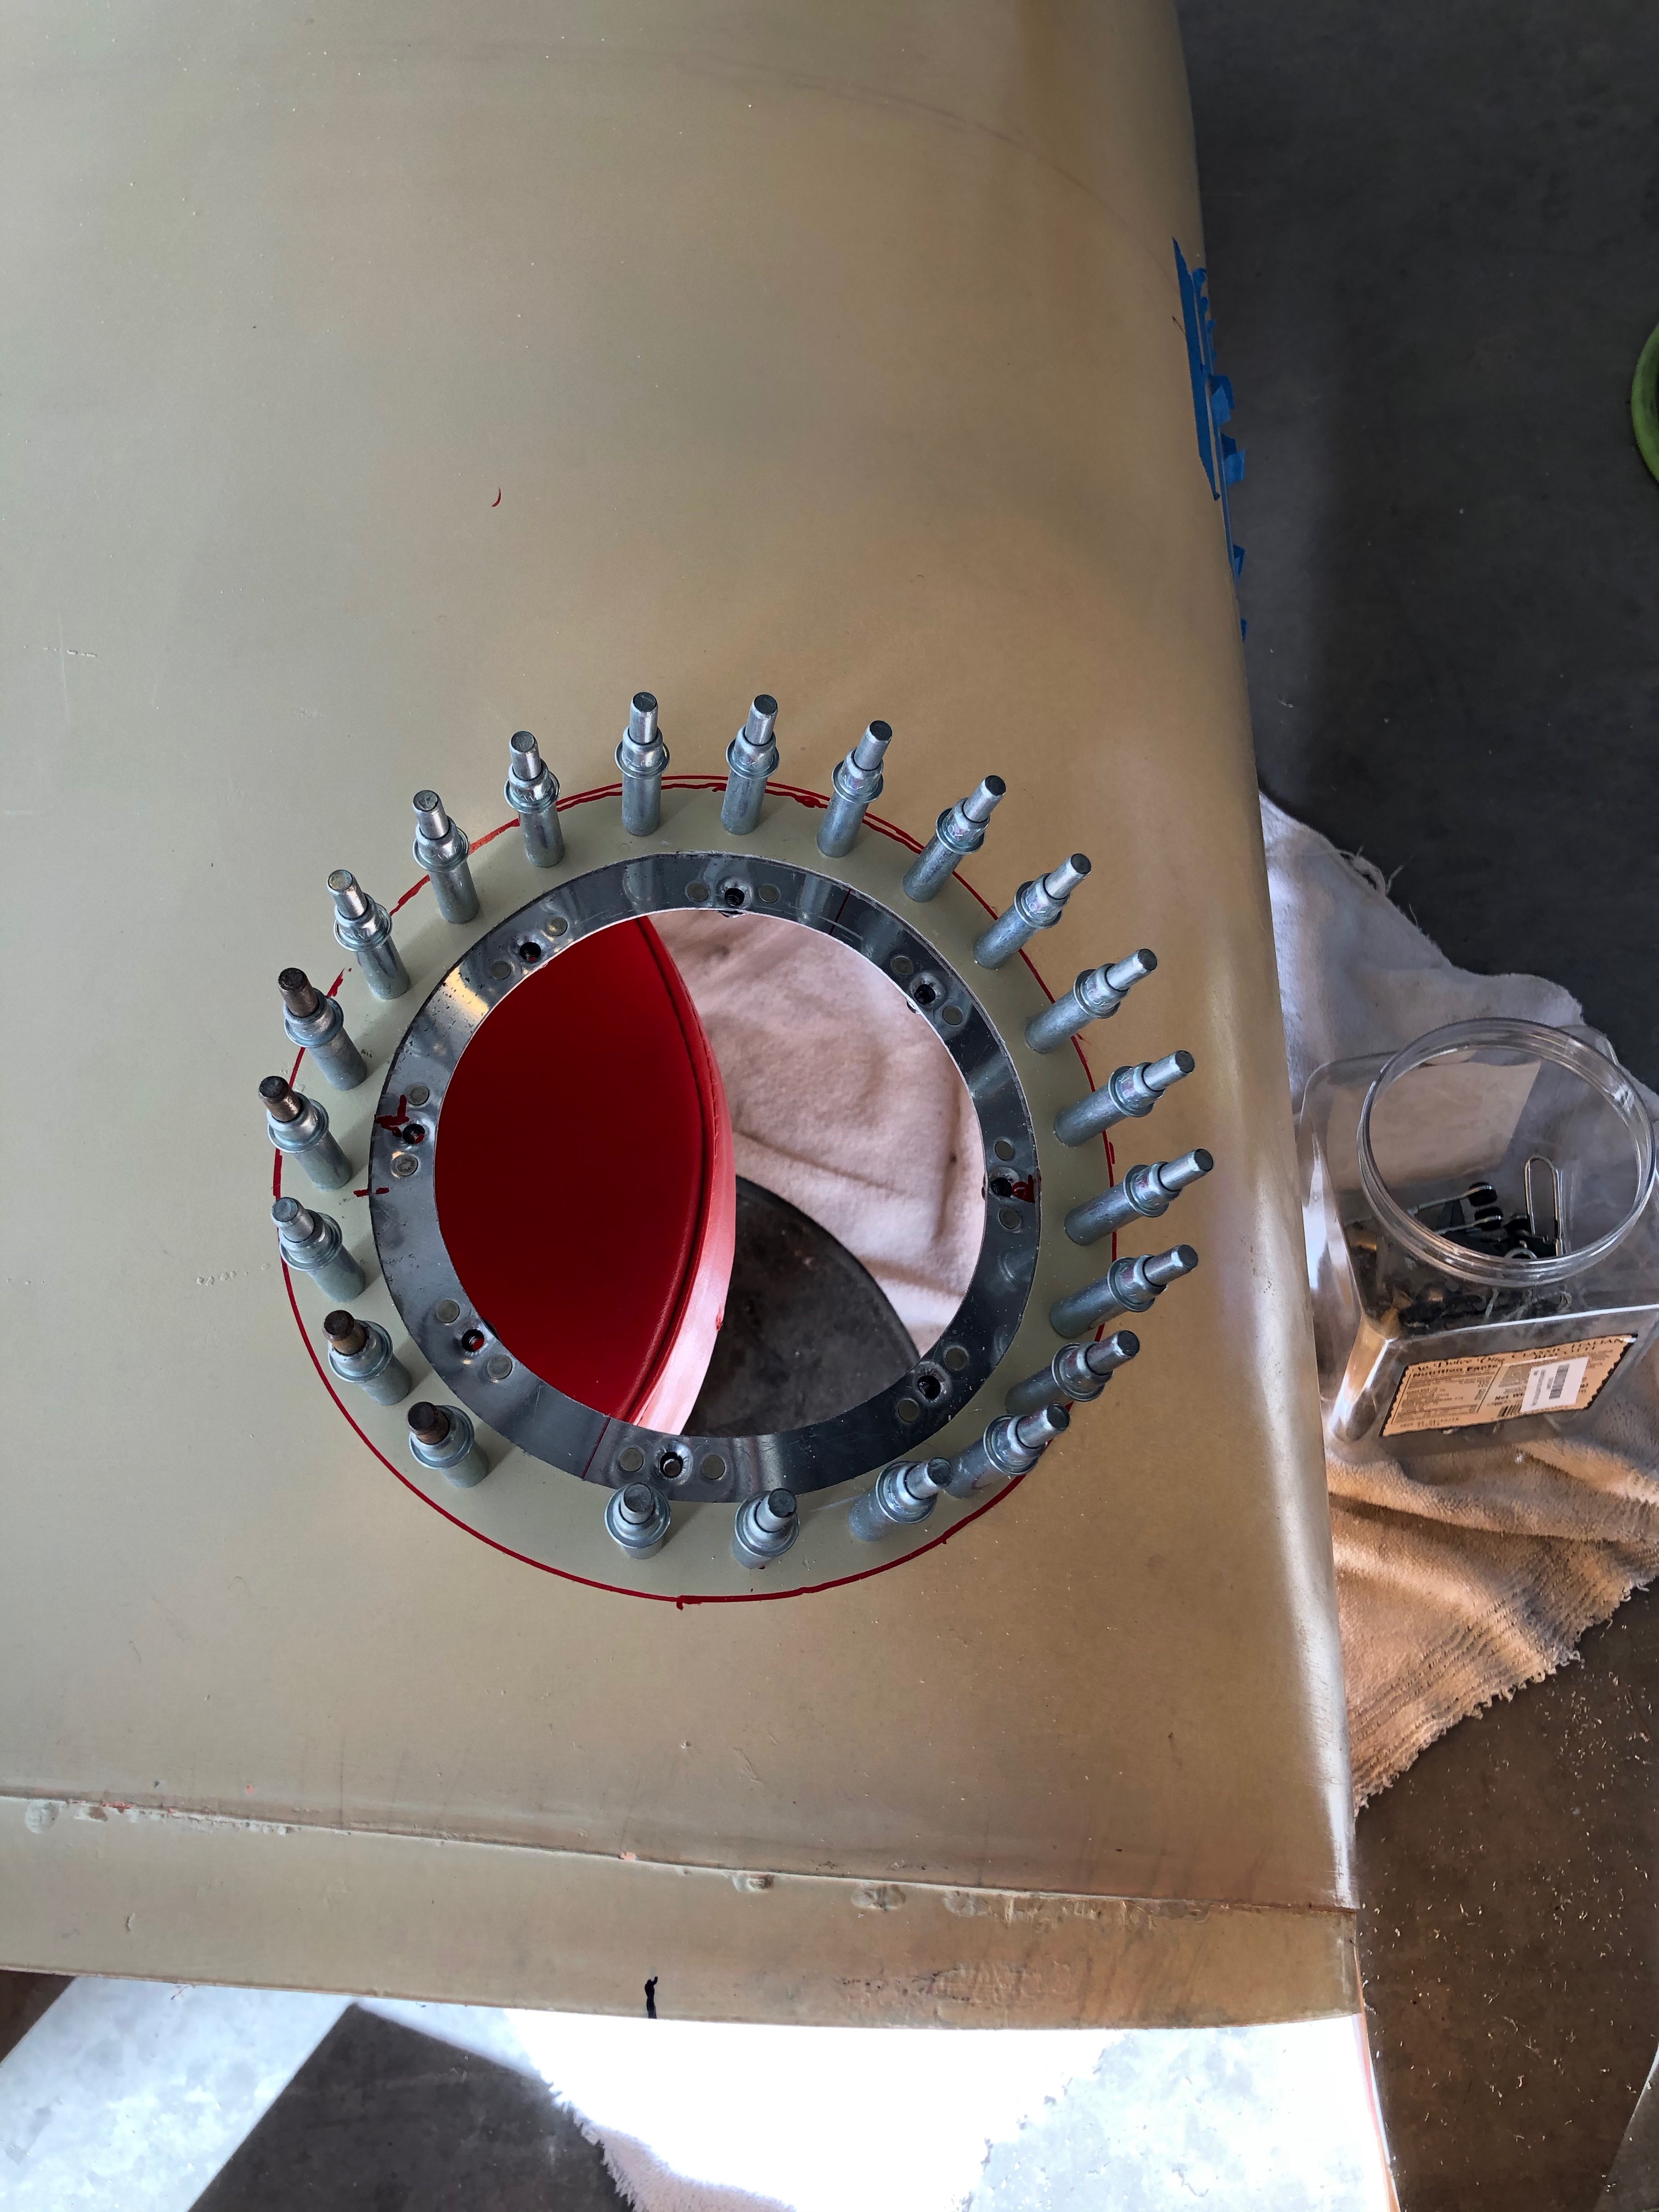
12/31/2019 .5 hrs -
Drilled the rivet holes through the belly and the mounting flange
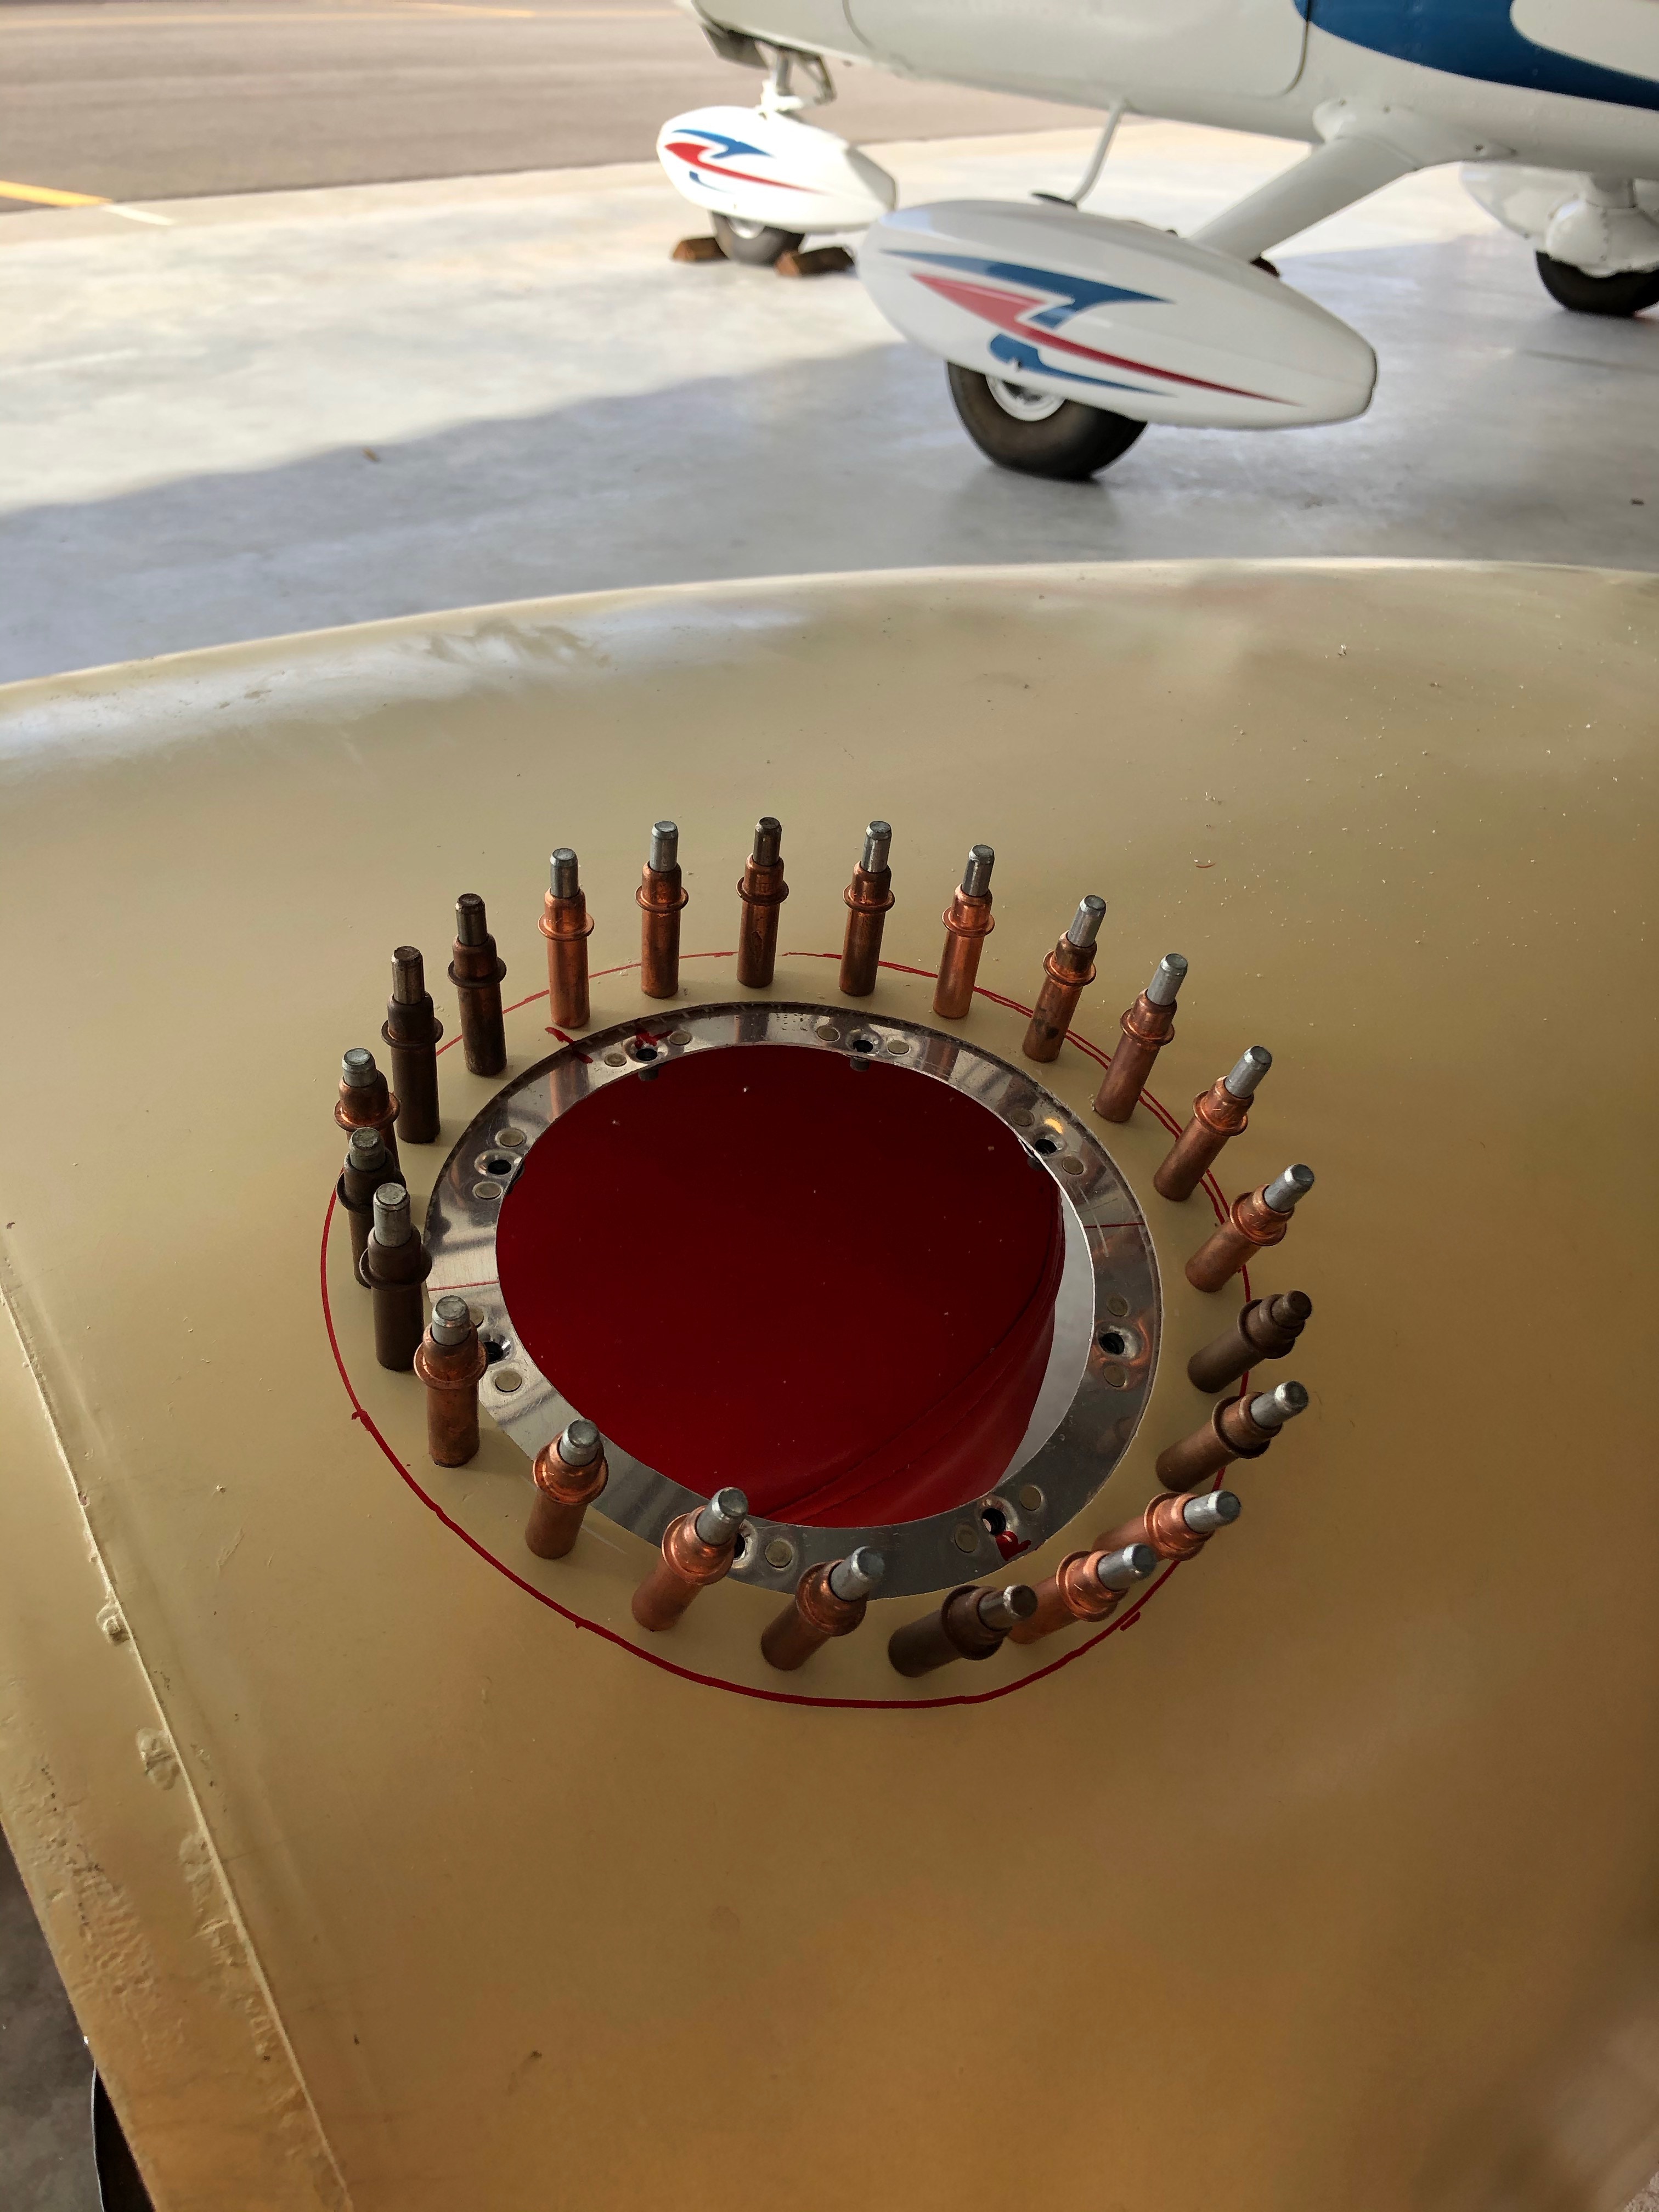
12/31/2019 .5 hr -
Final Drilled the rivet holes through the belly and the mounting flange and is ready to be glued and riveted.
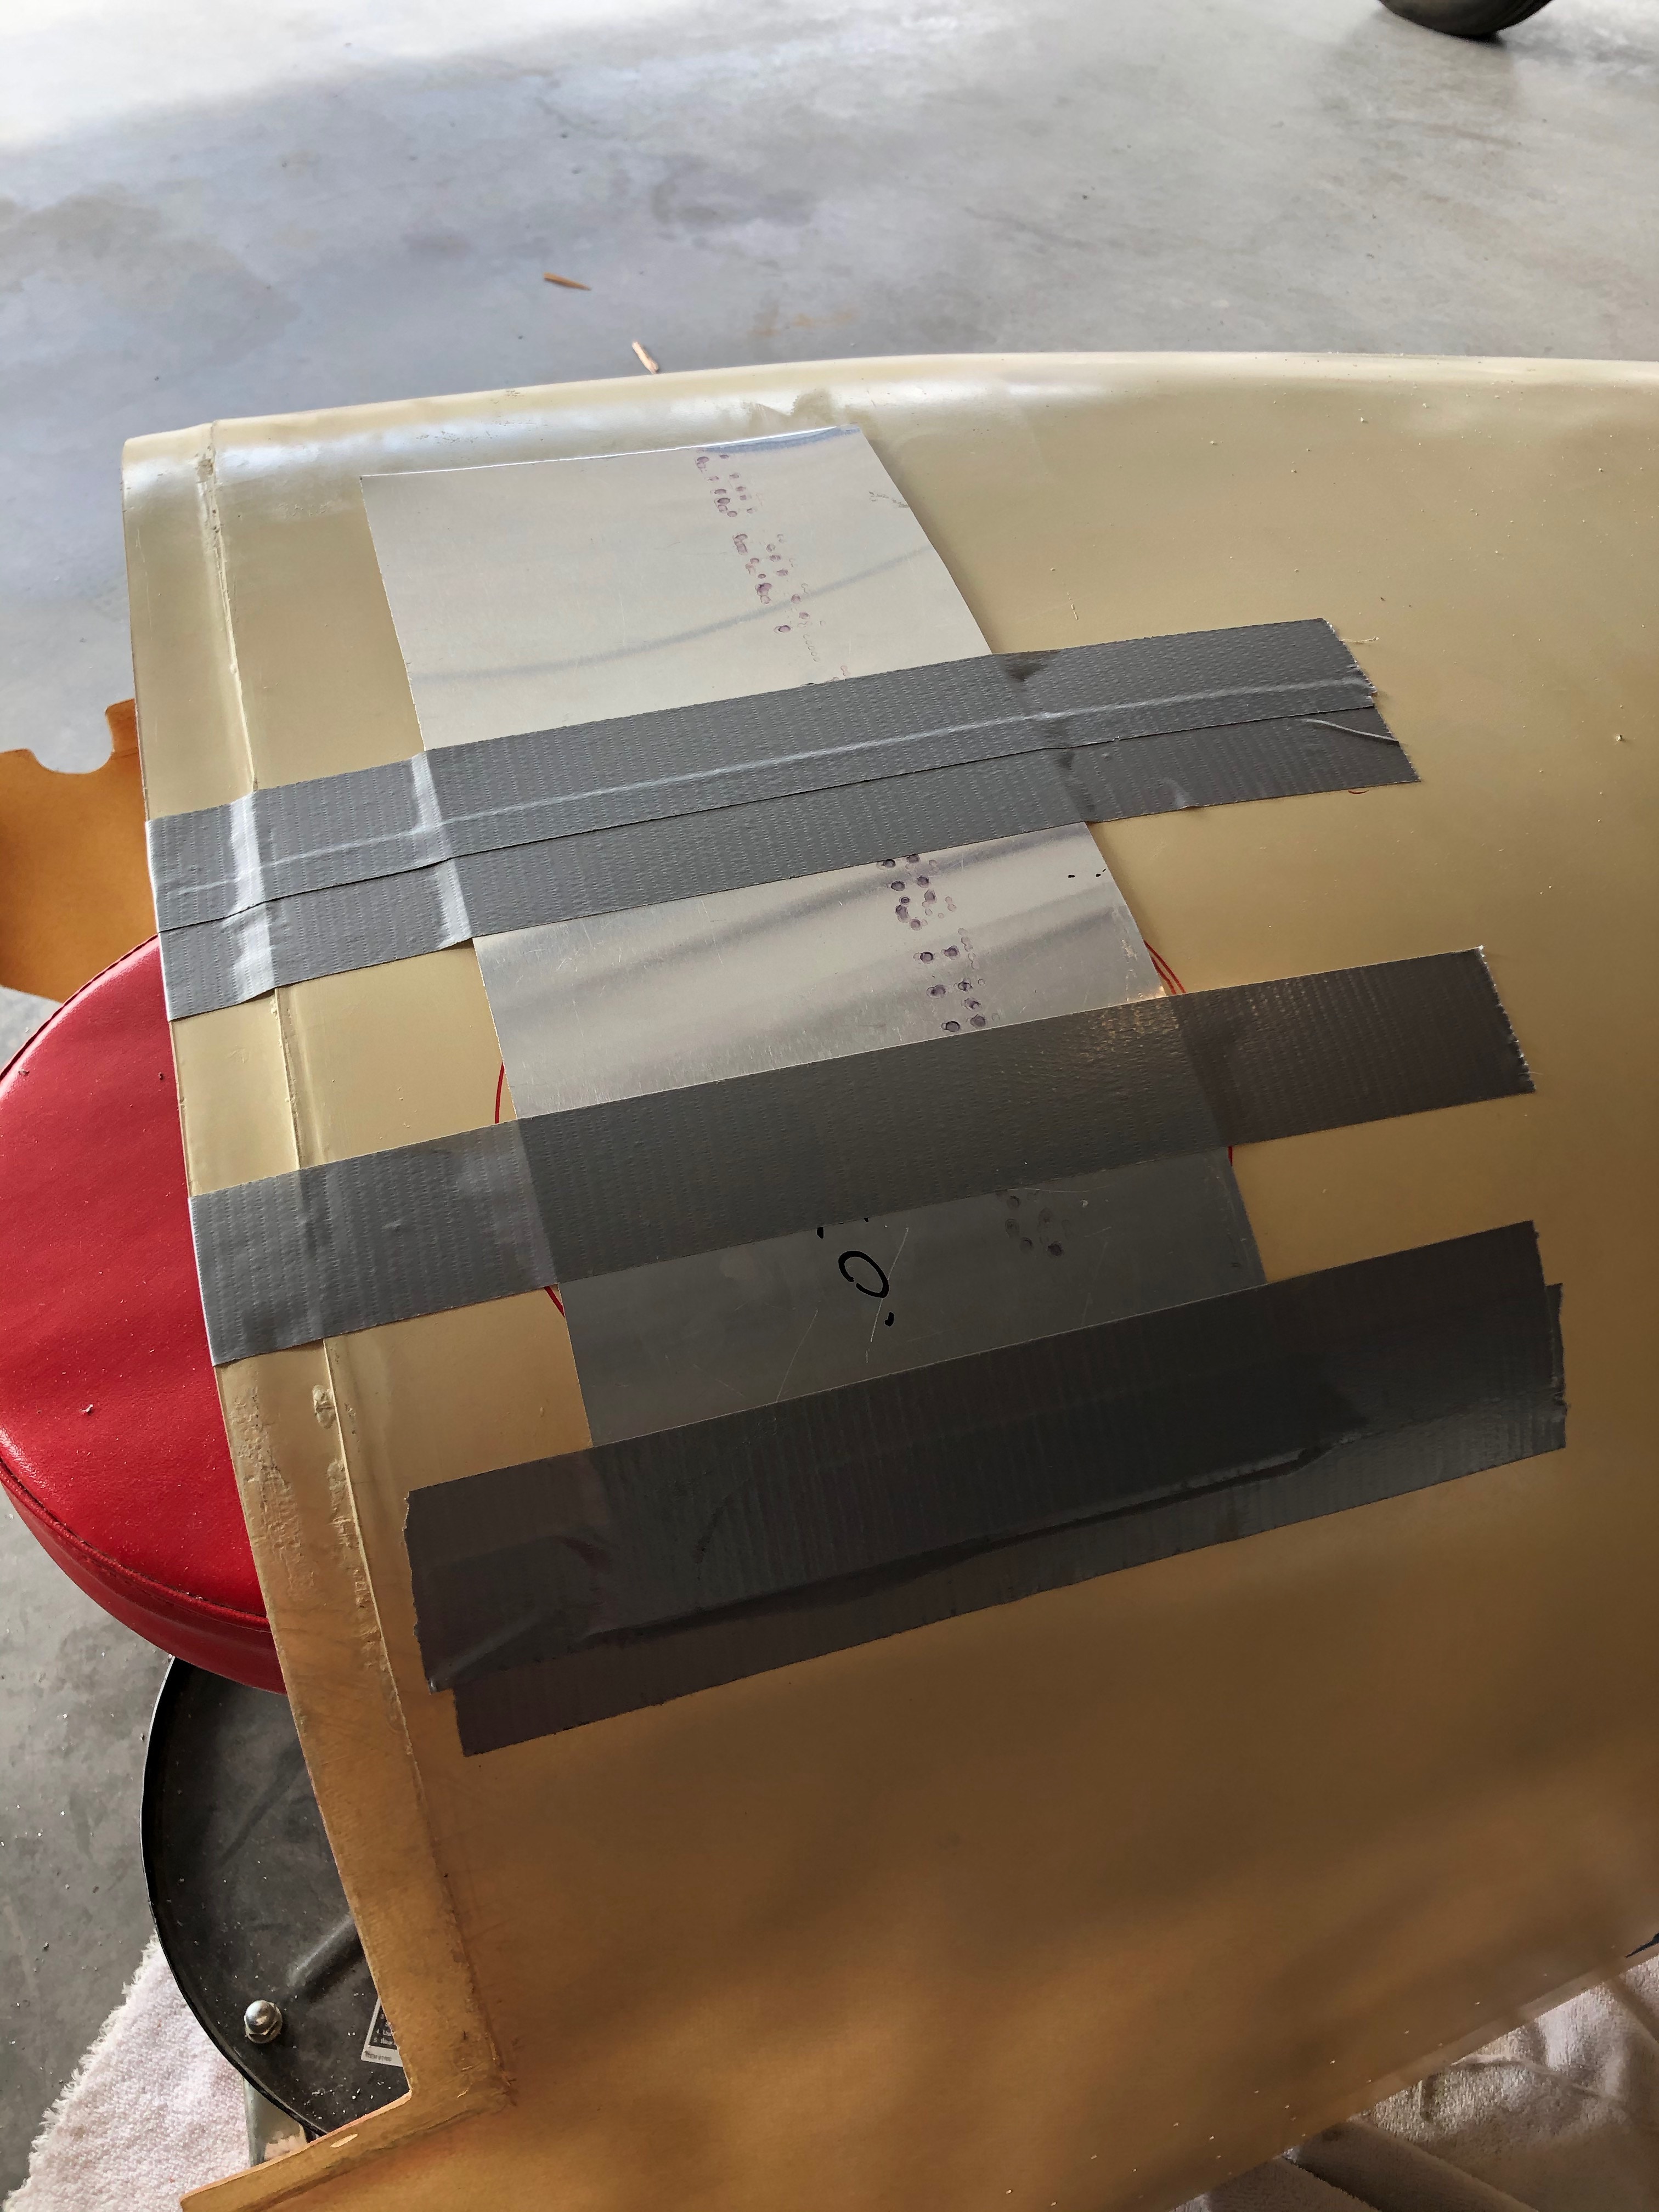
12/31/2019 .5 hrs-
Making the round Inspection Panel to match. This is out of .032 aluminum and used duck tape to bend and hold the aluminum in place while I traced the inside diameter of the opening.
12/31/2019 Here I traced the opening onto the Aluminum.
12/31/2019 3 hrs -
I used a cut out saw (Used to cut out openings in sheet rock, etc.) with a metal bit, following the outside edge of the red trace line. then I used my belt sander to smooth out the edges to fit the opening.
Dimple the screw holes for counter sunk screws #8.
1/12/2020 3 hrs -
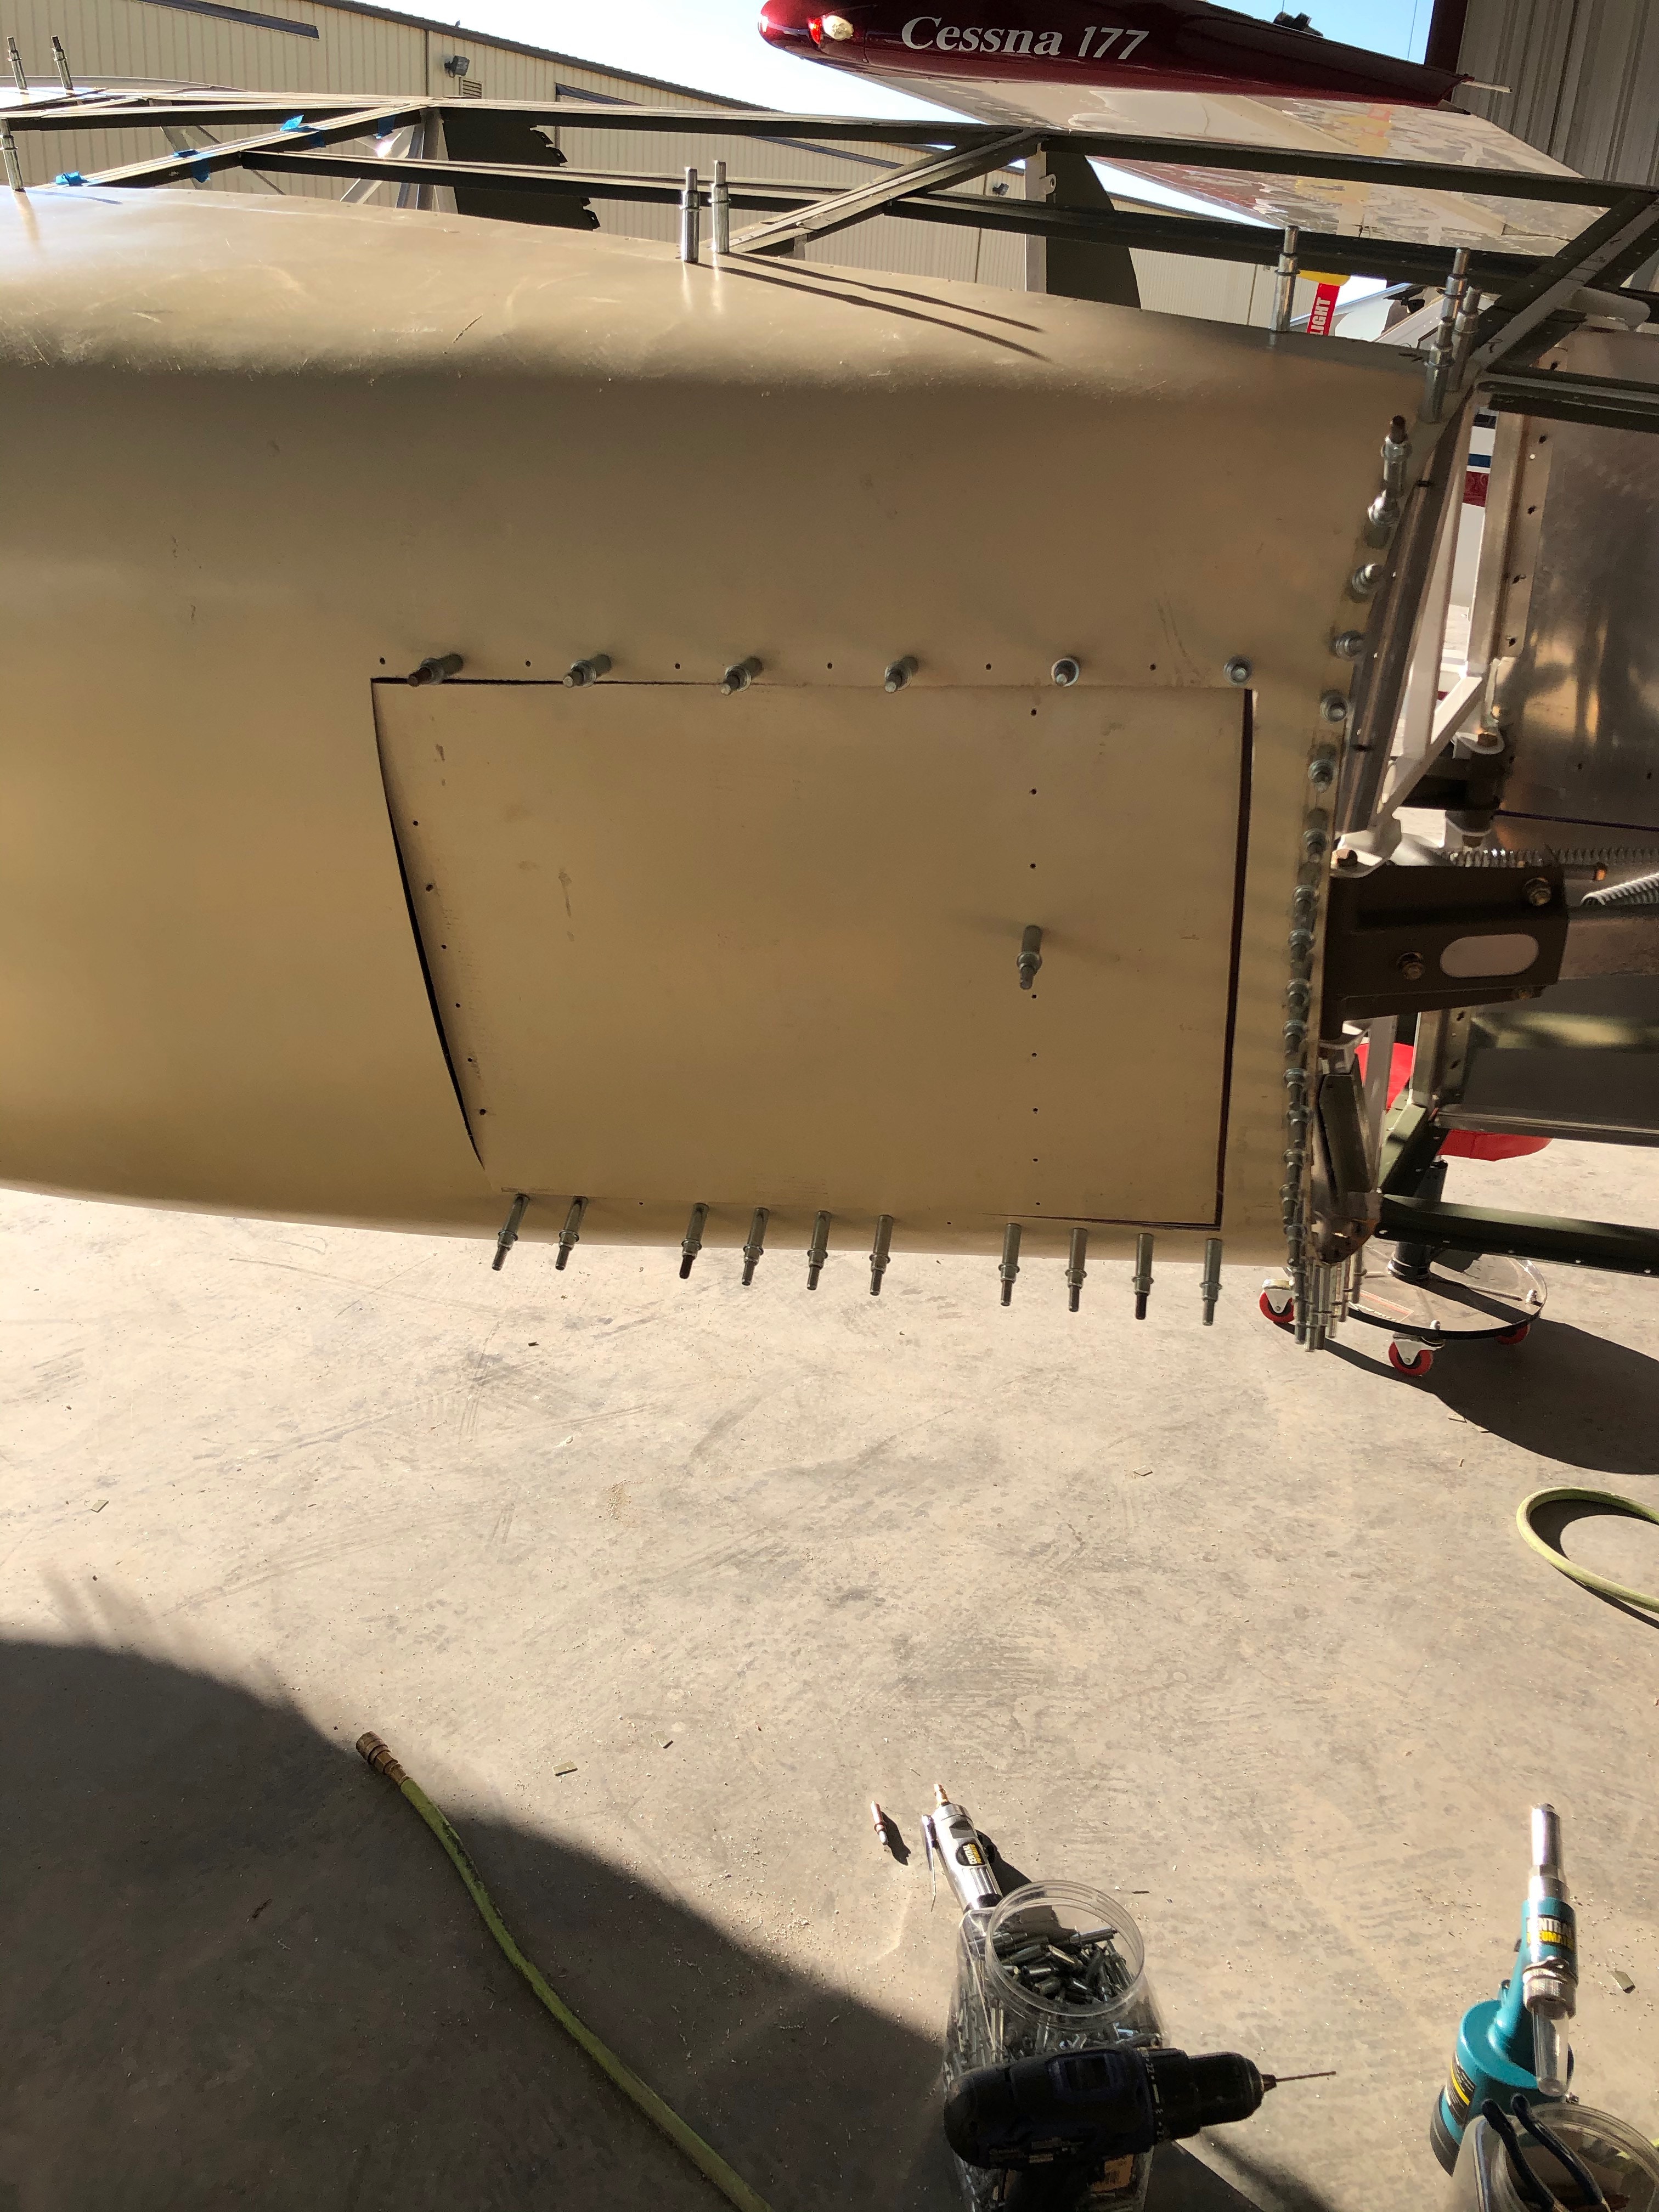
Marked the cut out for the Radiator door on the fiberglass belly. Cut the door out using an OLEY knife and then finished the long cuts with a Dremel Max saw and the shorter cuts with my small dremel cut off blade.
1/12/2020 Marked the cut out for the Radiator door on the fiberglass belly. Cut the door out using an OLEY knife and then finished the long cuts with a Dremel Max saw and the shorter cuts with my small dremel cut off blade.
1/18/2020 1.5 Hrs
Fitting the door and Hinge to lower bulkhead
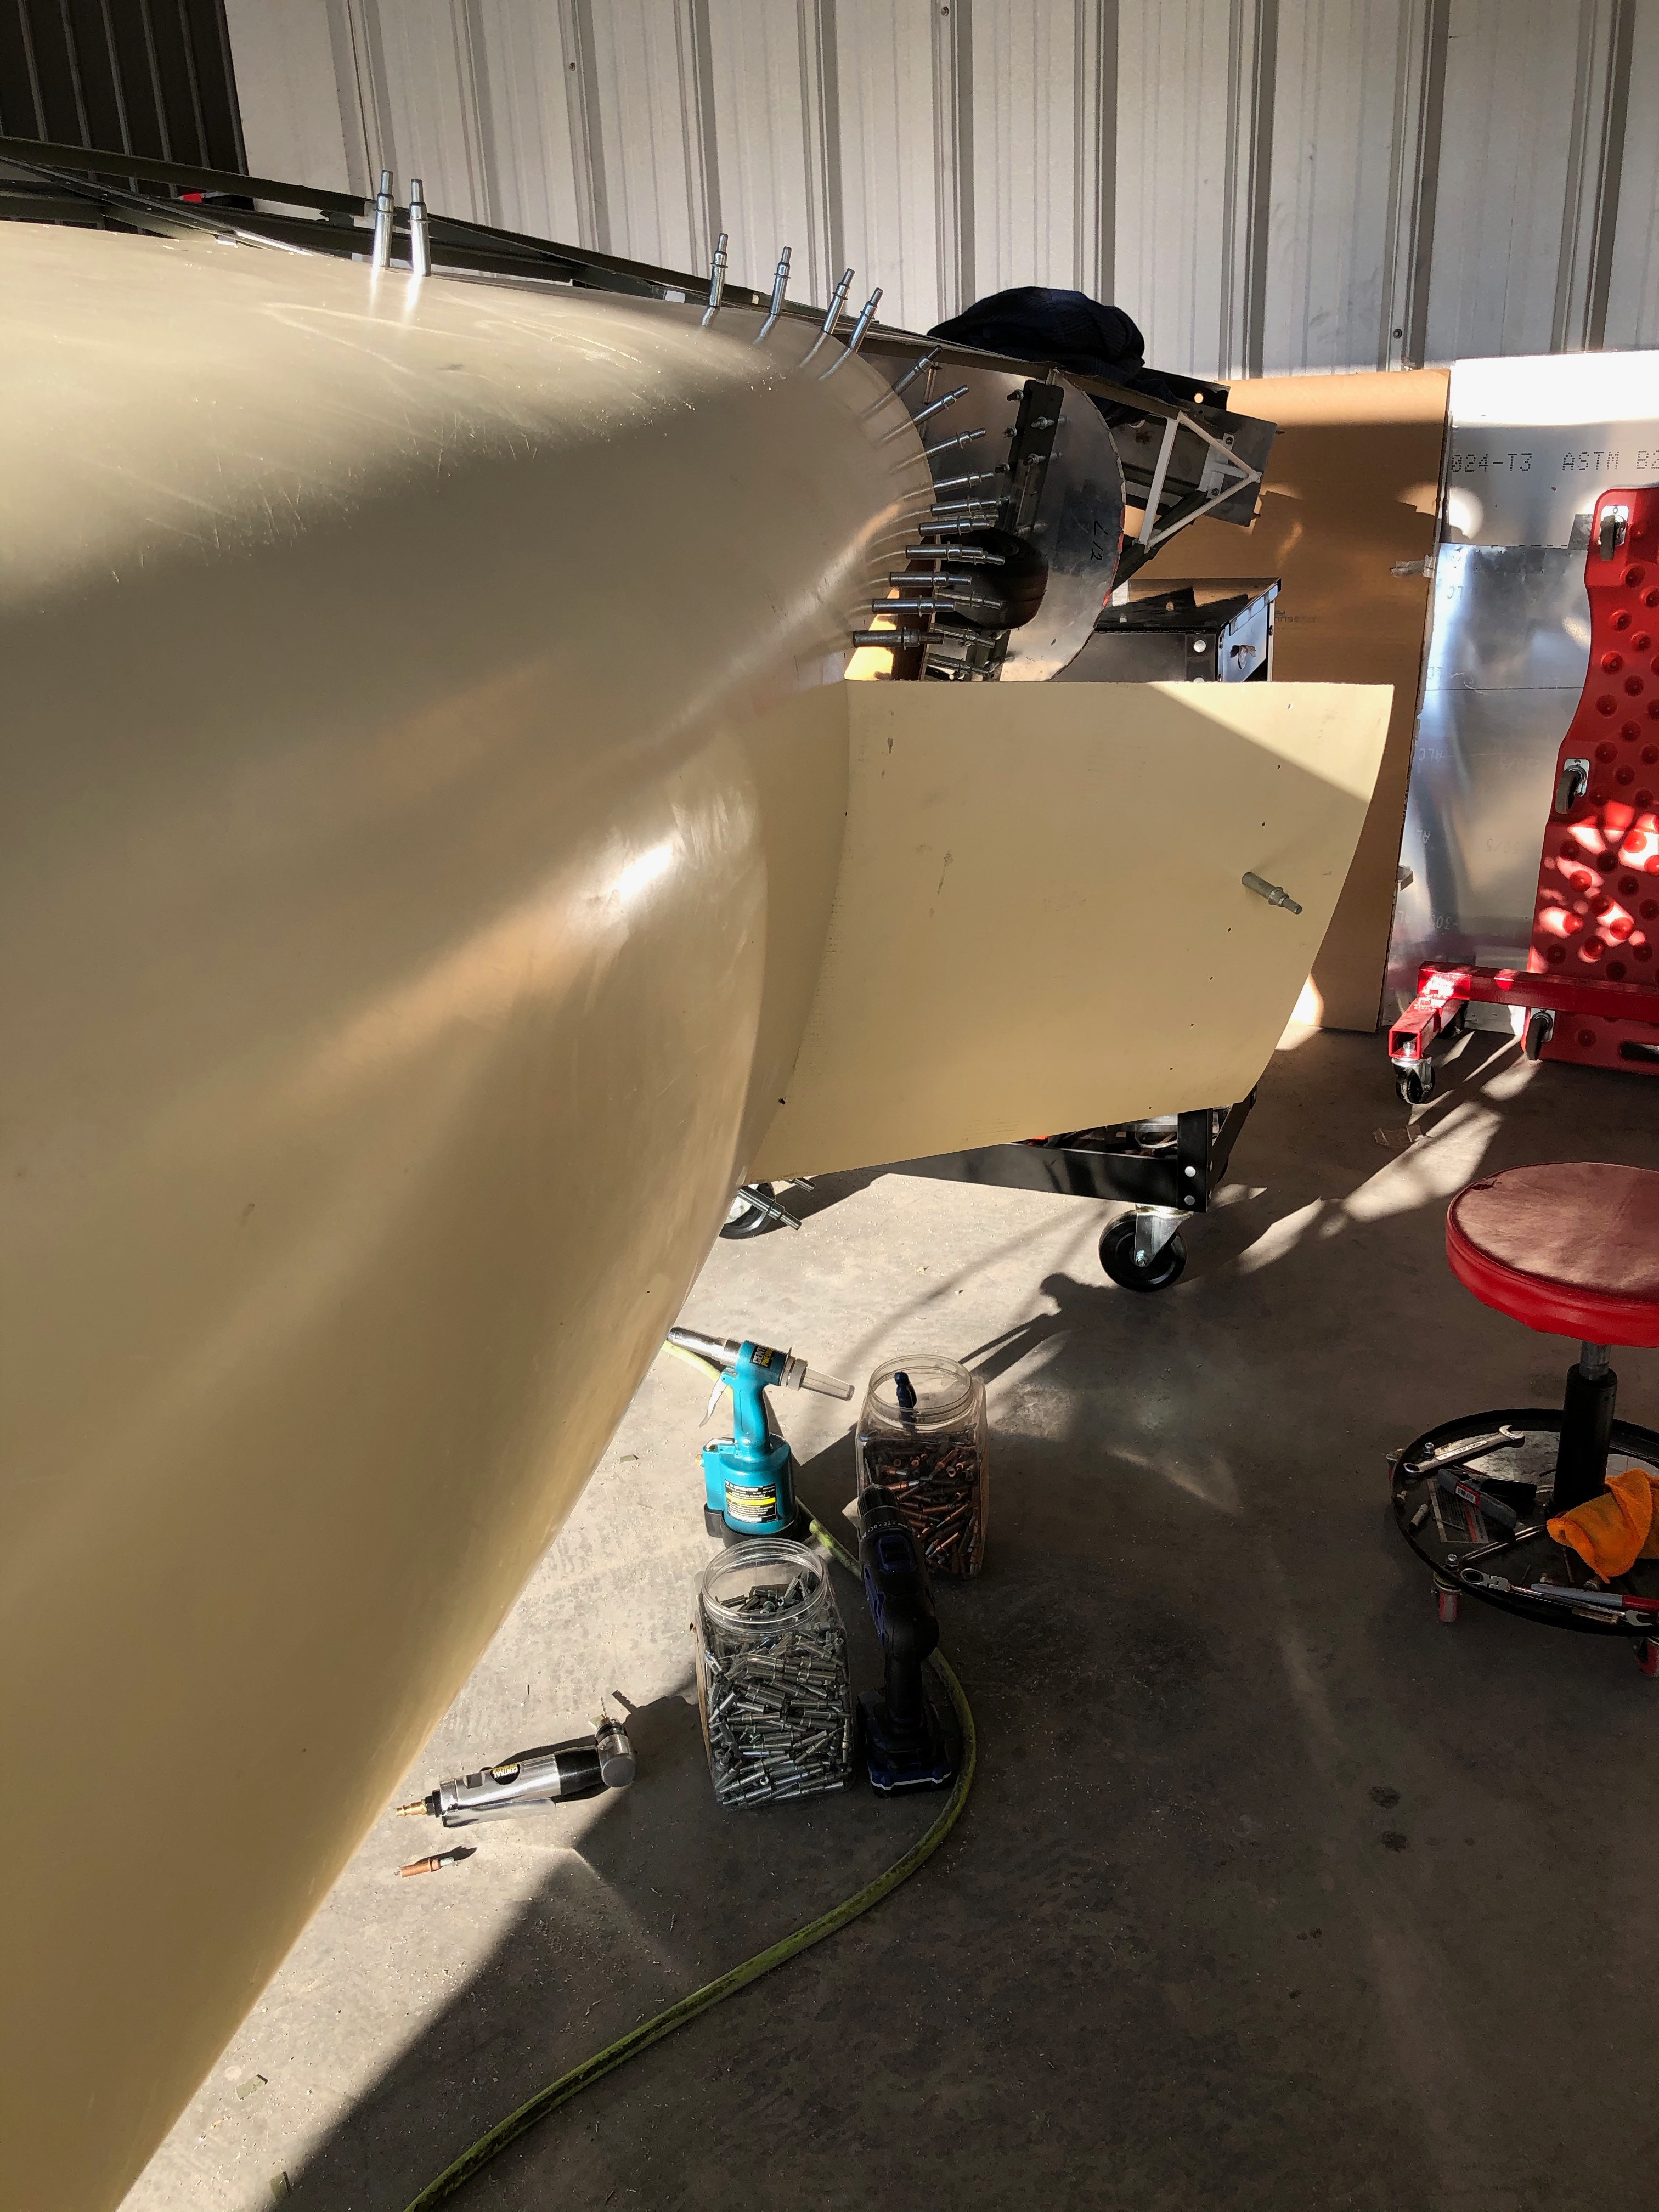
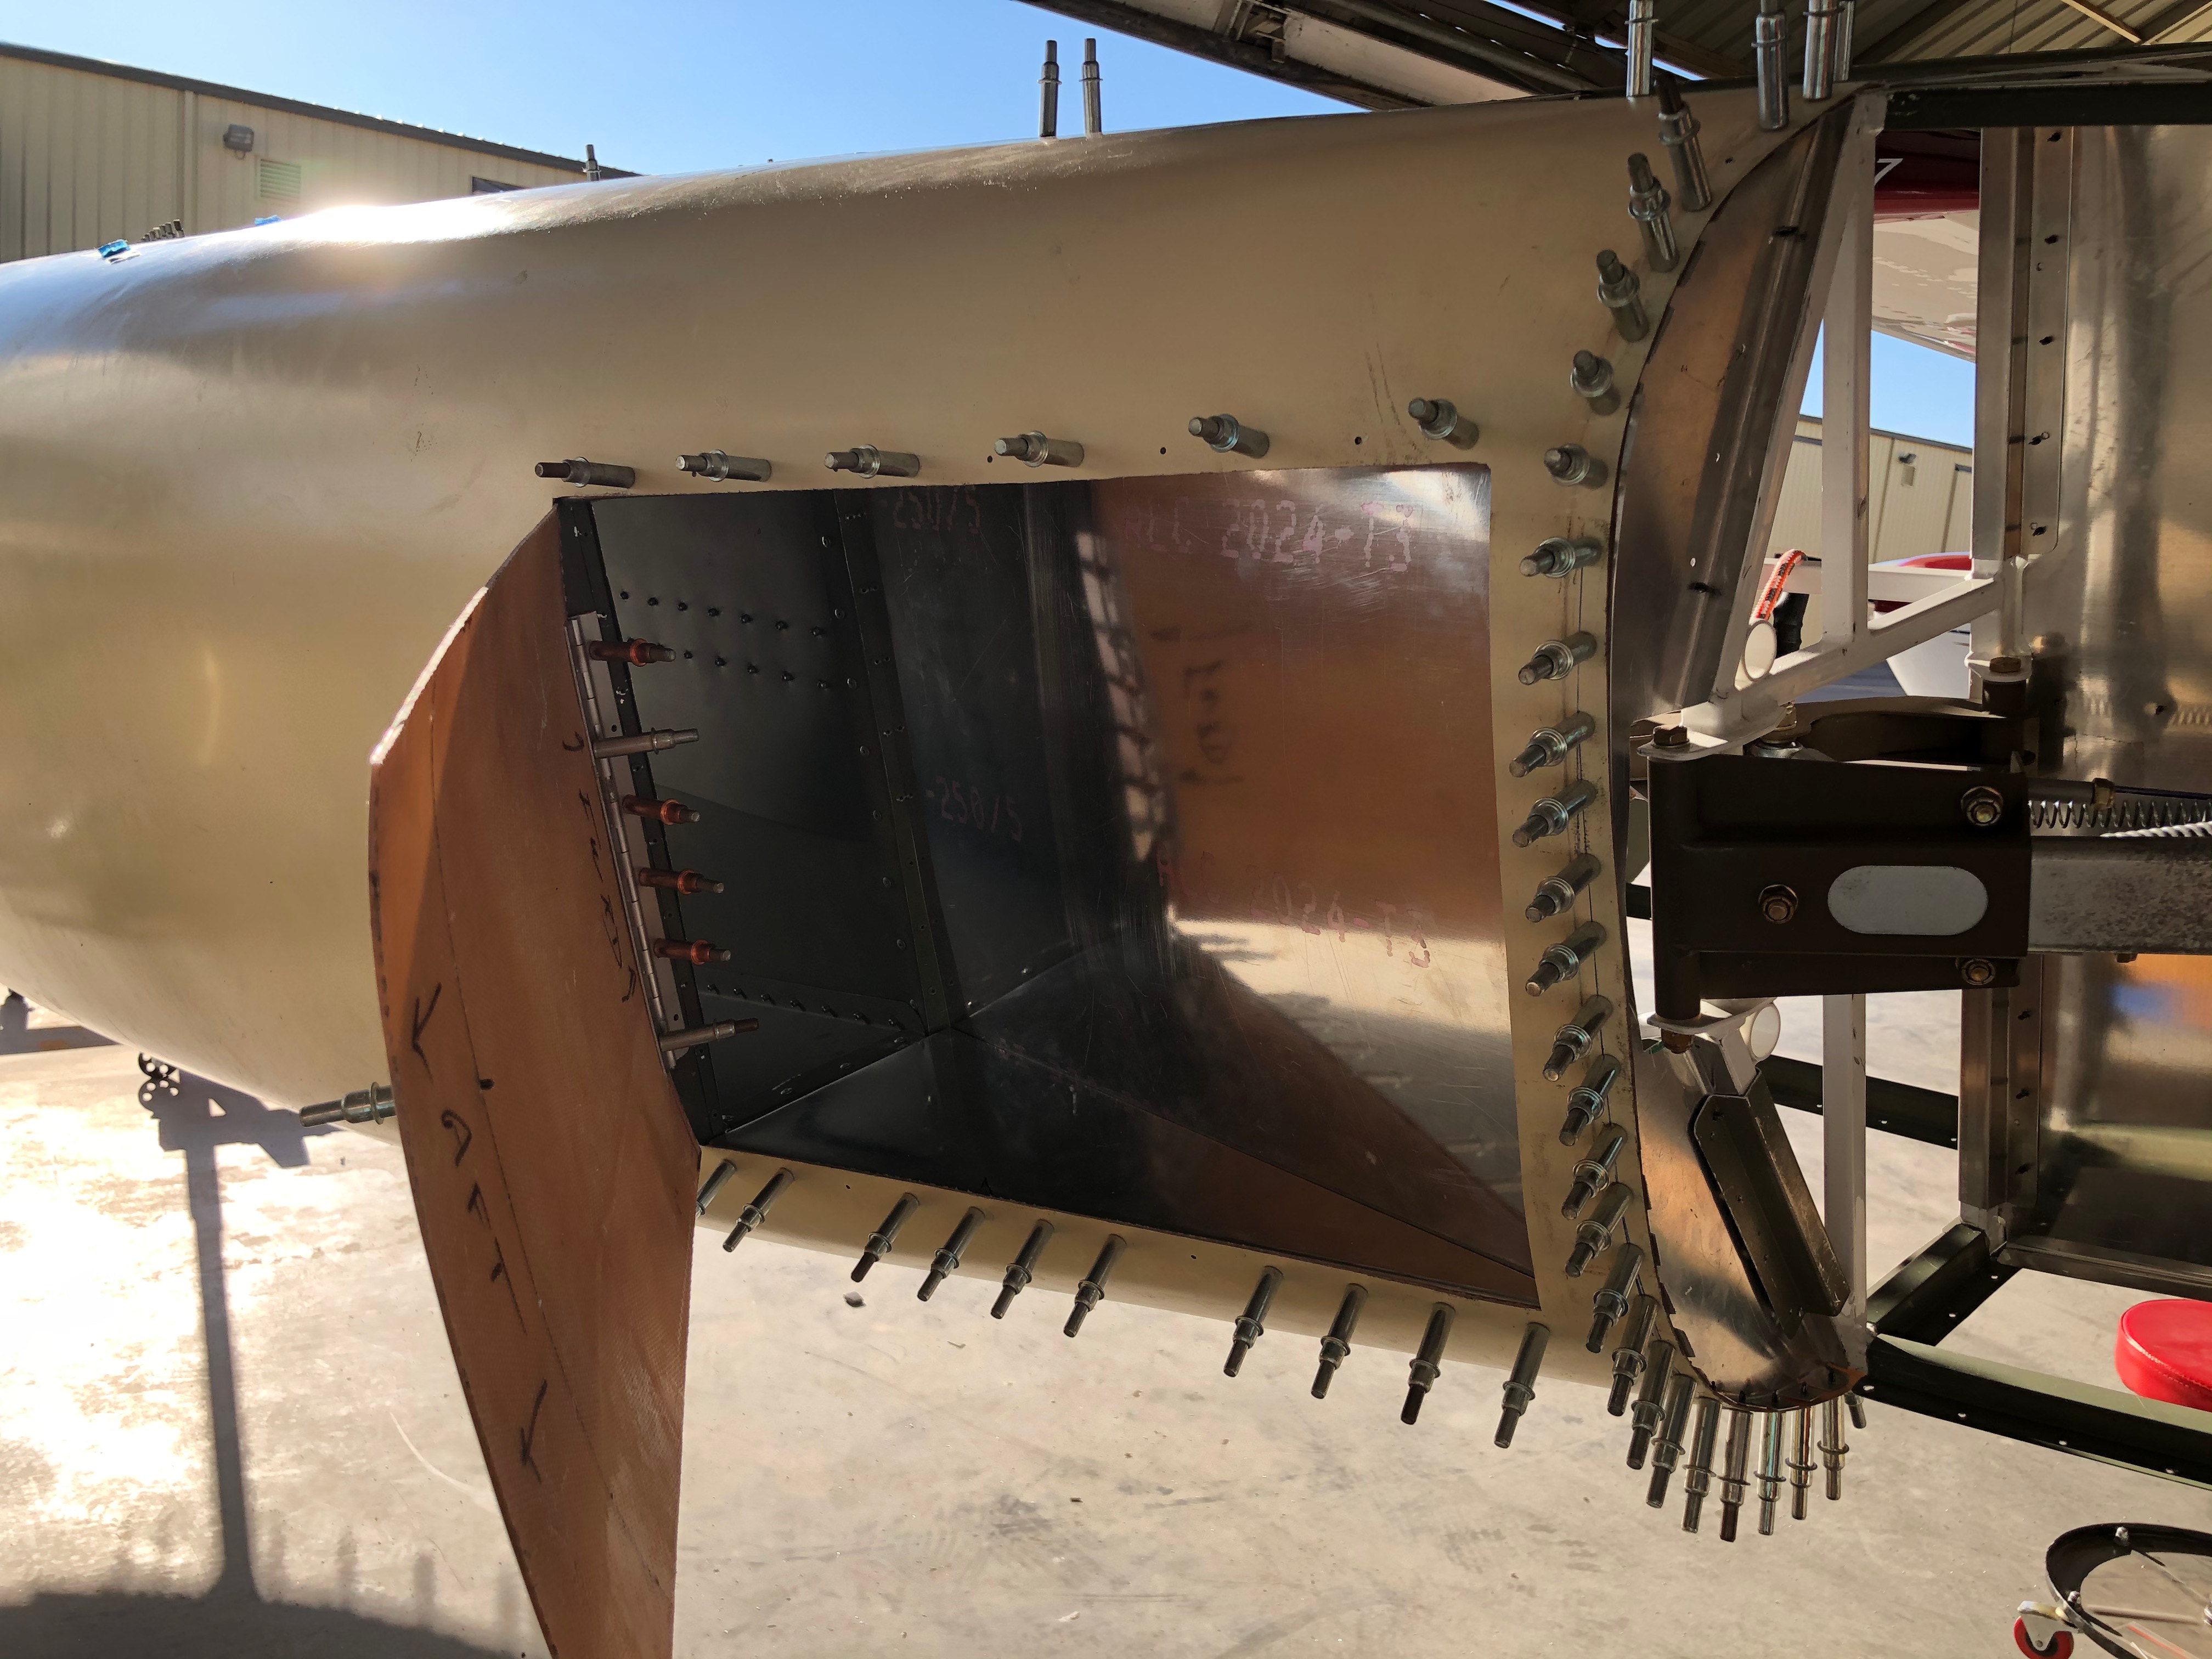
1/18/2020 3.5 hrs
Drilled and cleo the fiberglass belly to the inner exhaust door sides and along the read of the belly to bulkhead #10.
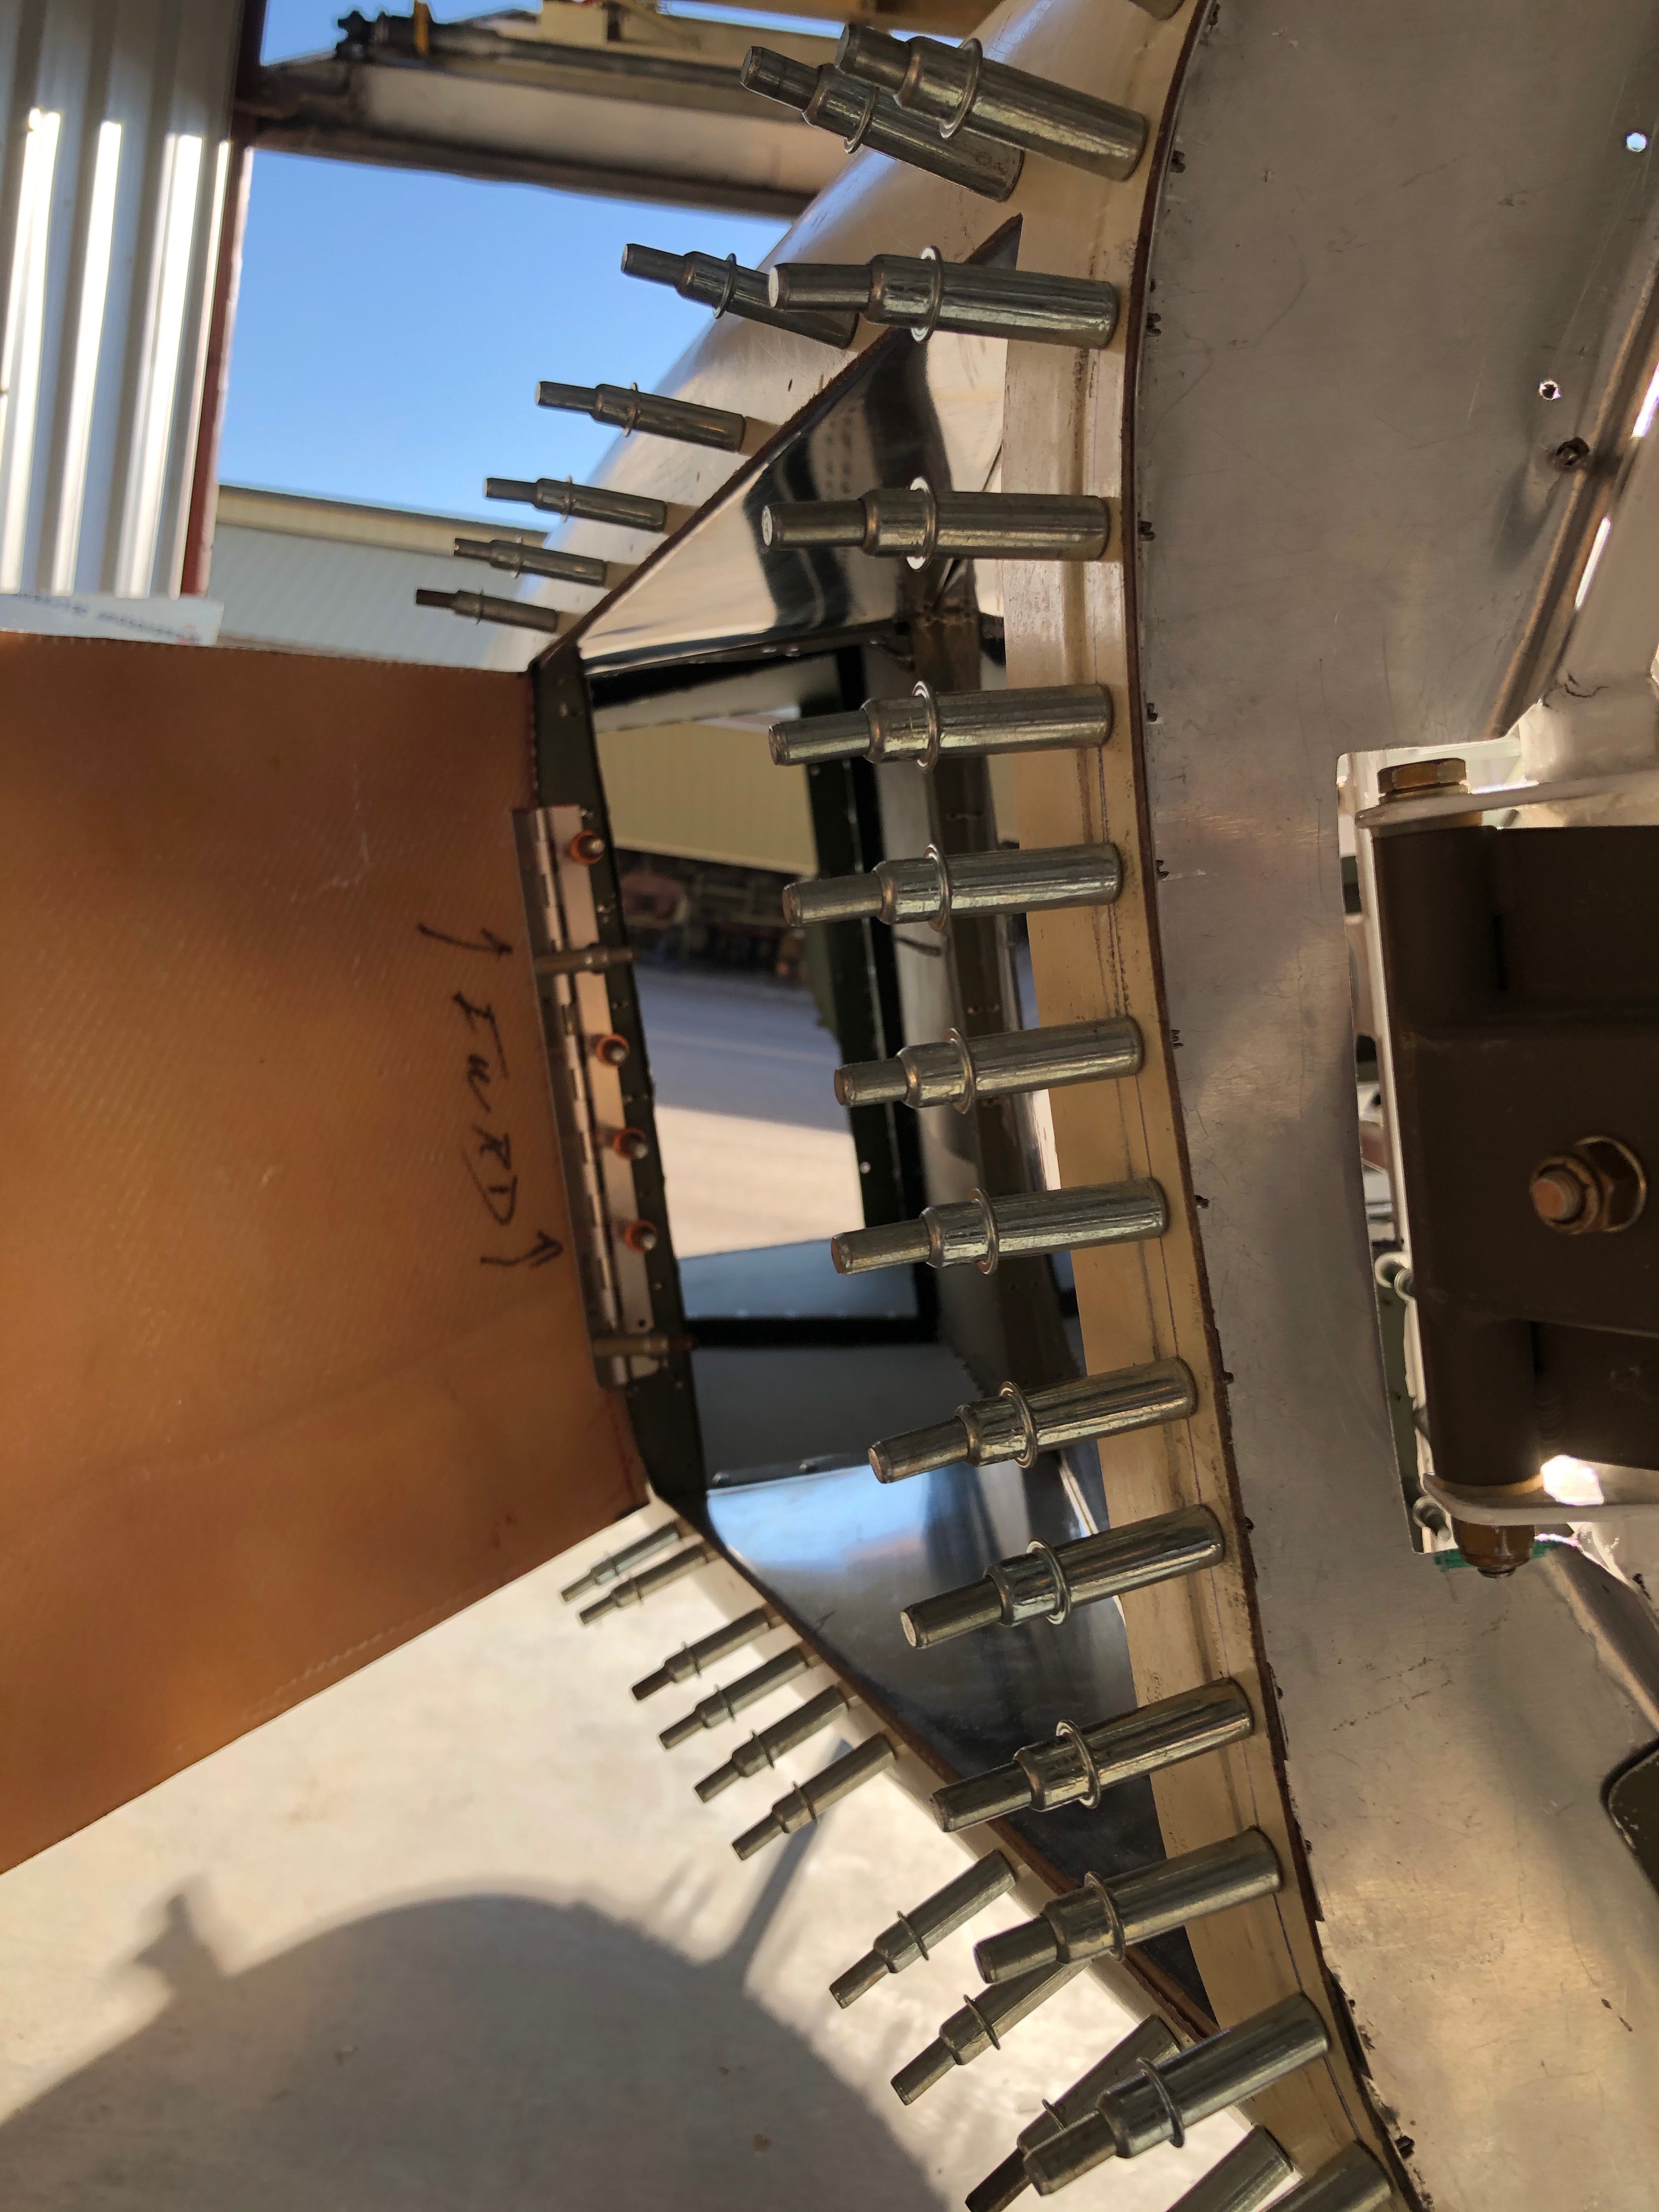

1/18/2020 - Additional view of fitting the Exhaust door.
1/18/2020 - view of the Exhaust door enclosure.
1/18/2020 - Additional view of fitting the Exhaust door.
I have to create a wedge with a curve on the bottom and fate on top to go under the hinge of the door to Match the same curve as the belly.
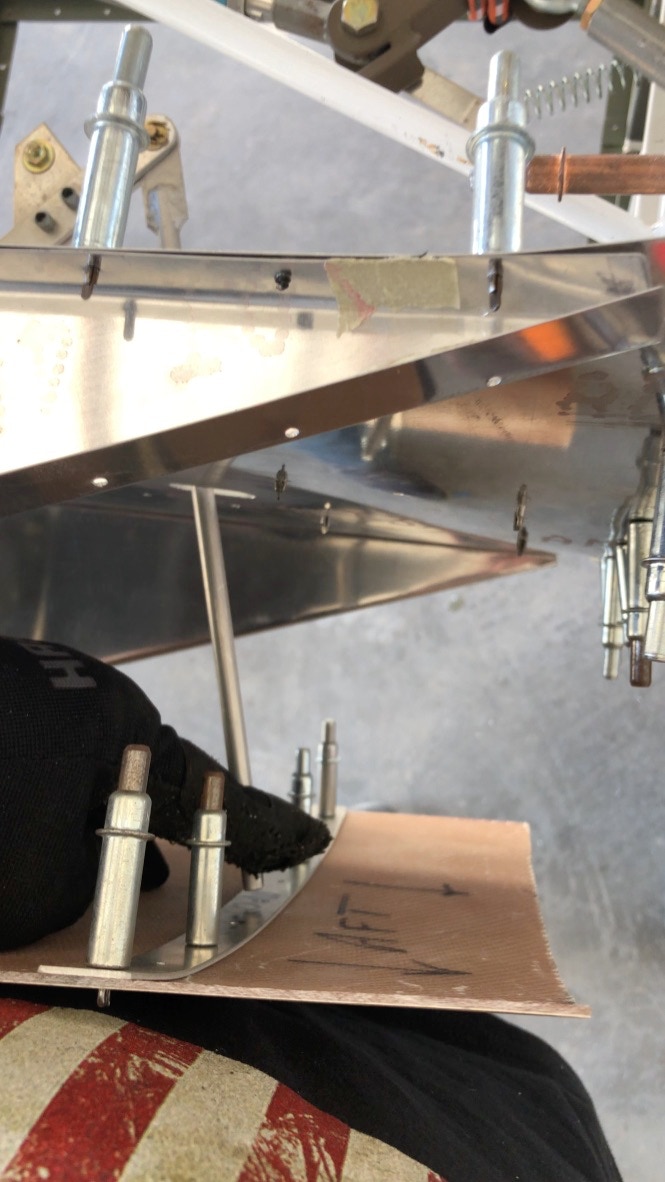
2/1/2020 - 4.5 hrs
Mounting the radiator exhaust door actuator linkage..
Looking for proper alignment for attaching to door.
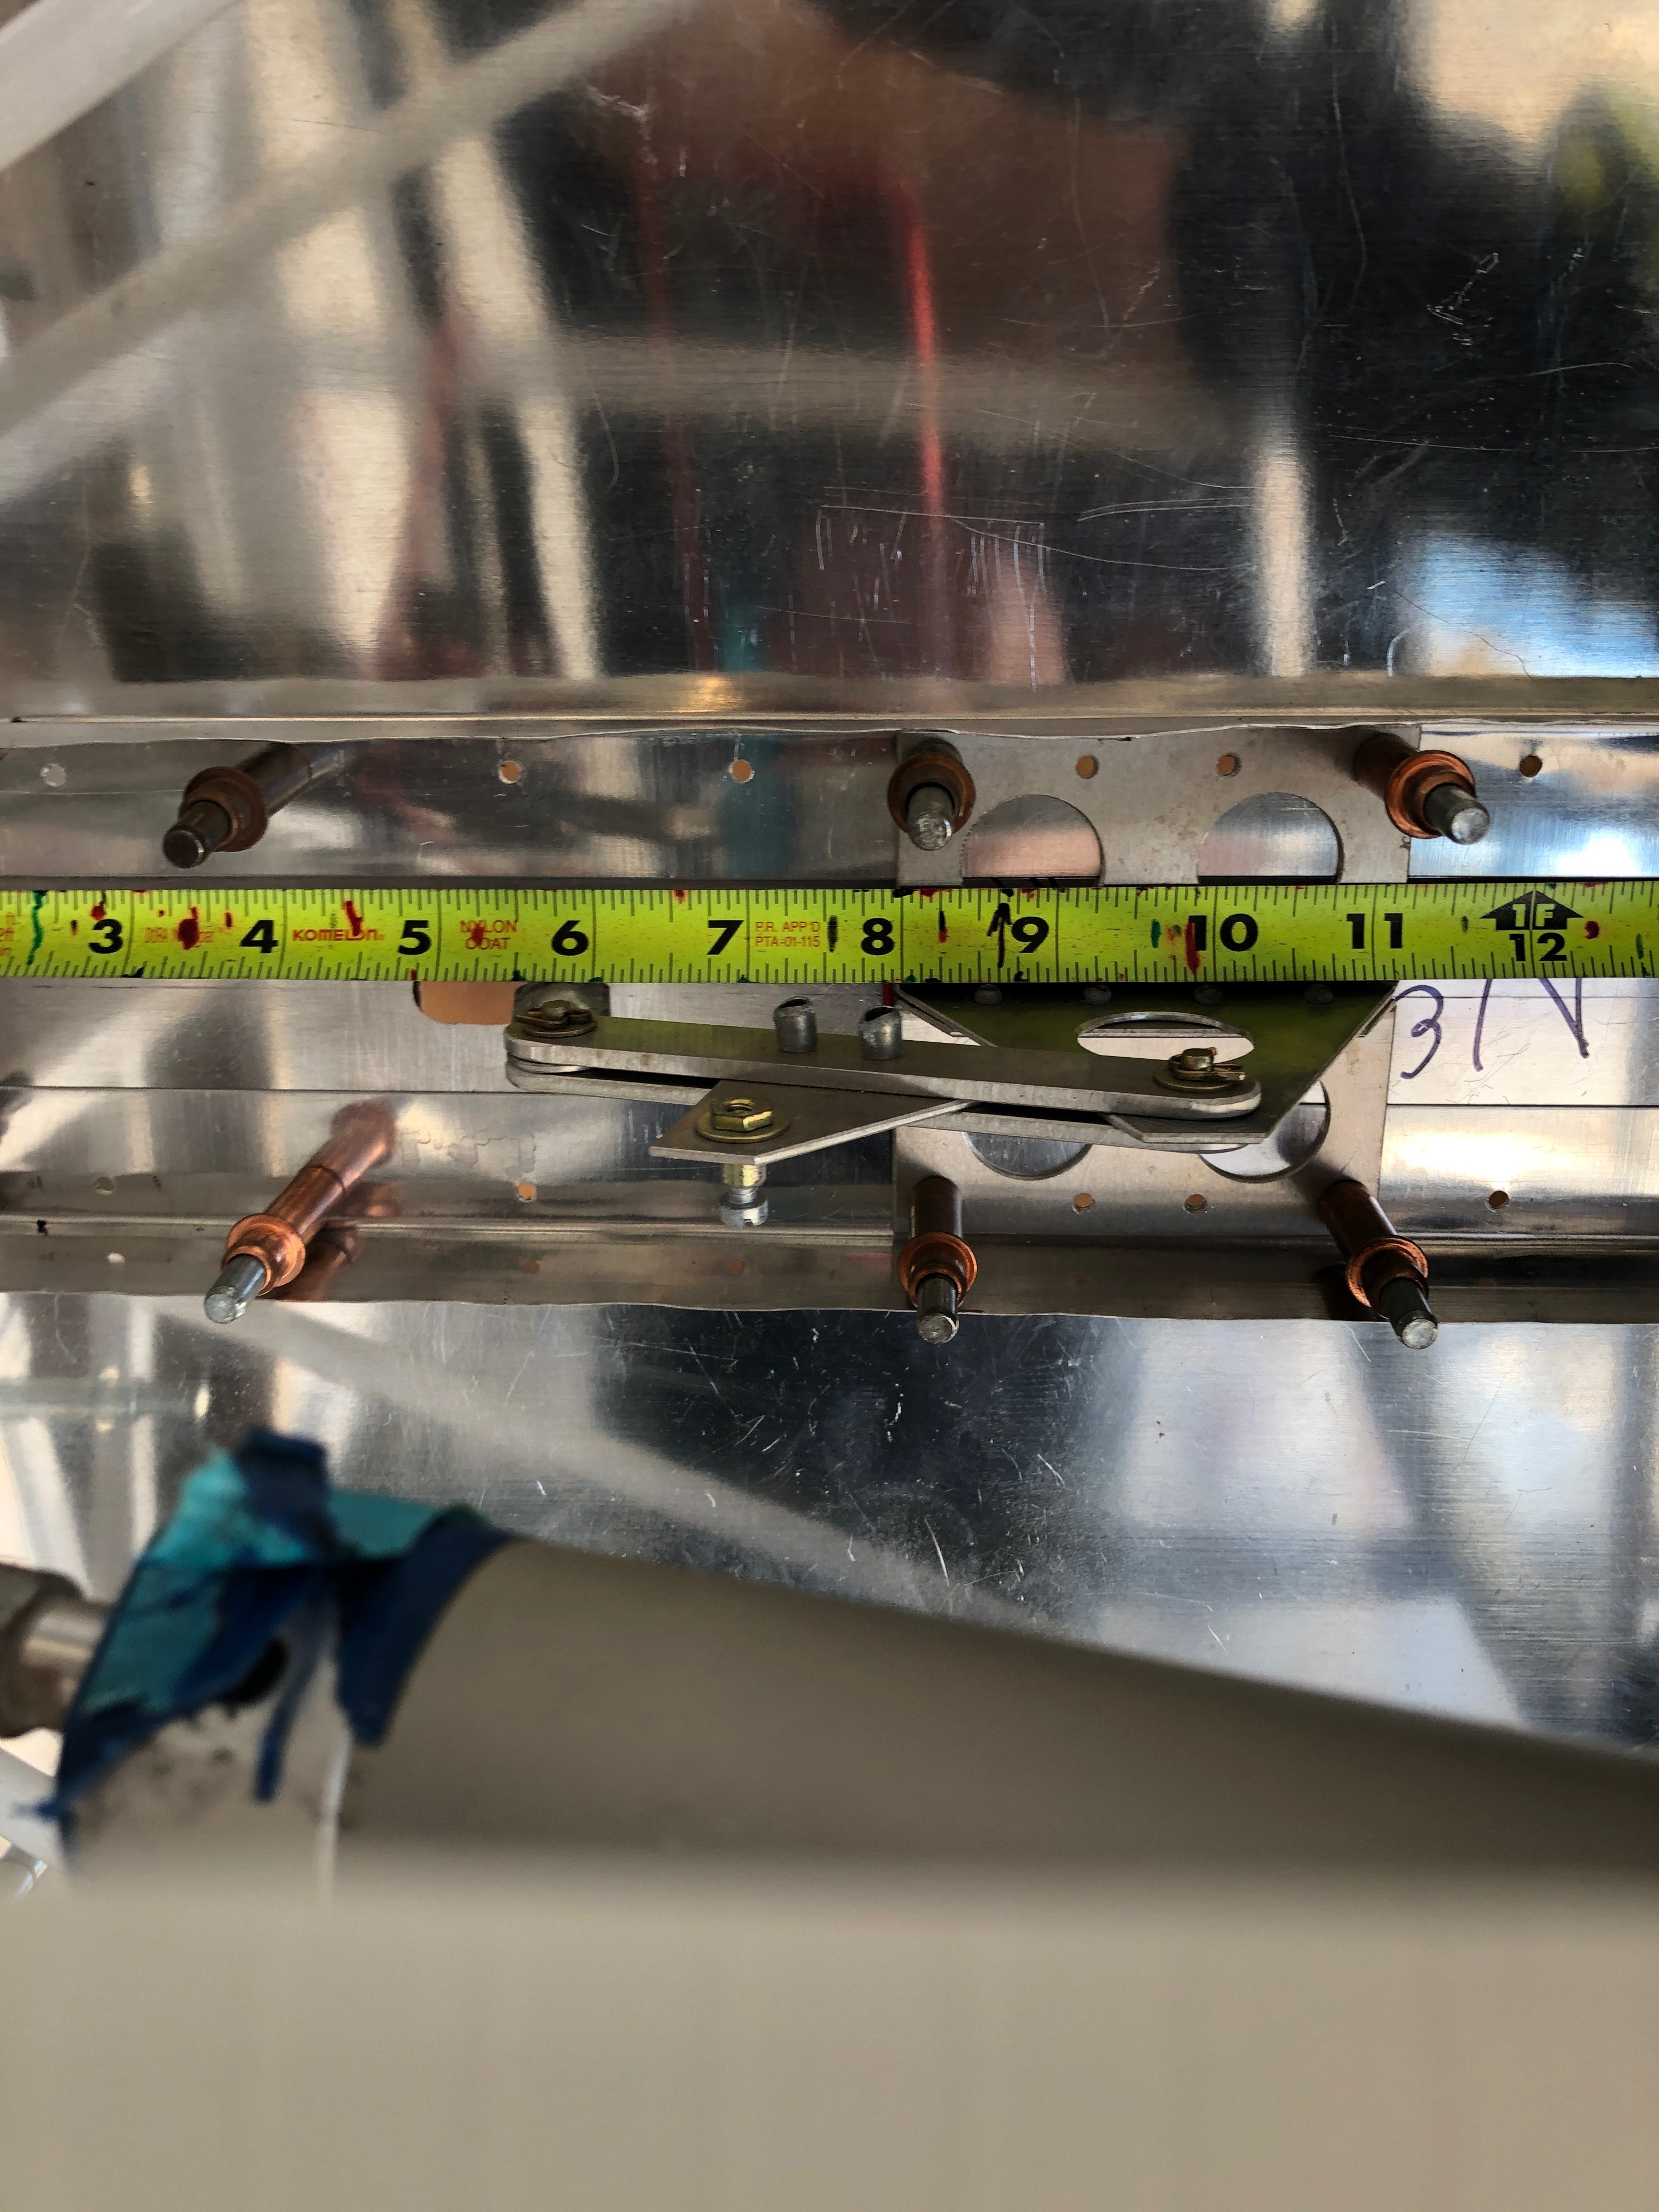
2/1/2020 - Measuring the distance from the rear lower bulkhead to the Actuator linkage.
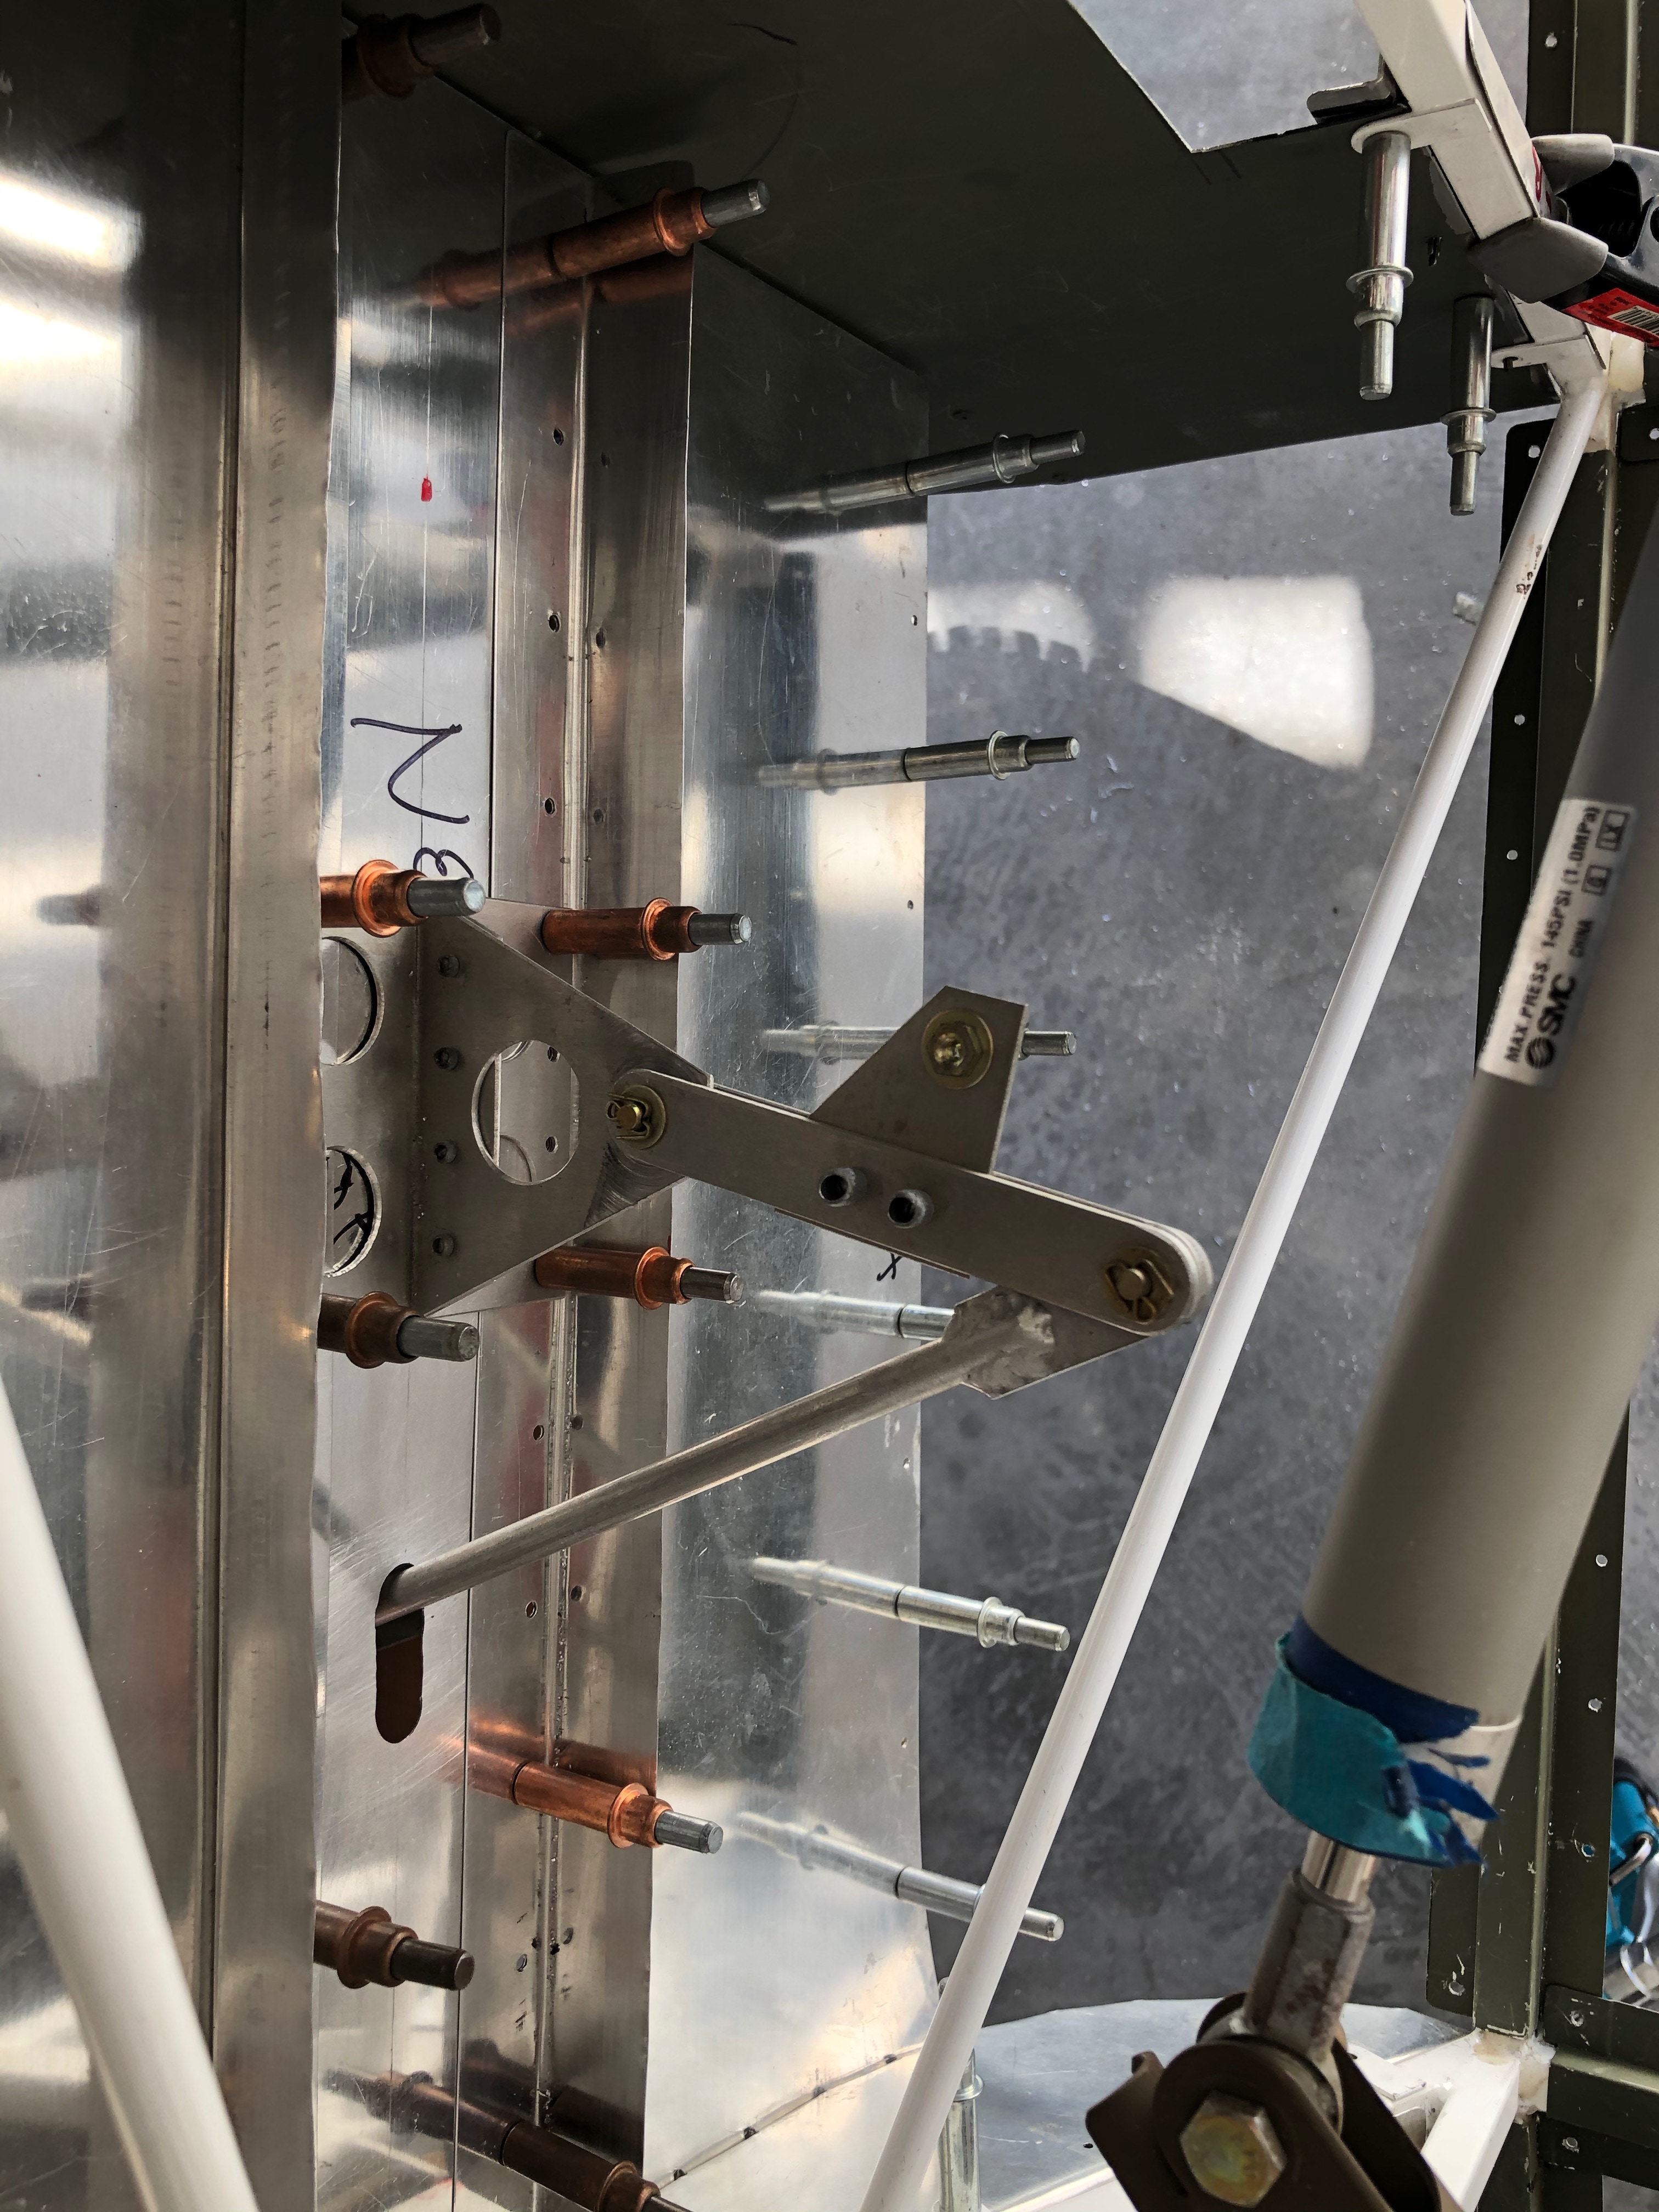
2/1/2020 -
Another view of the Actuator linkage. May need to adjust the hole for the down rod.

2/1/2020 - 2 hrs
Mounting the radiator exhaust Exit side to the door